


How to Clean Your Sneakers – The Ultimate Sneaker Cleaning Guide
Introduction
Keeping your sneakers clean is essential if you want them to look fresh and last longer. Dirt, dust, and daily wear can quickly affect materials like leather, suede, mesh, or canvas. With the right sneaker cleaning routine, you can restore your shoes and maintain that fresh-out-of-the-box look.
In this sneaker cleaning guide, we’ll show you how to clean sneakers properly using a simple step-by-step process. Whether you want to clean white sneakers, refresh your everyday pairs, or remove dirt from your favorite sneakers, the right tools and technique make all the difference.
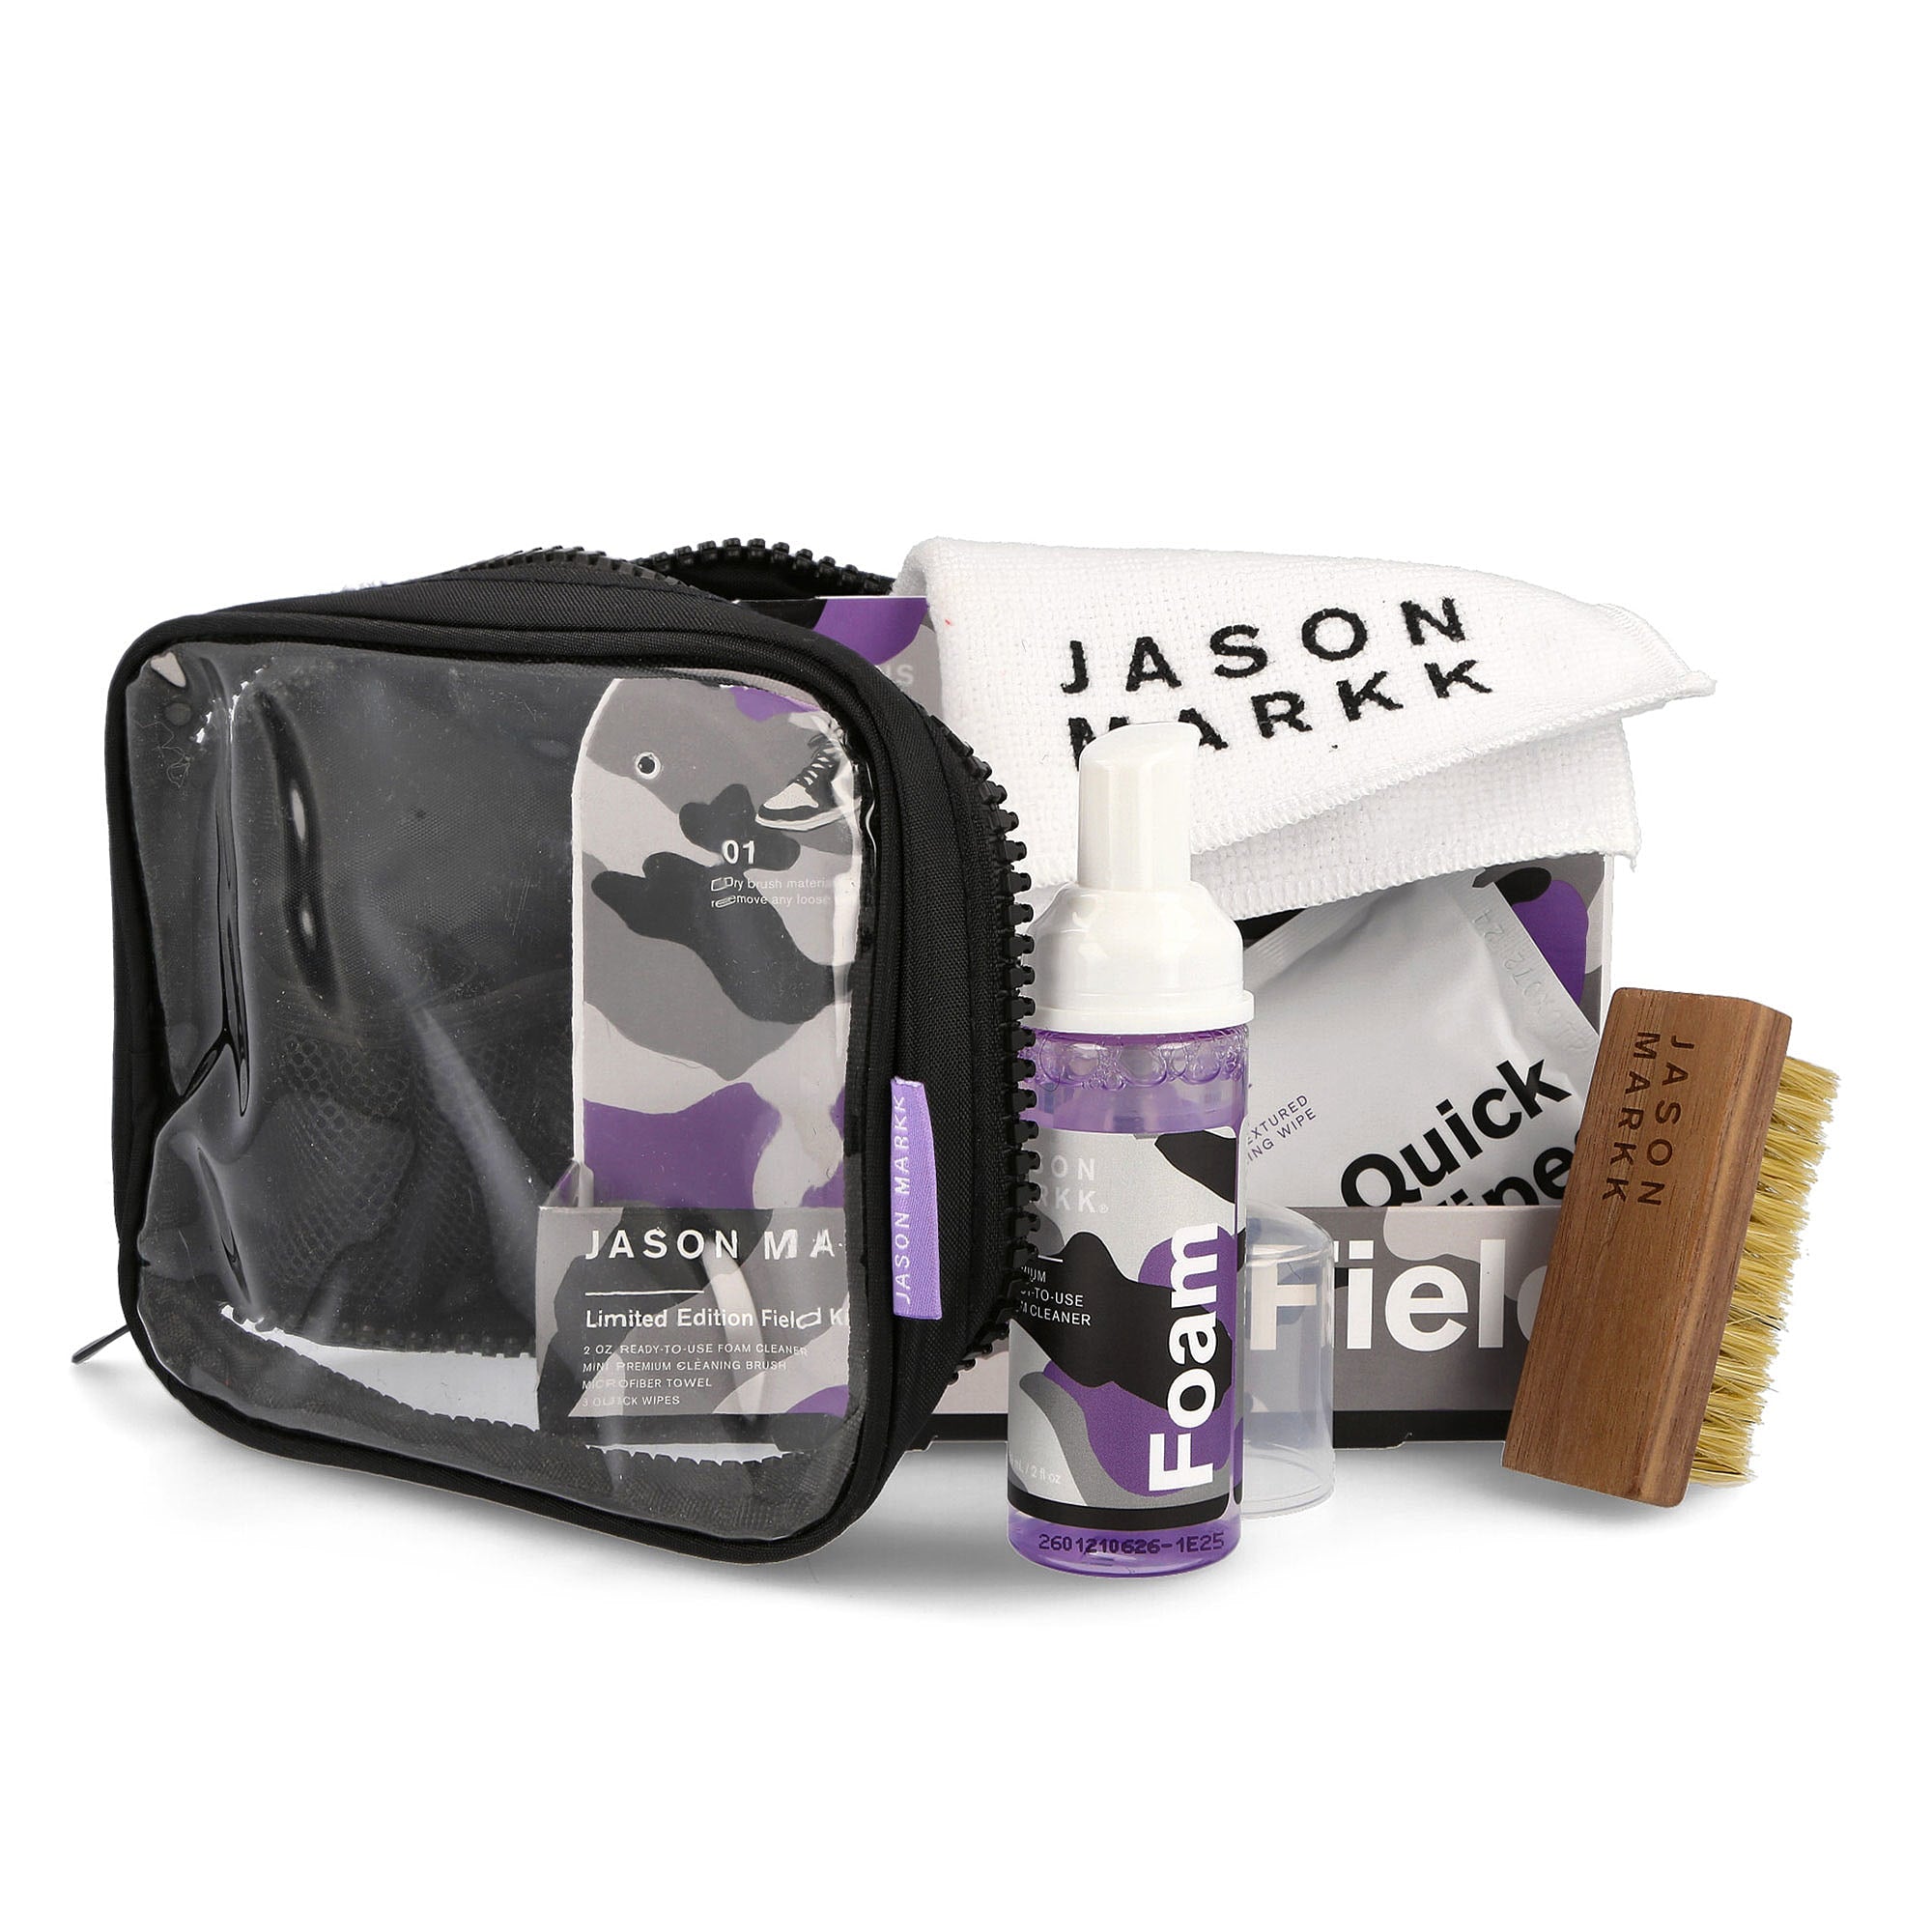
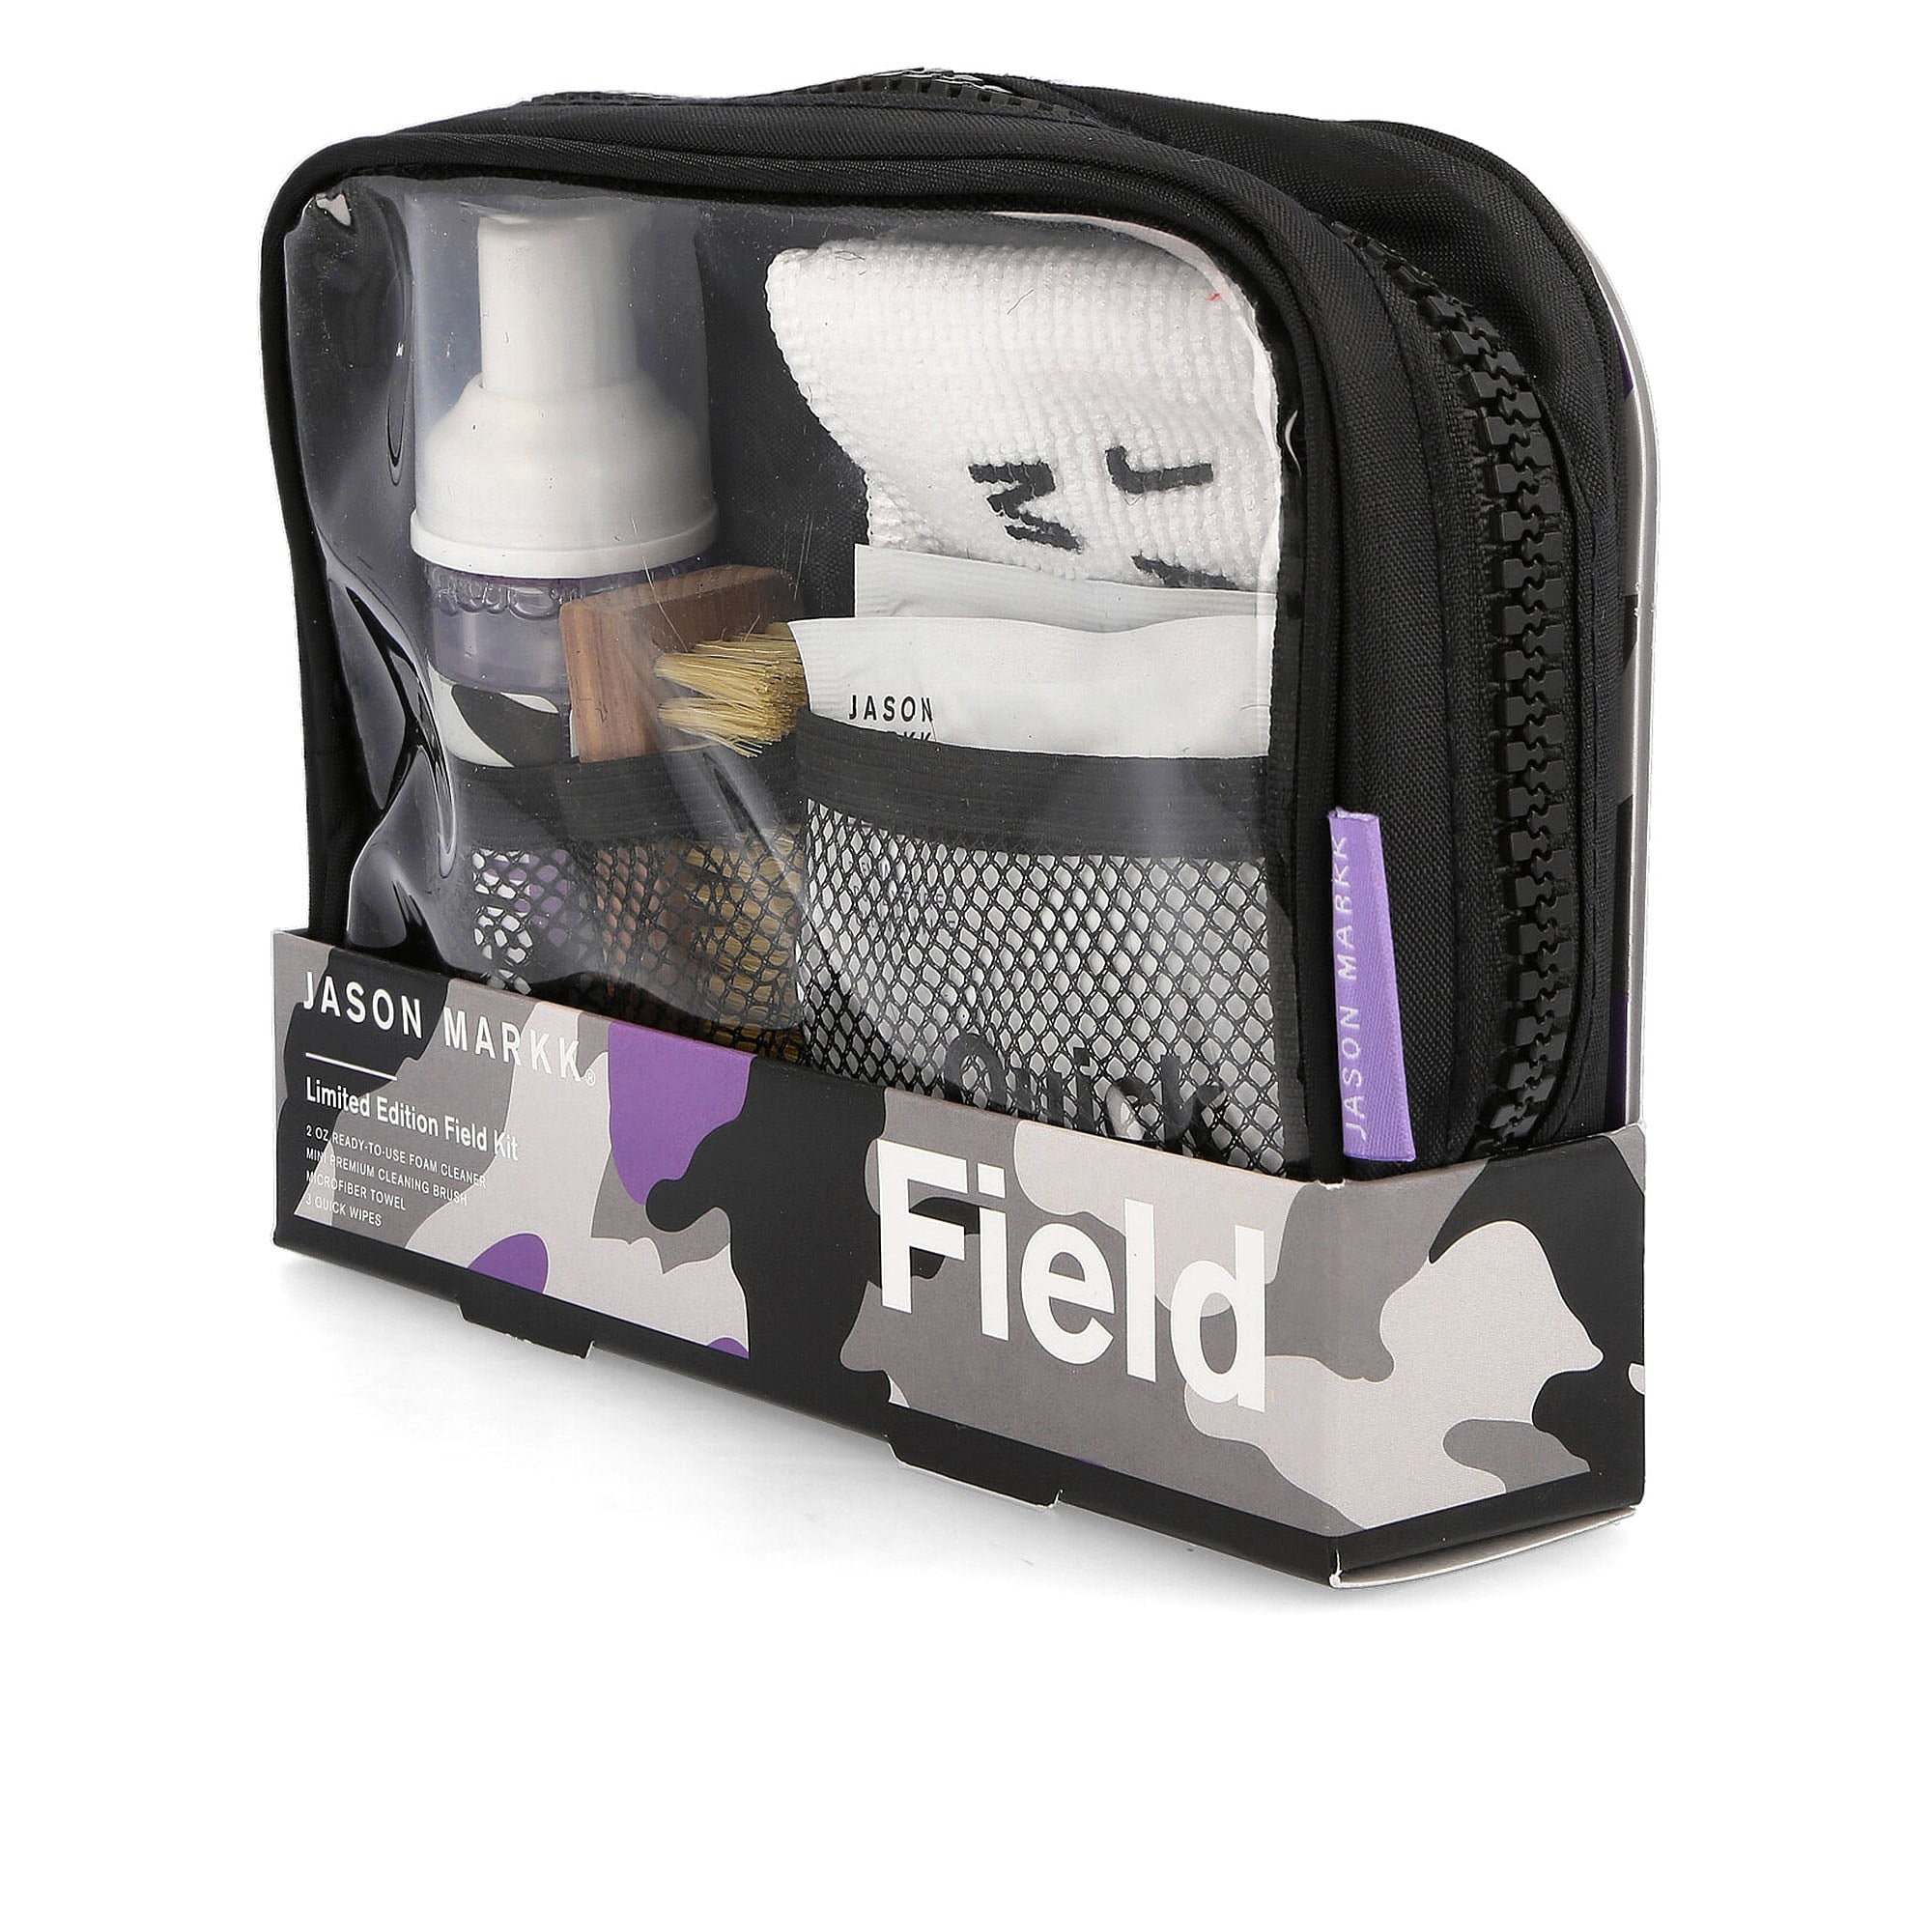
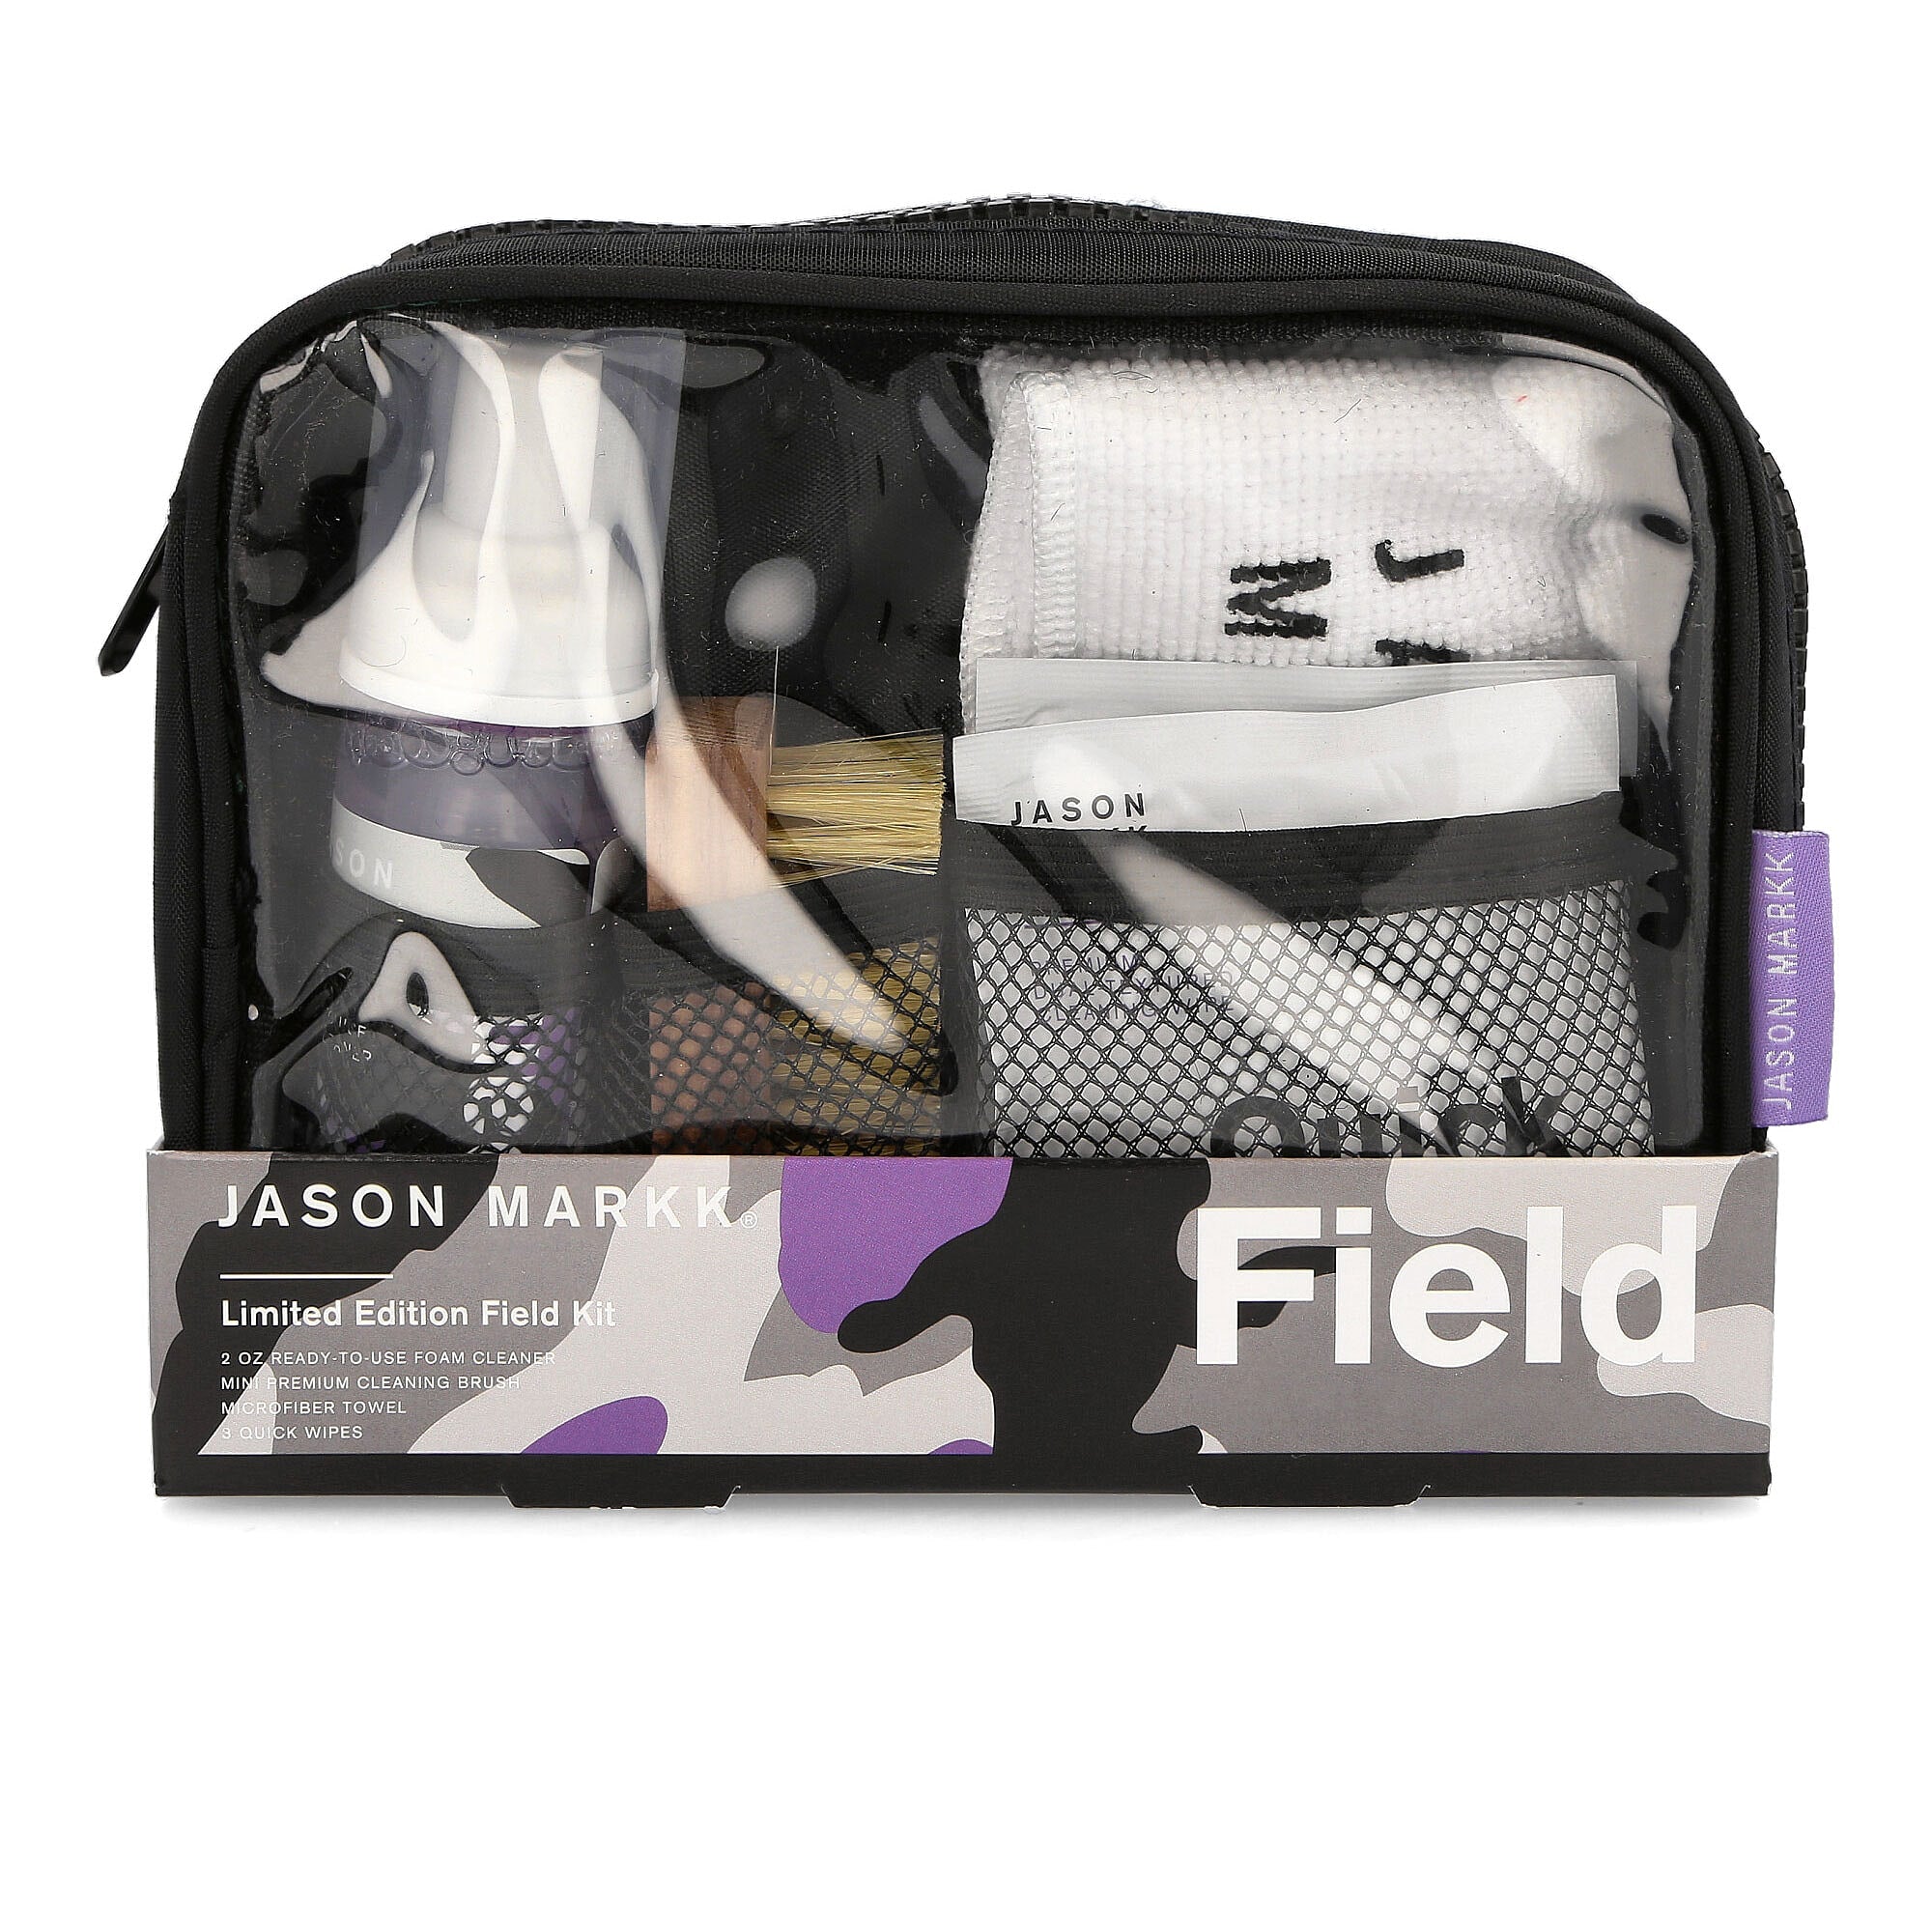
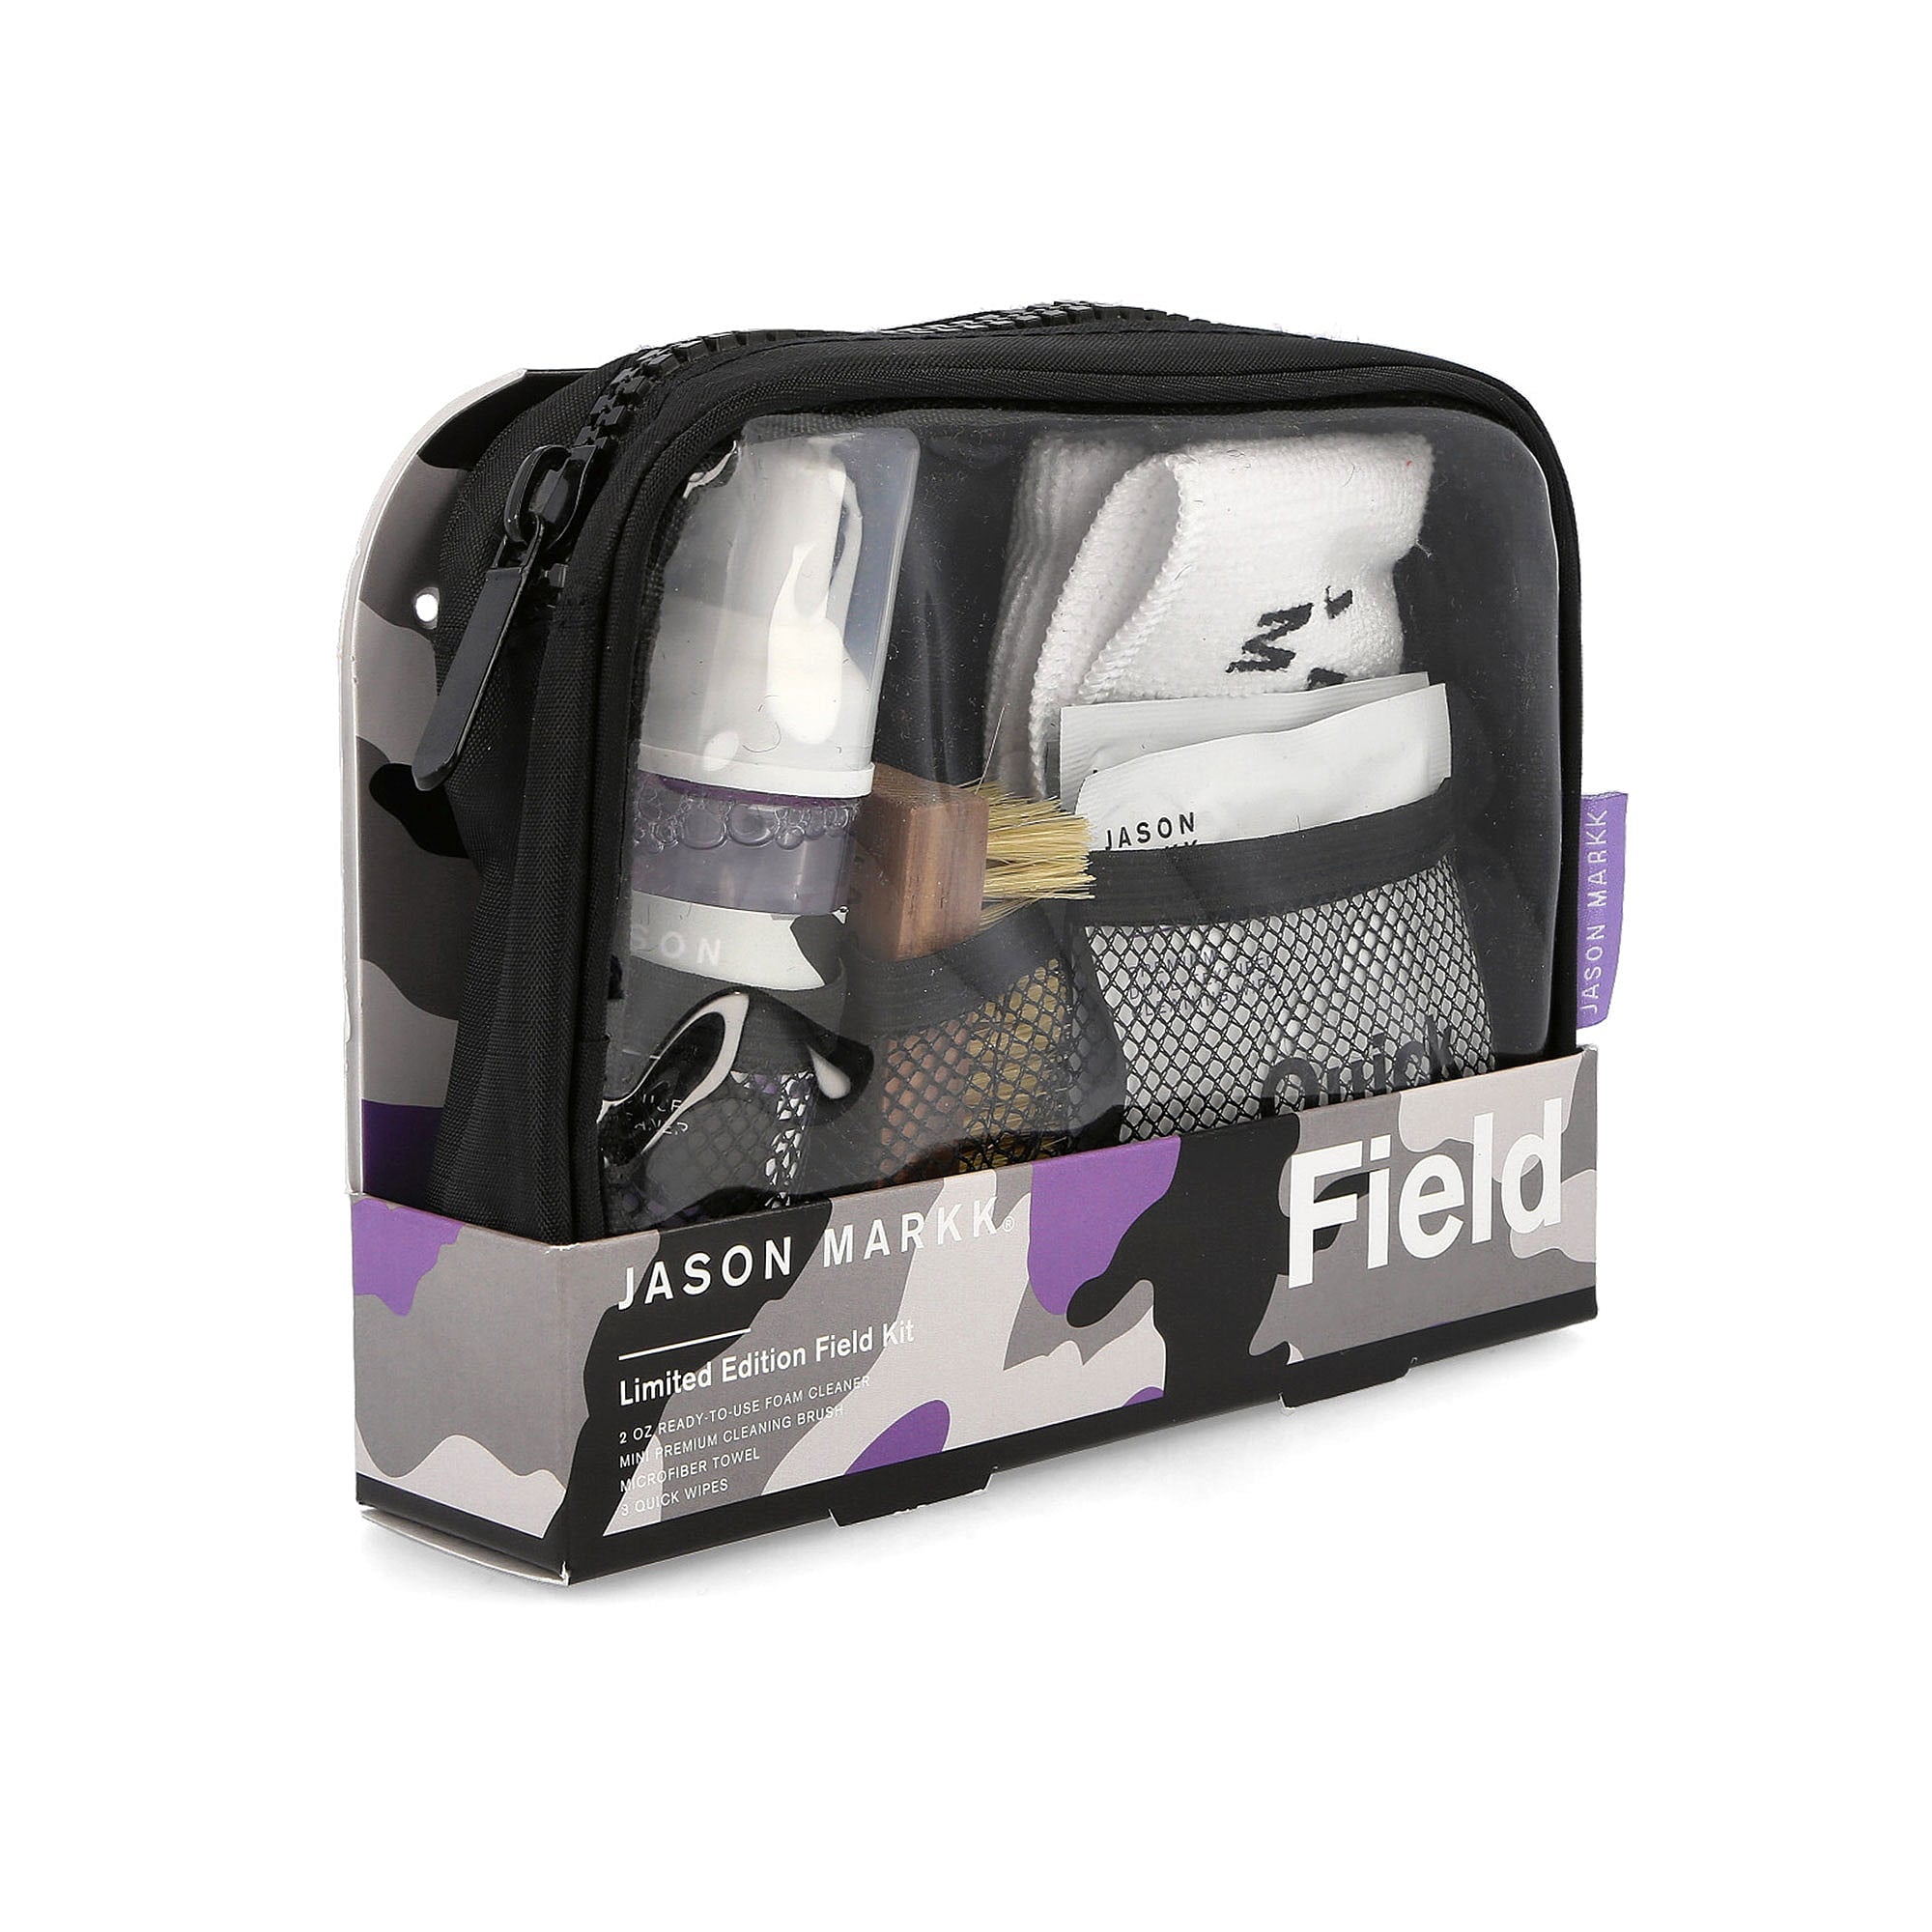
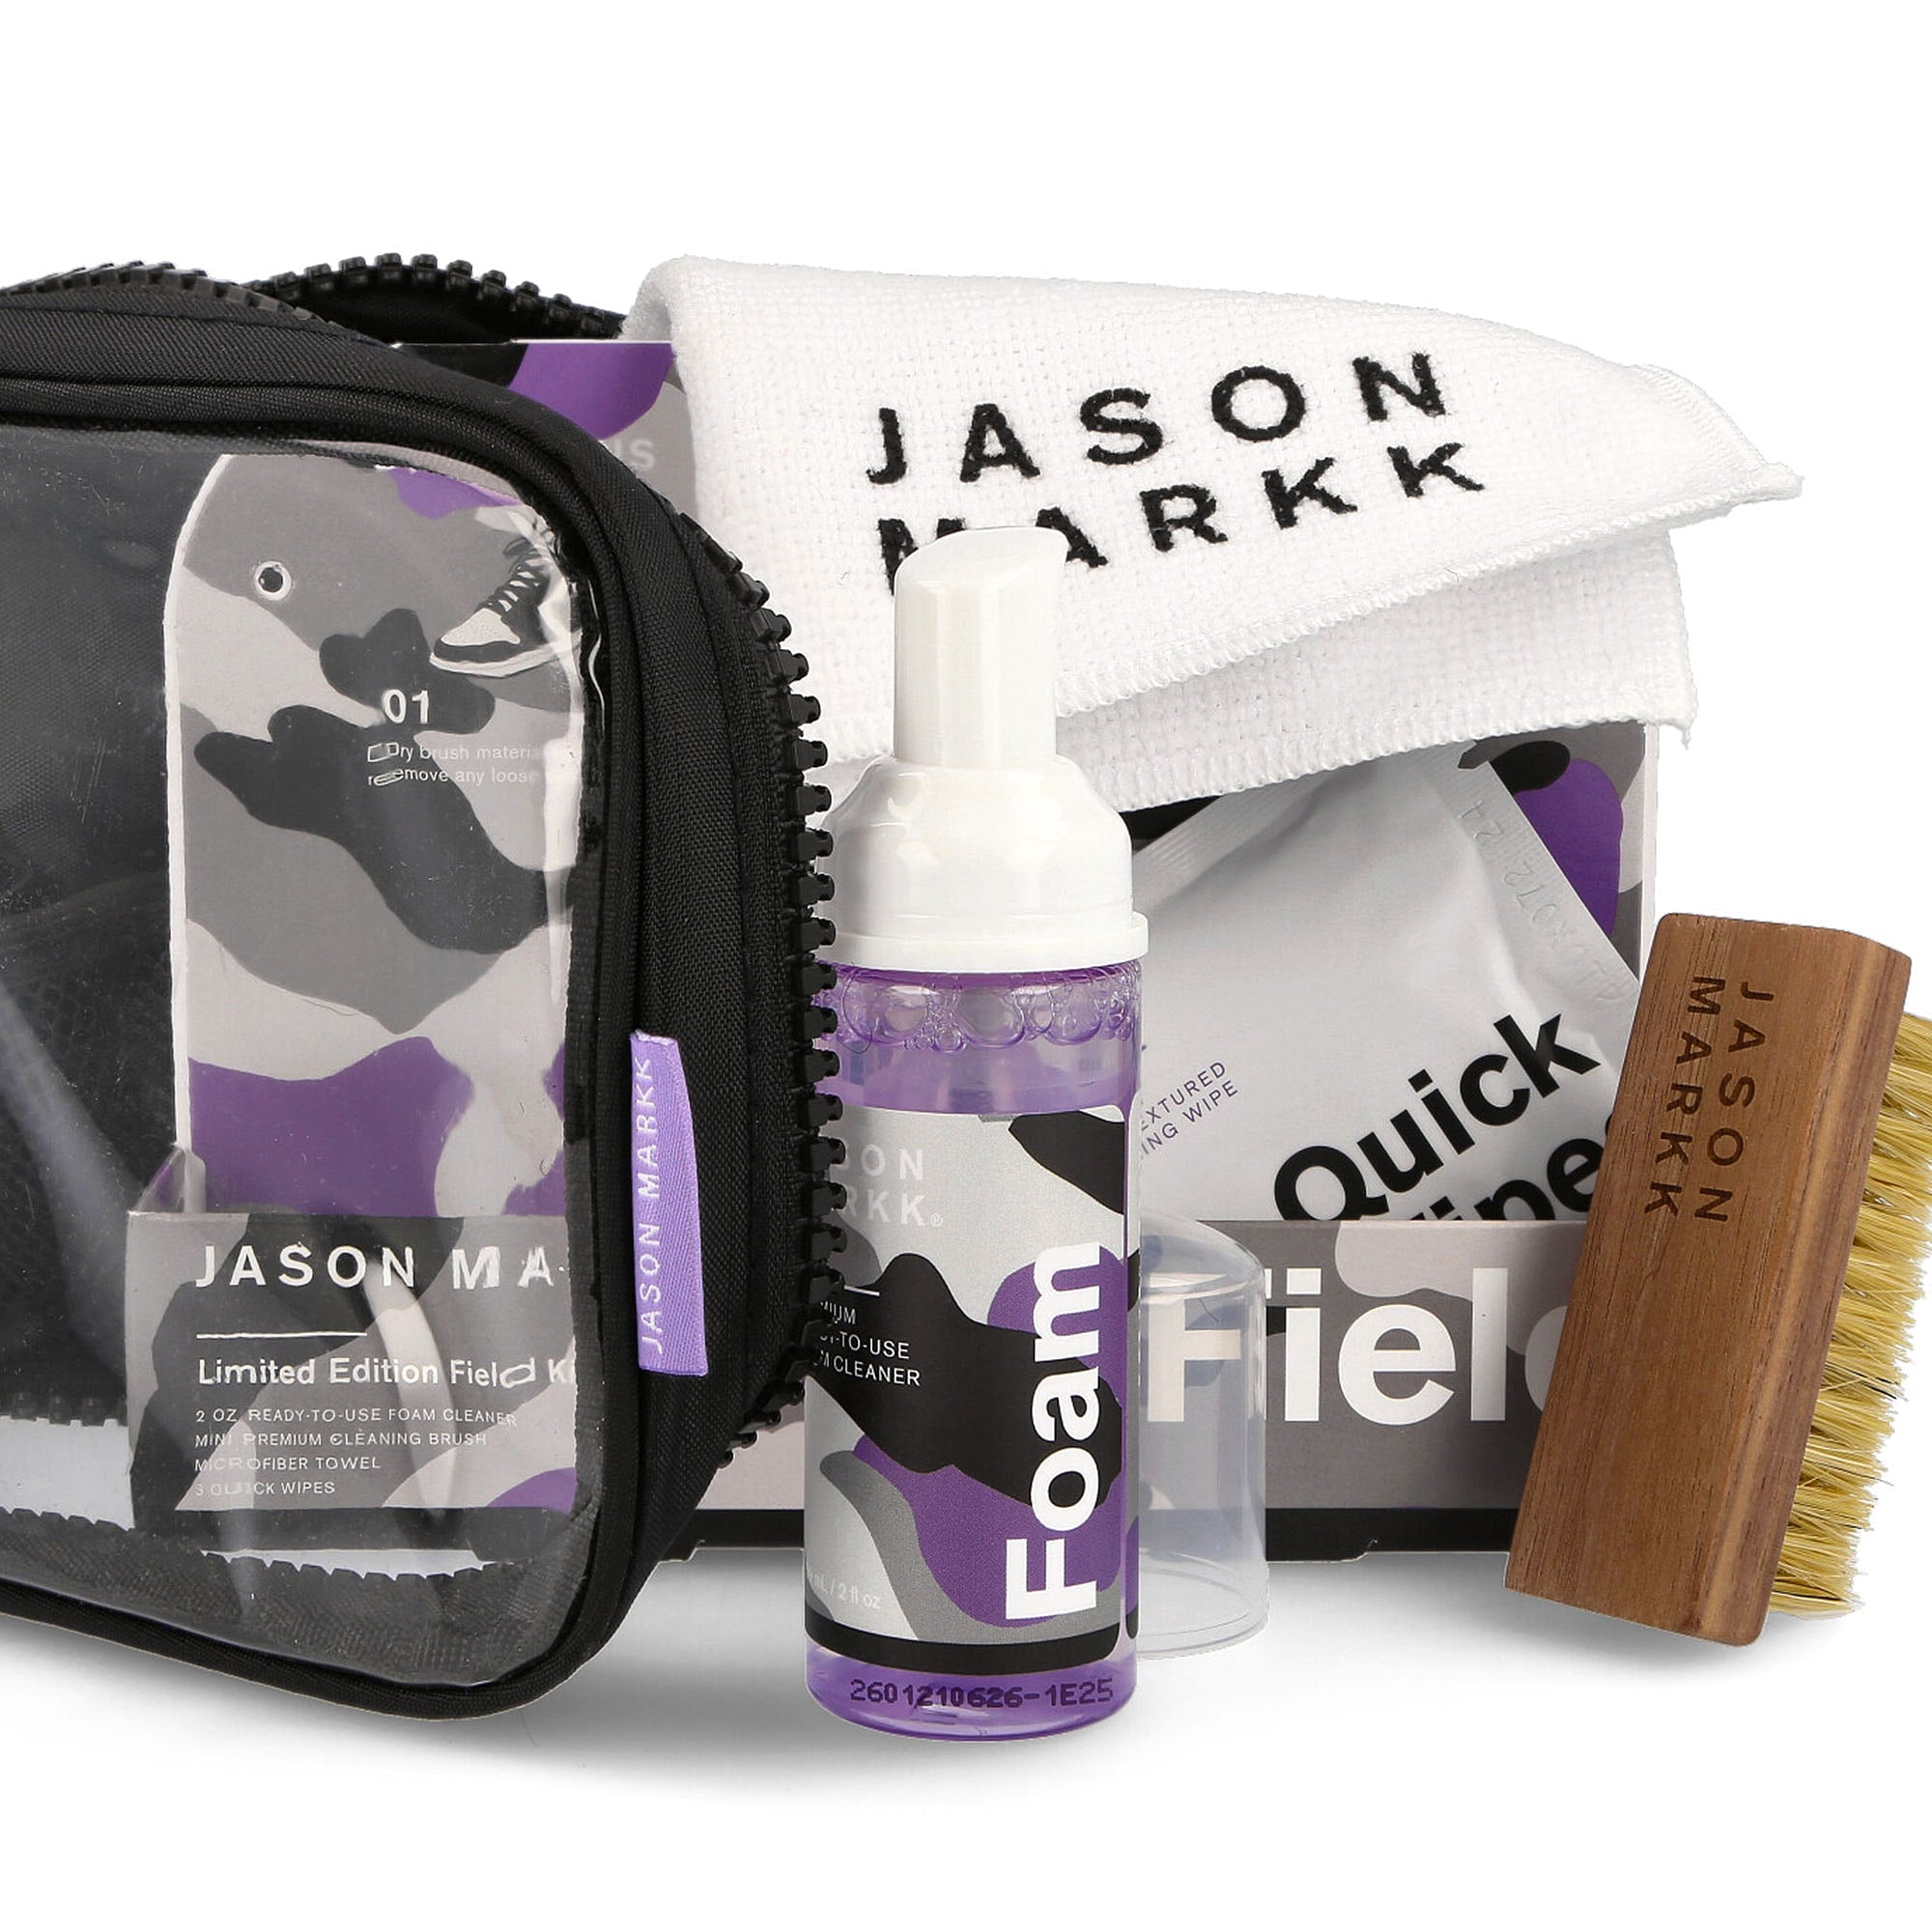
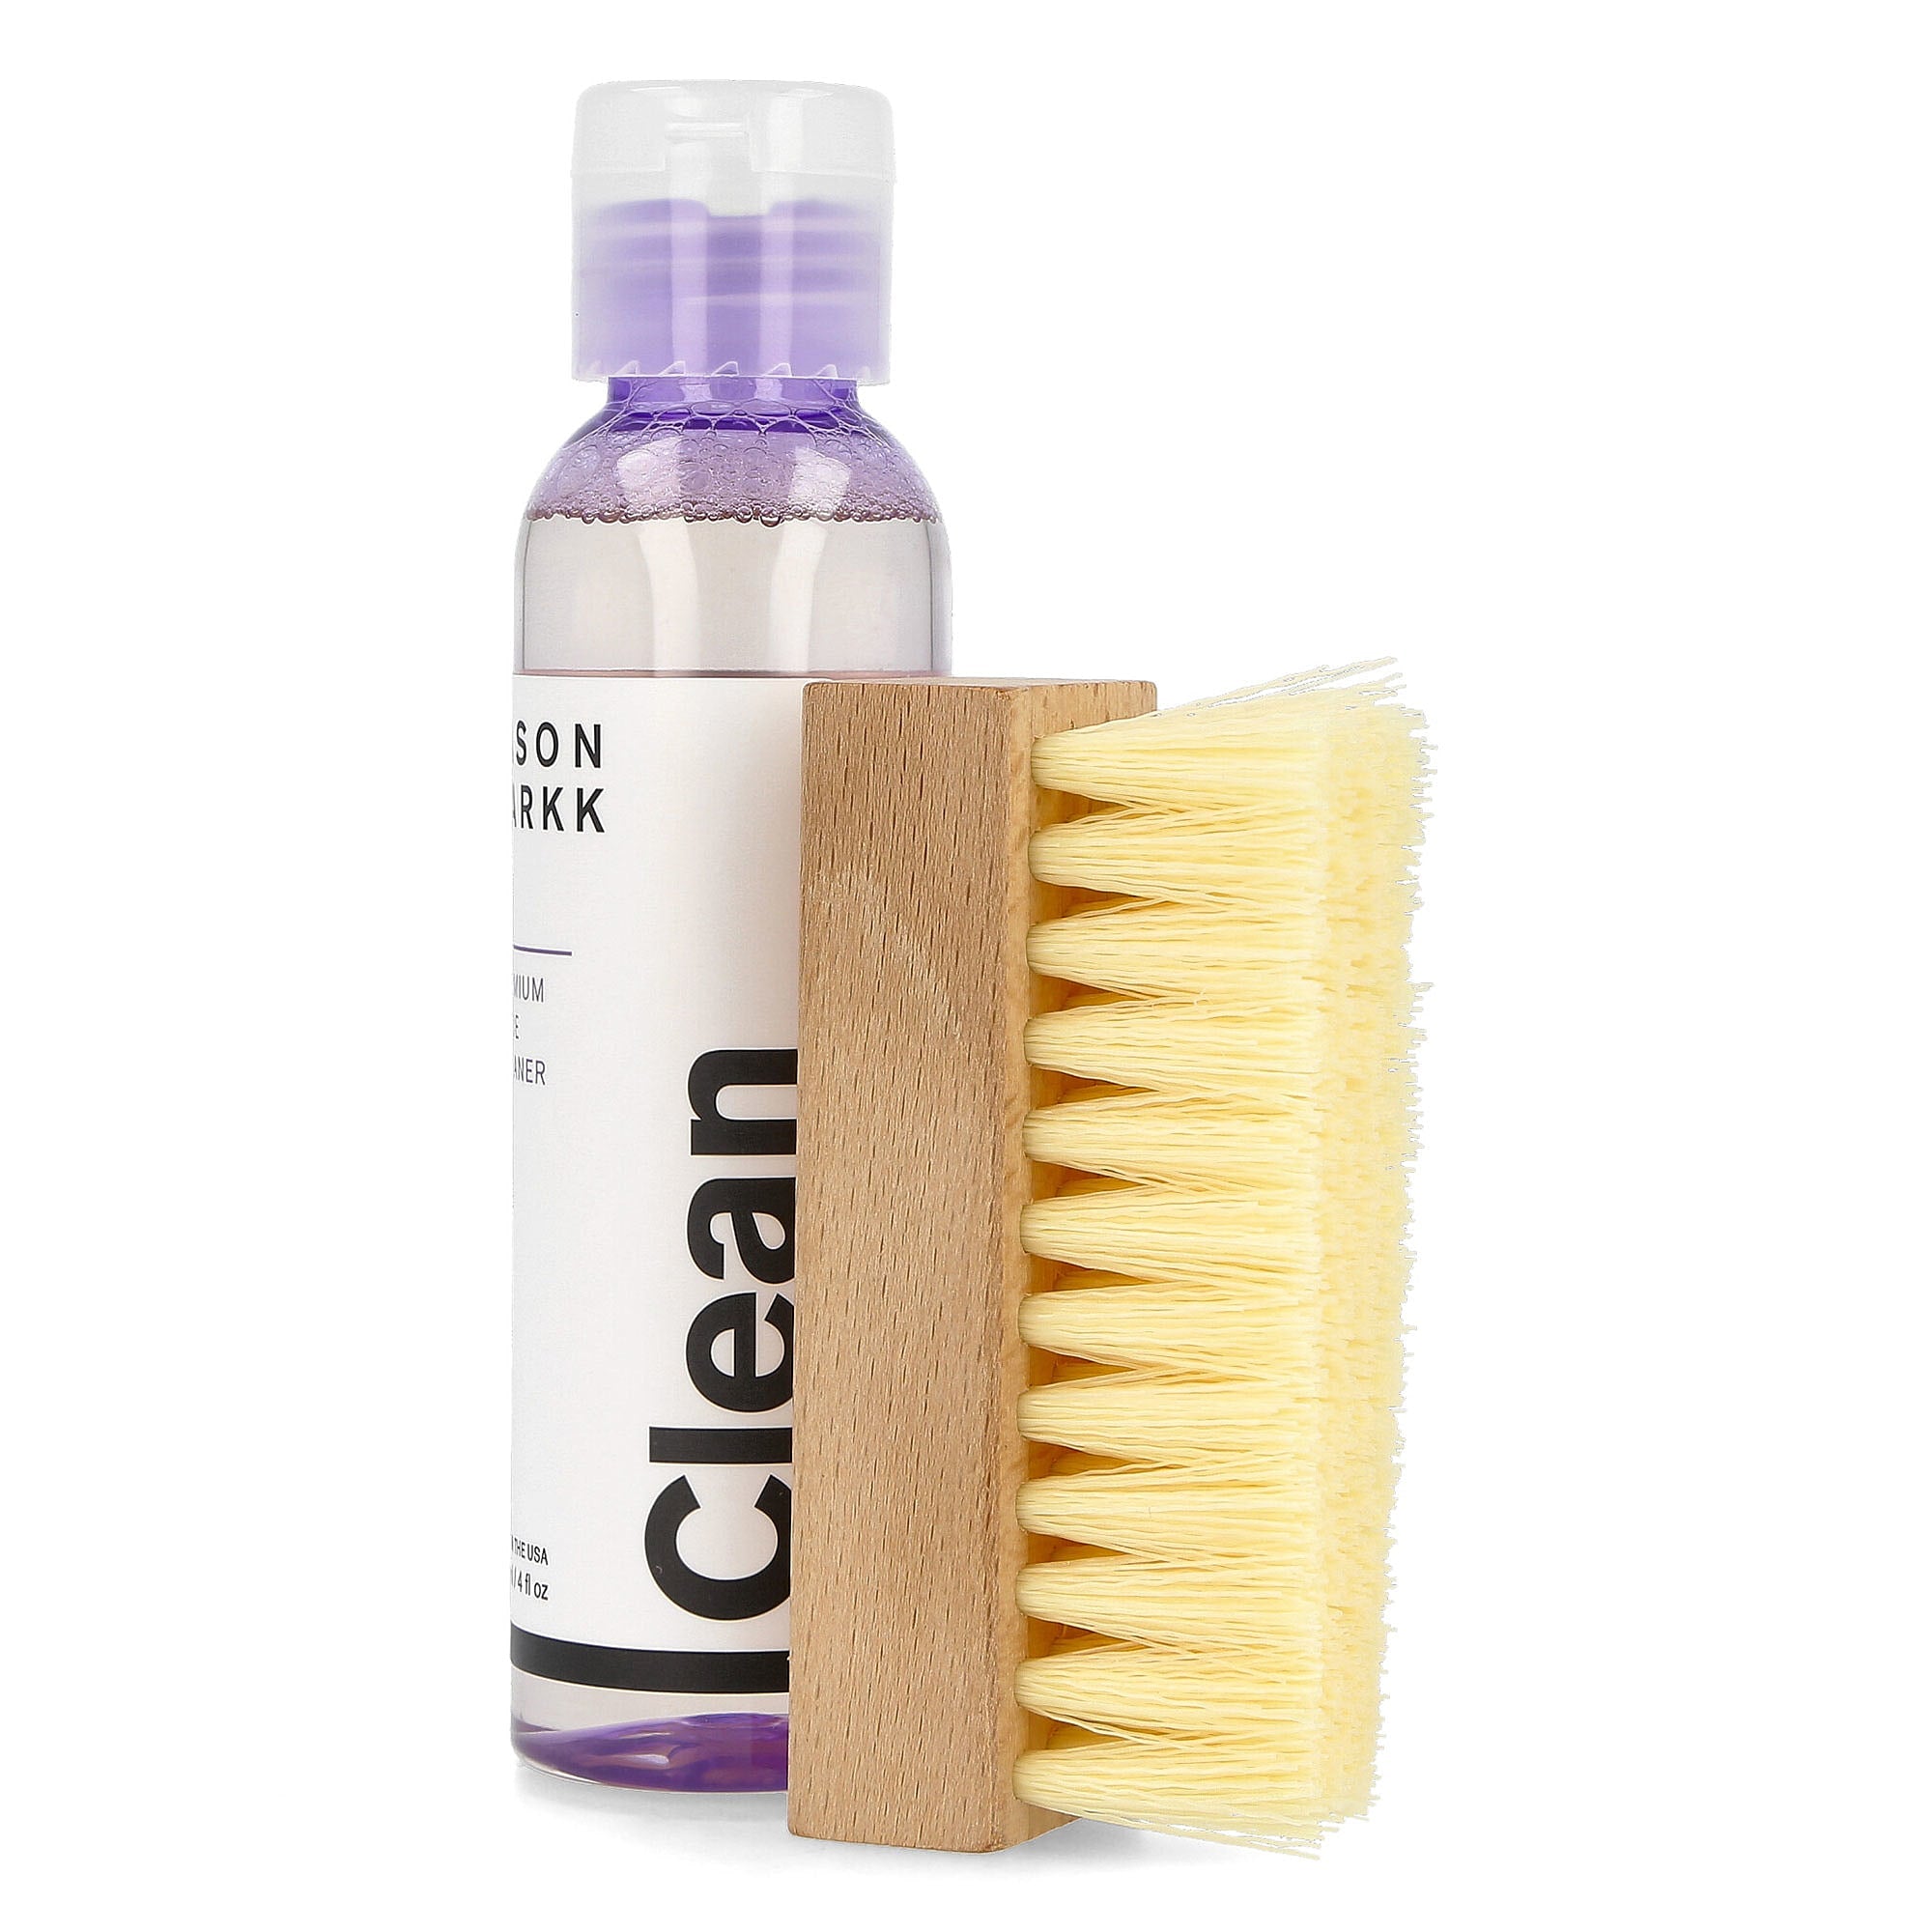
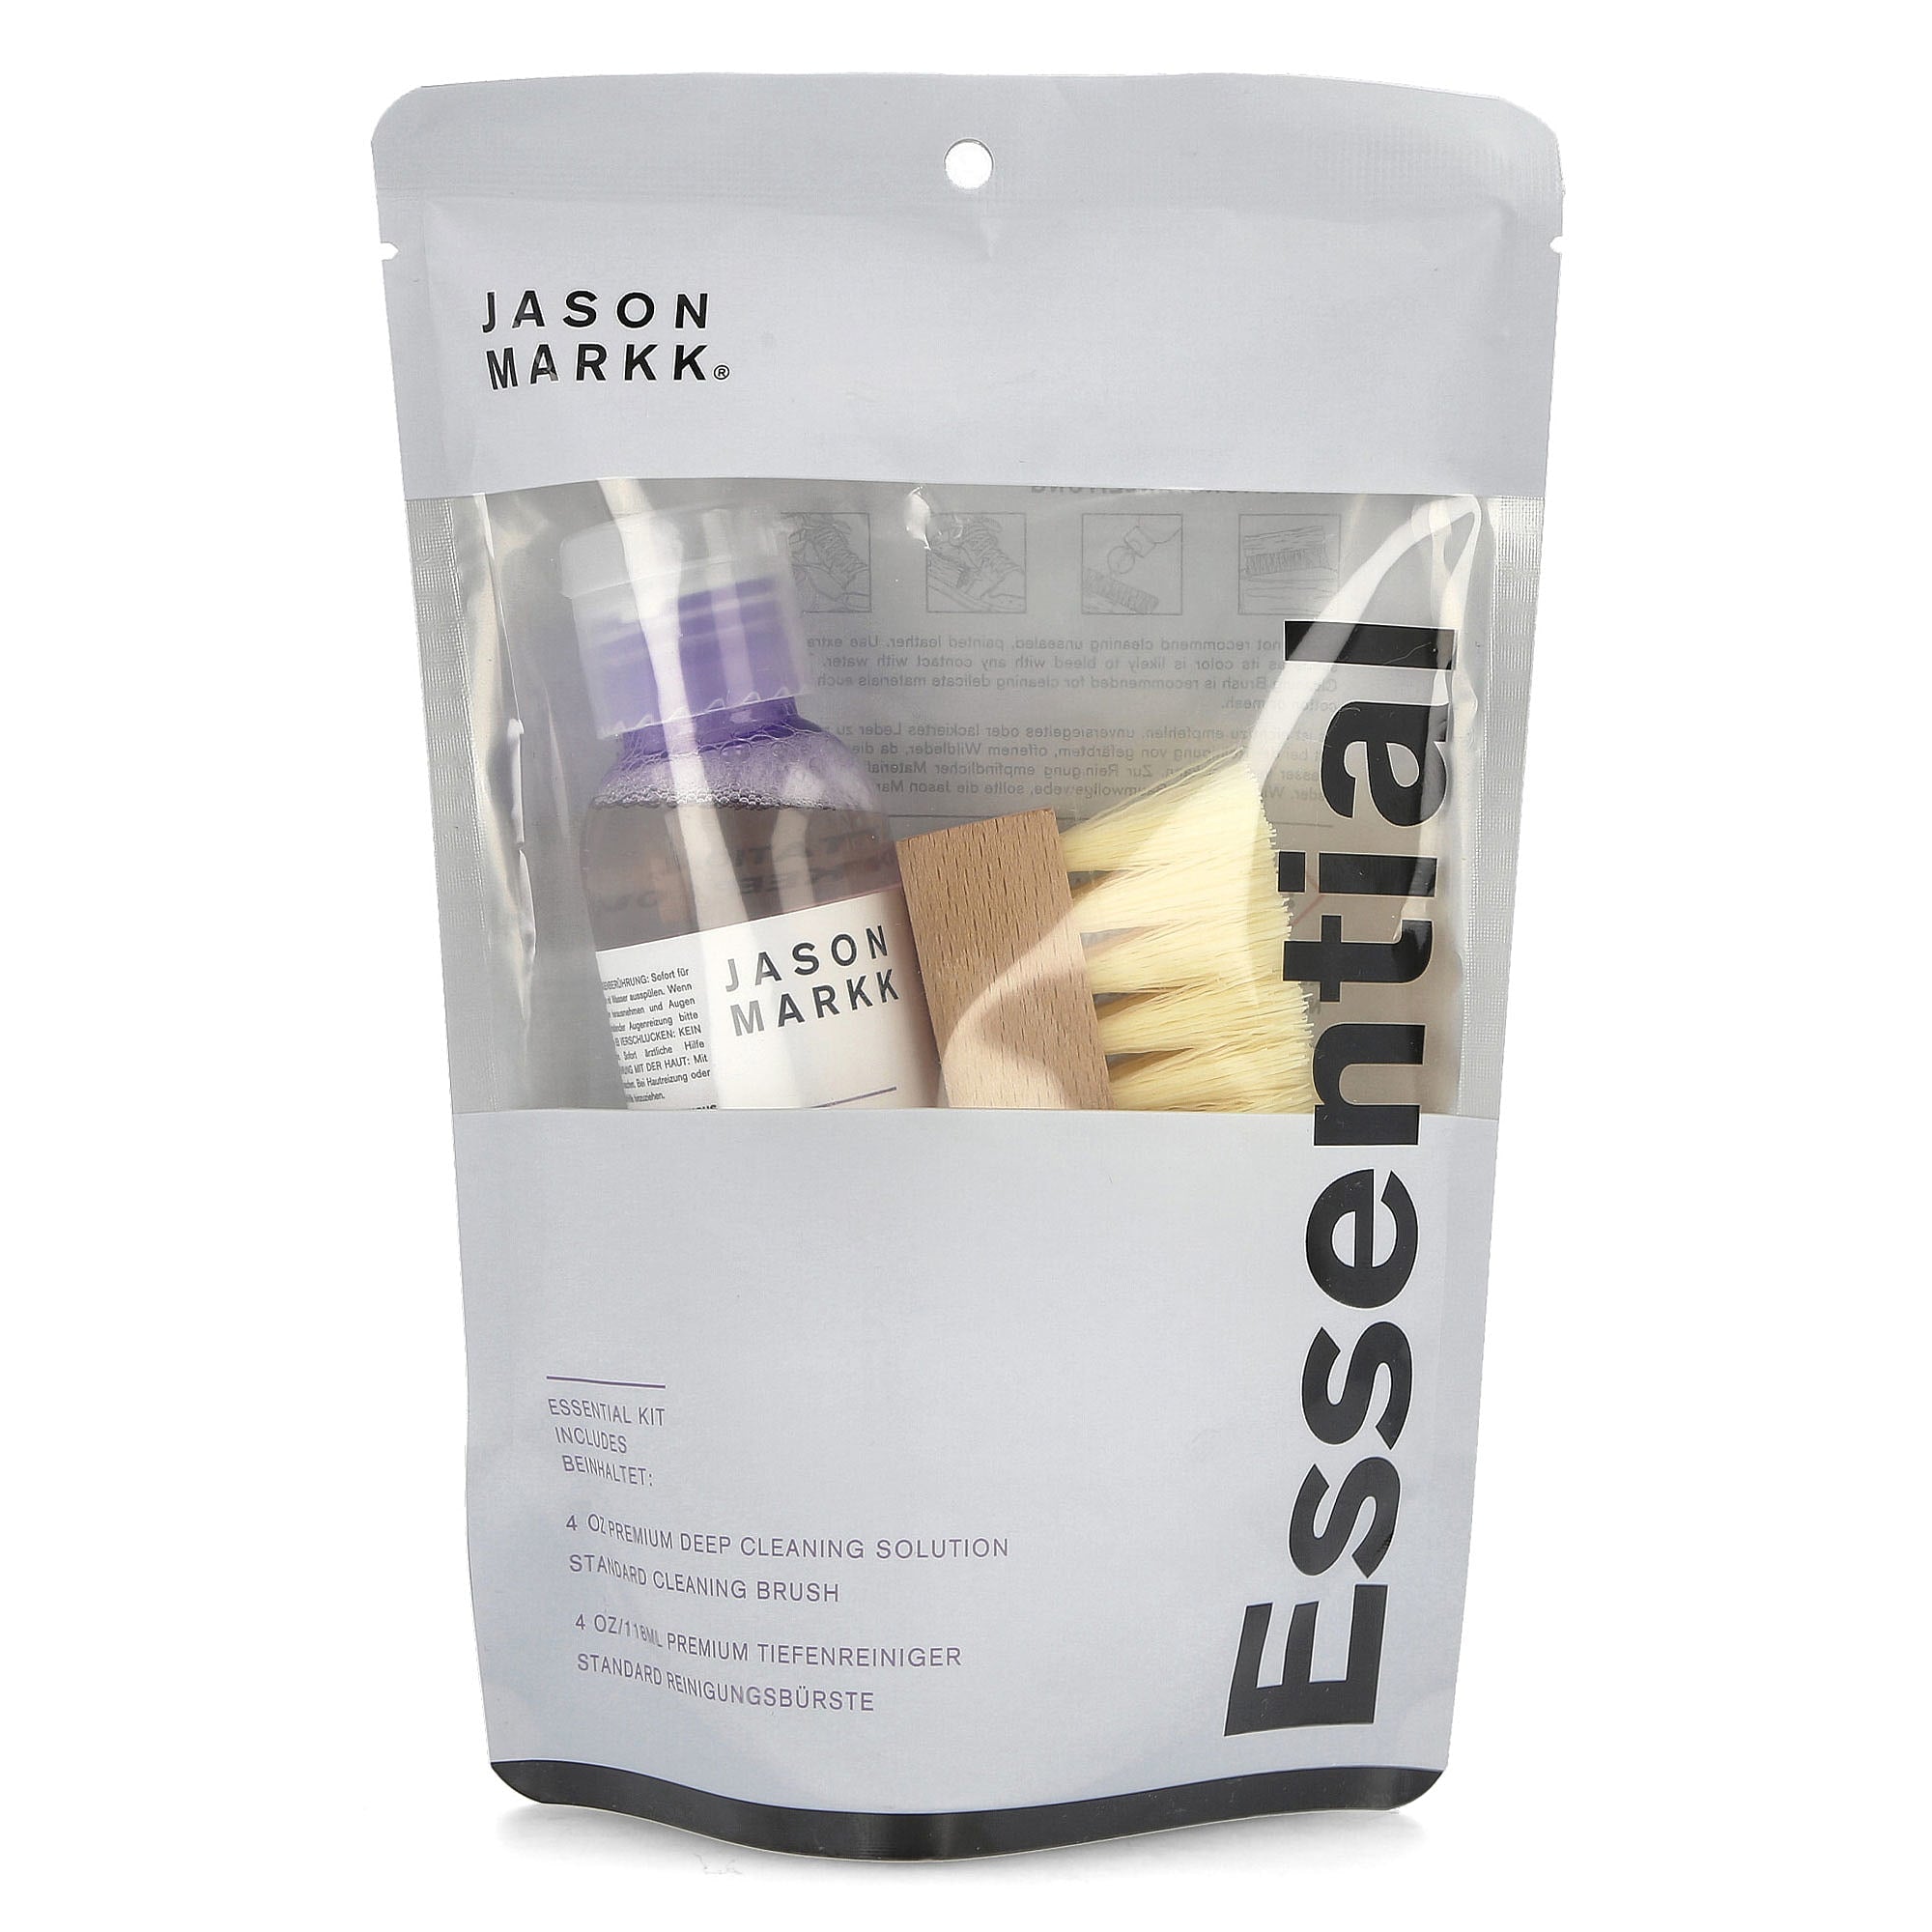
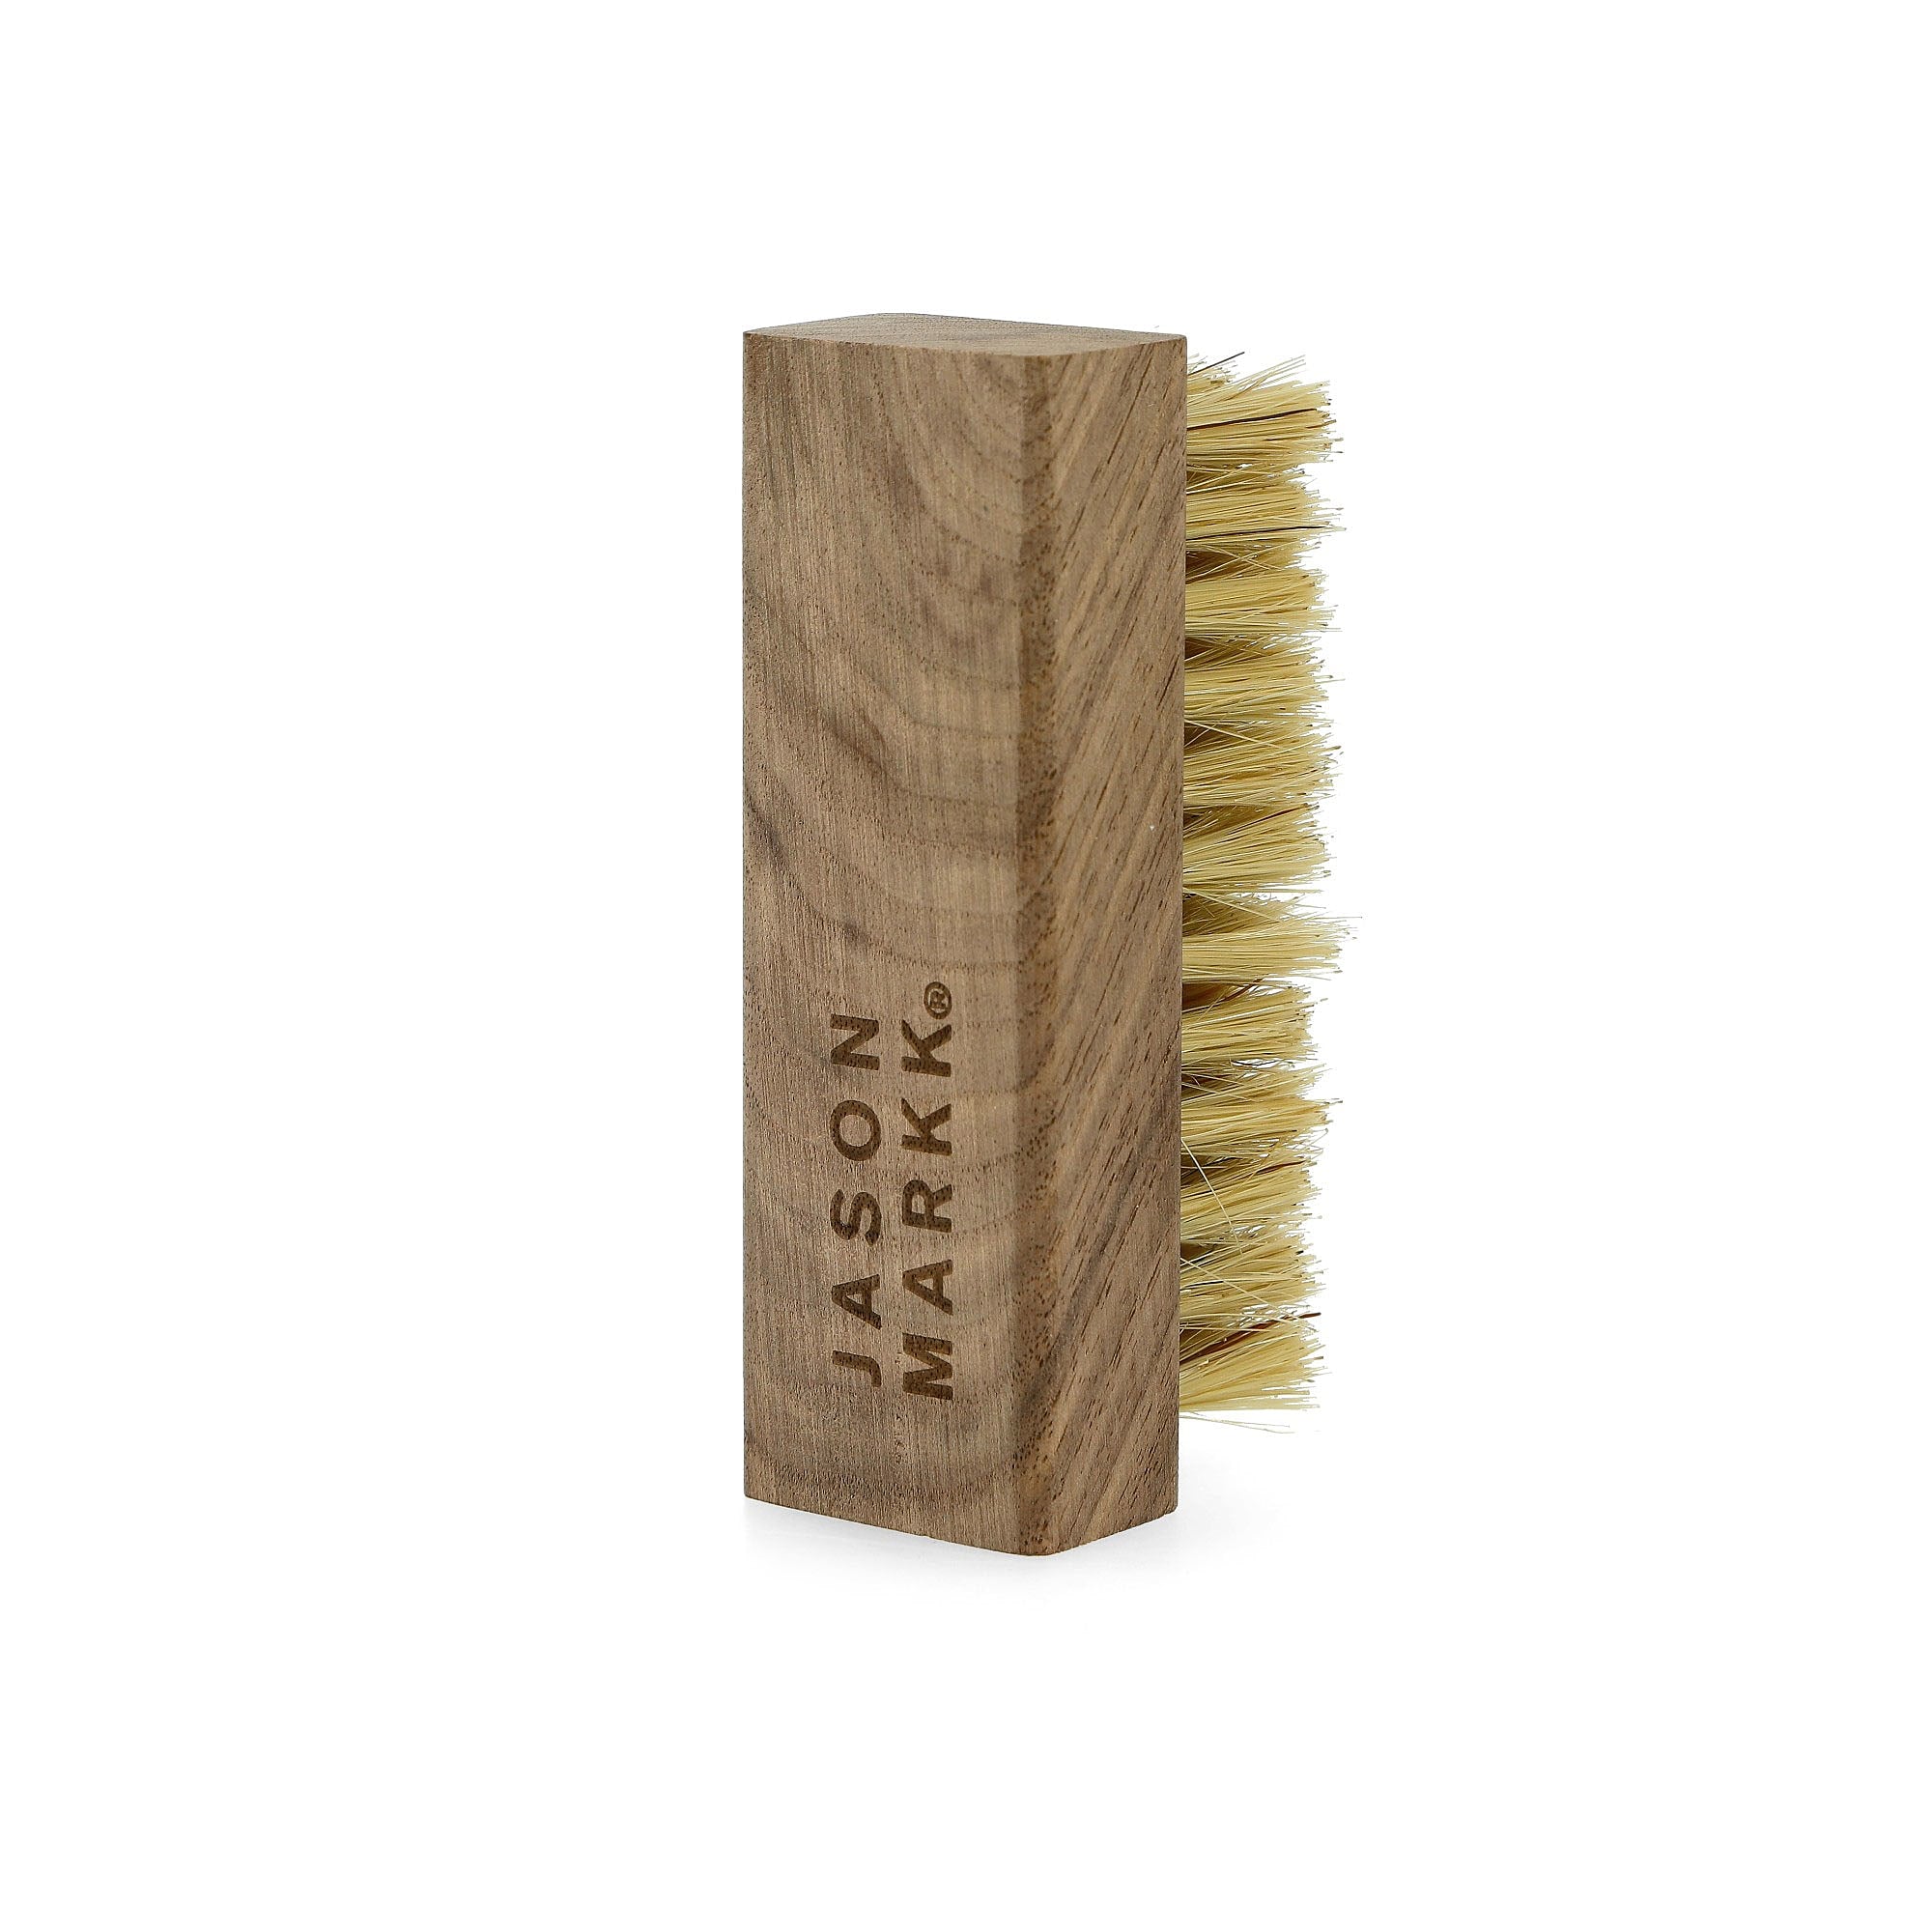
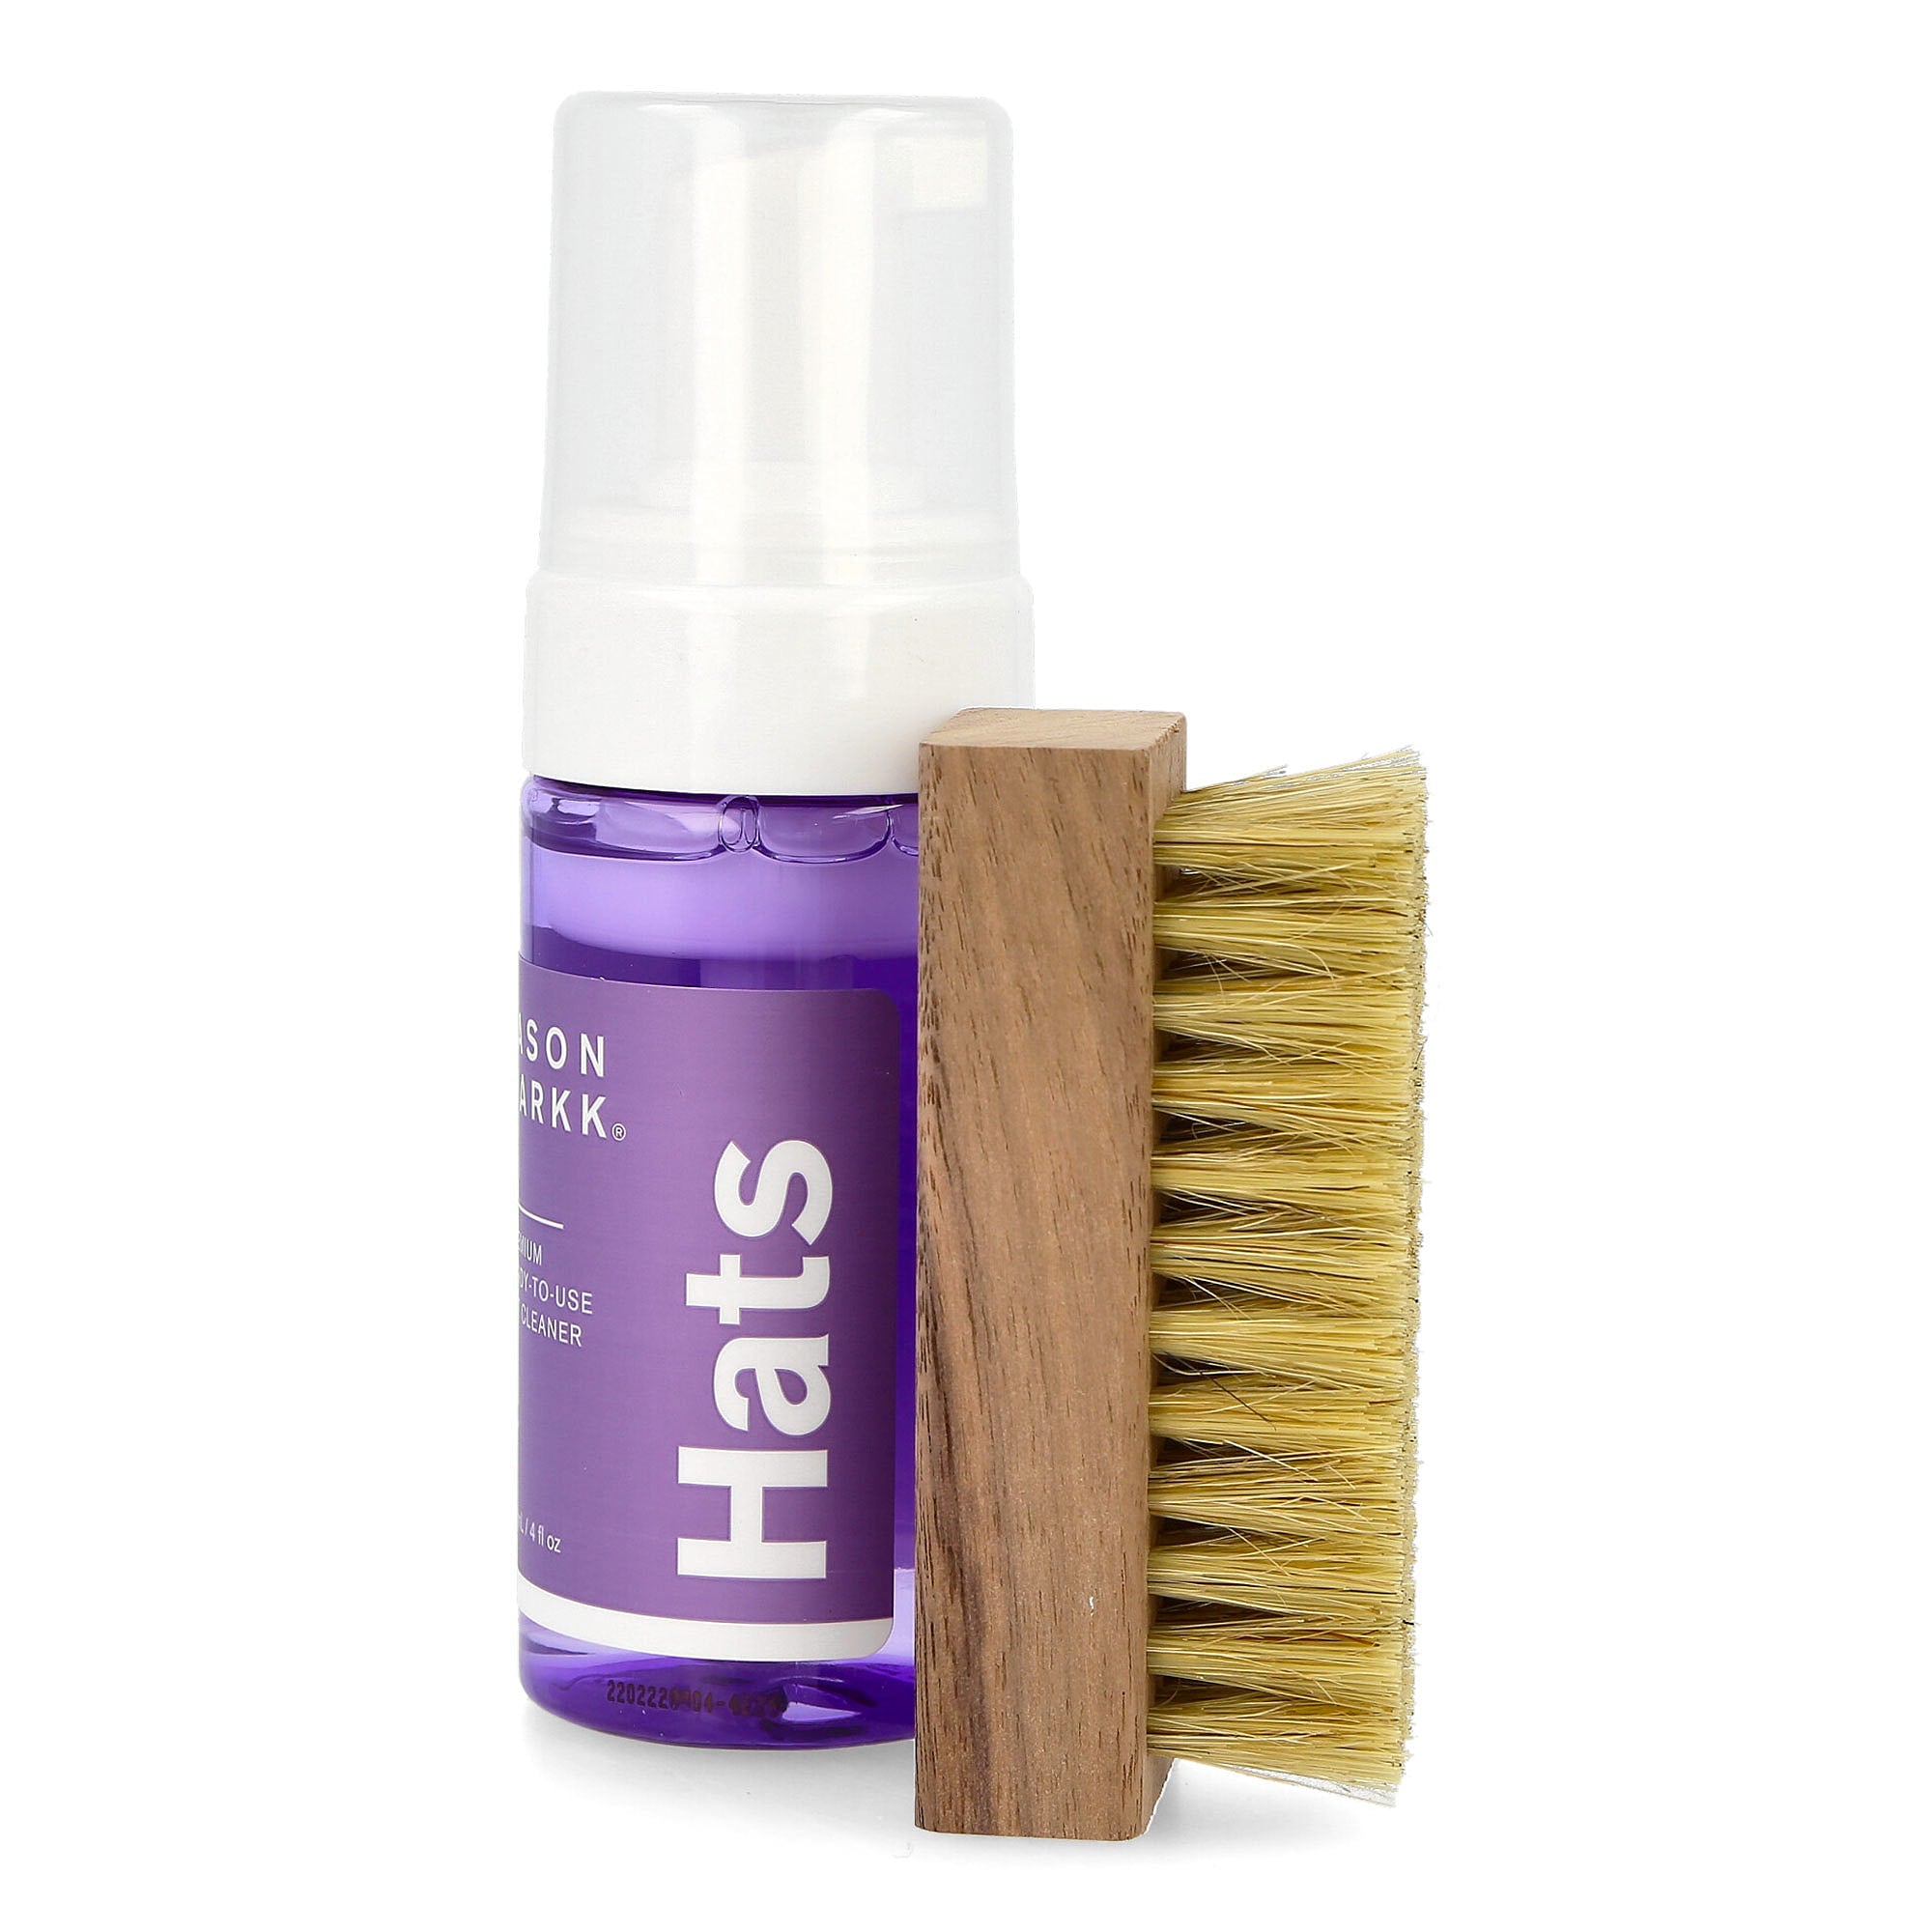
Before you start cleaning your sneakers, make sure you have the essential tools ready:
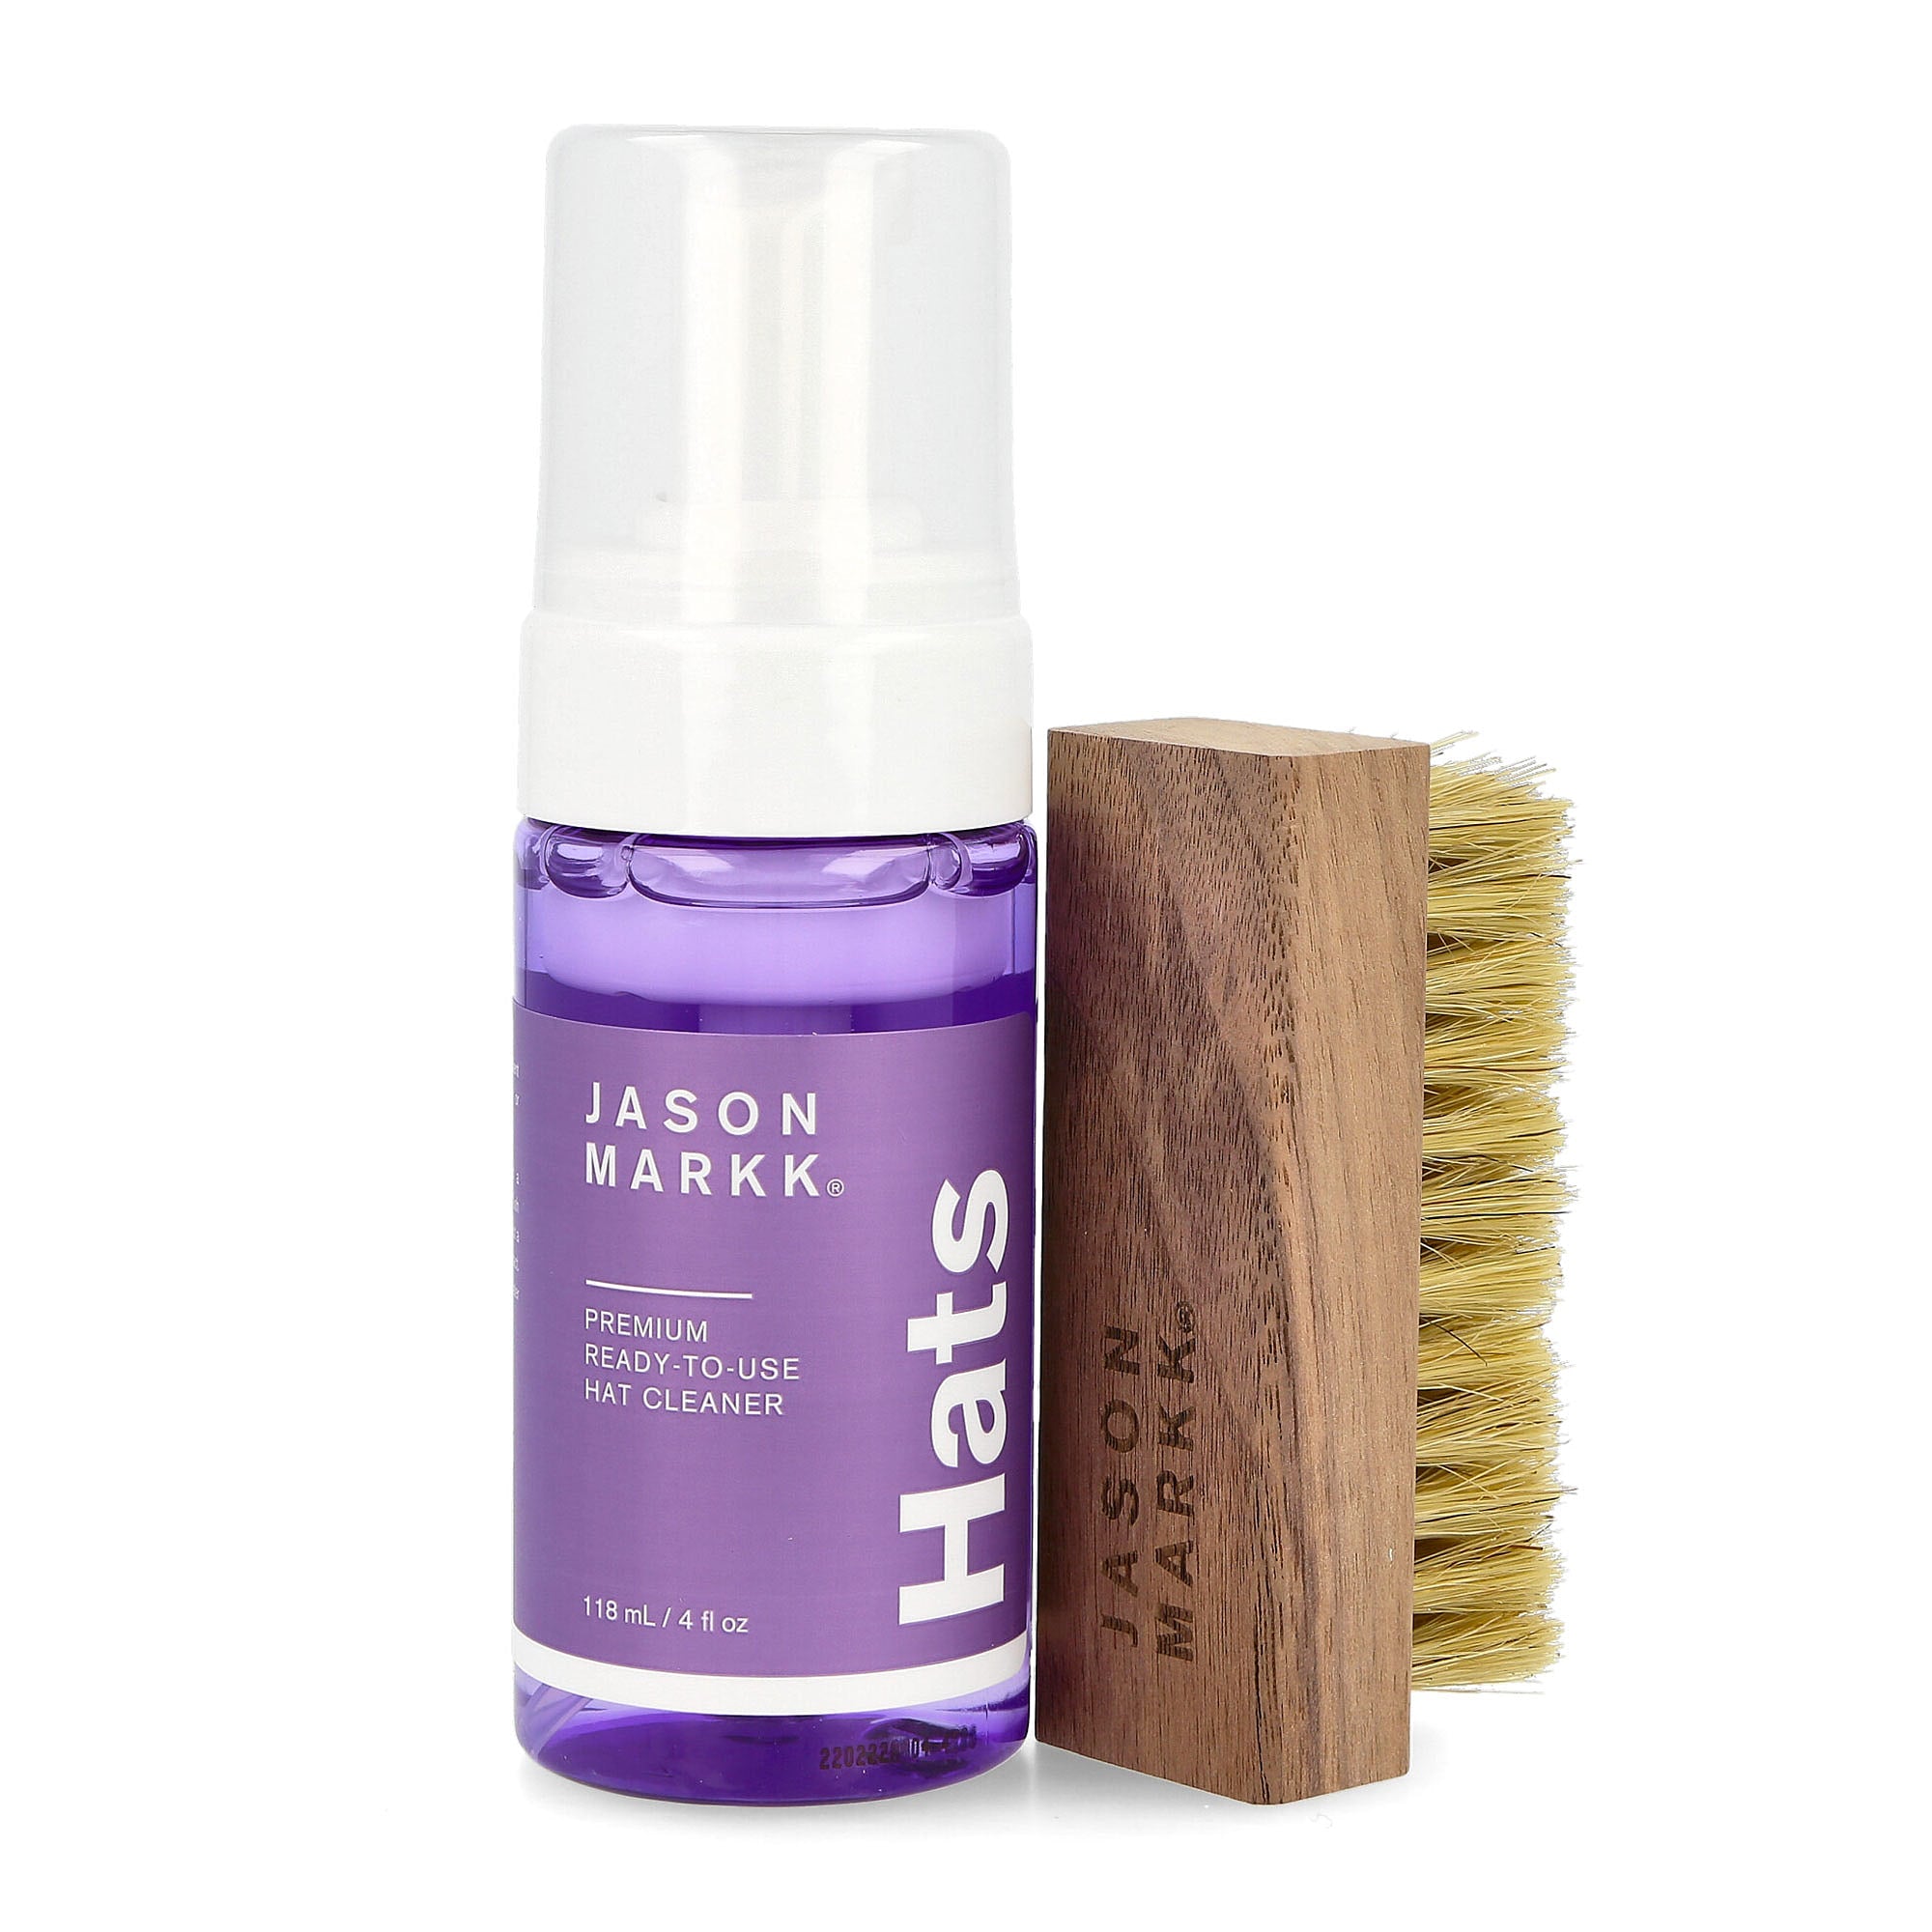
SNEAKER CLEANING ESSENTIALS
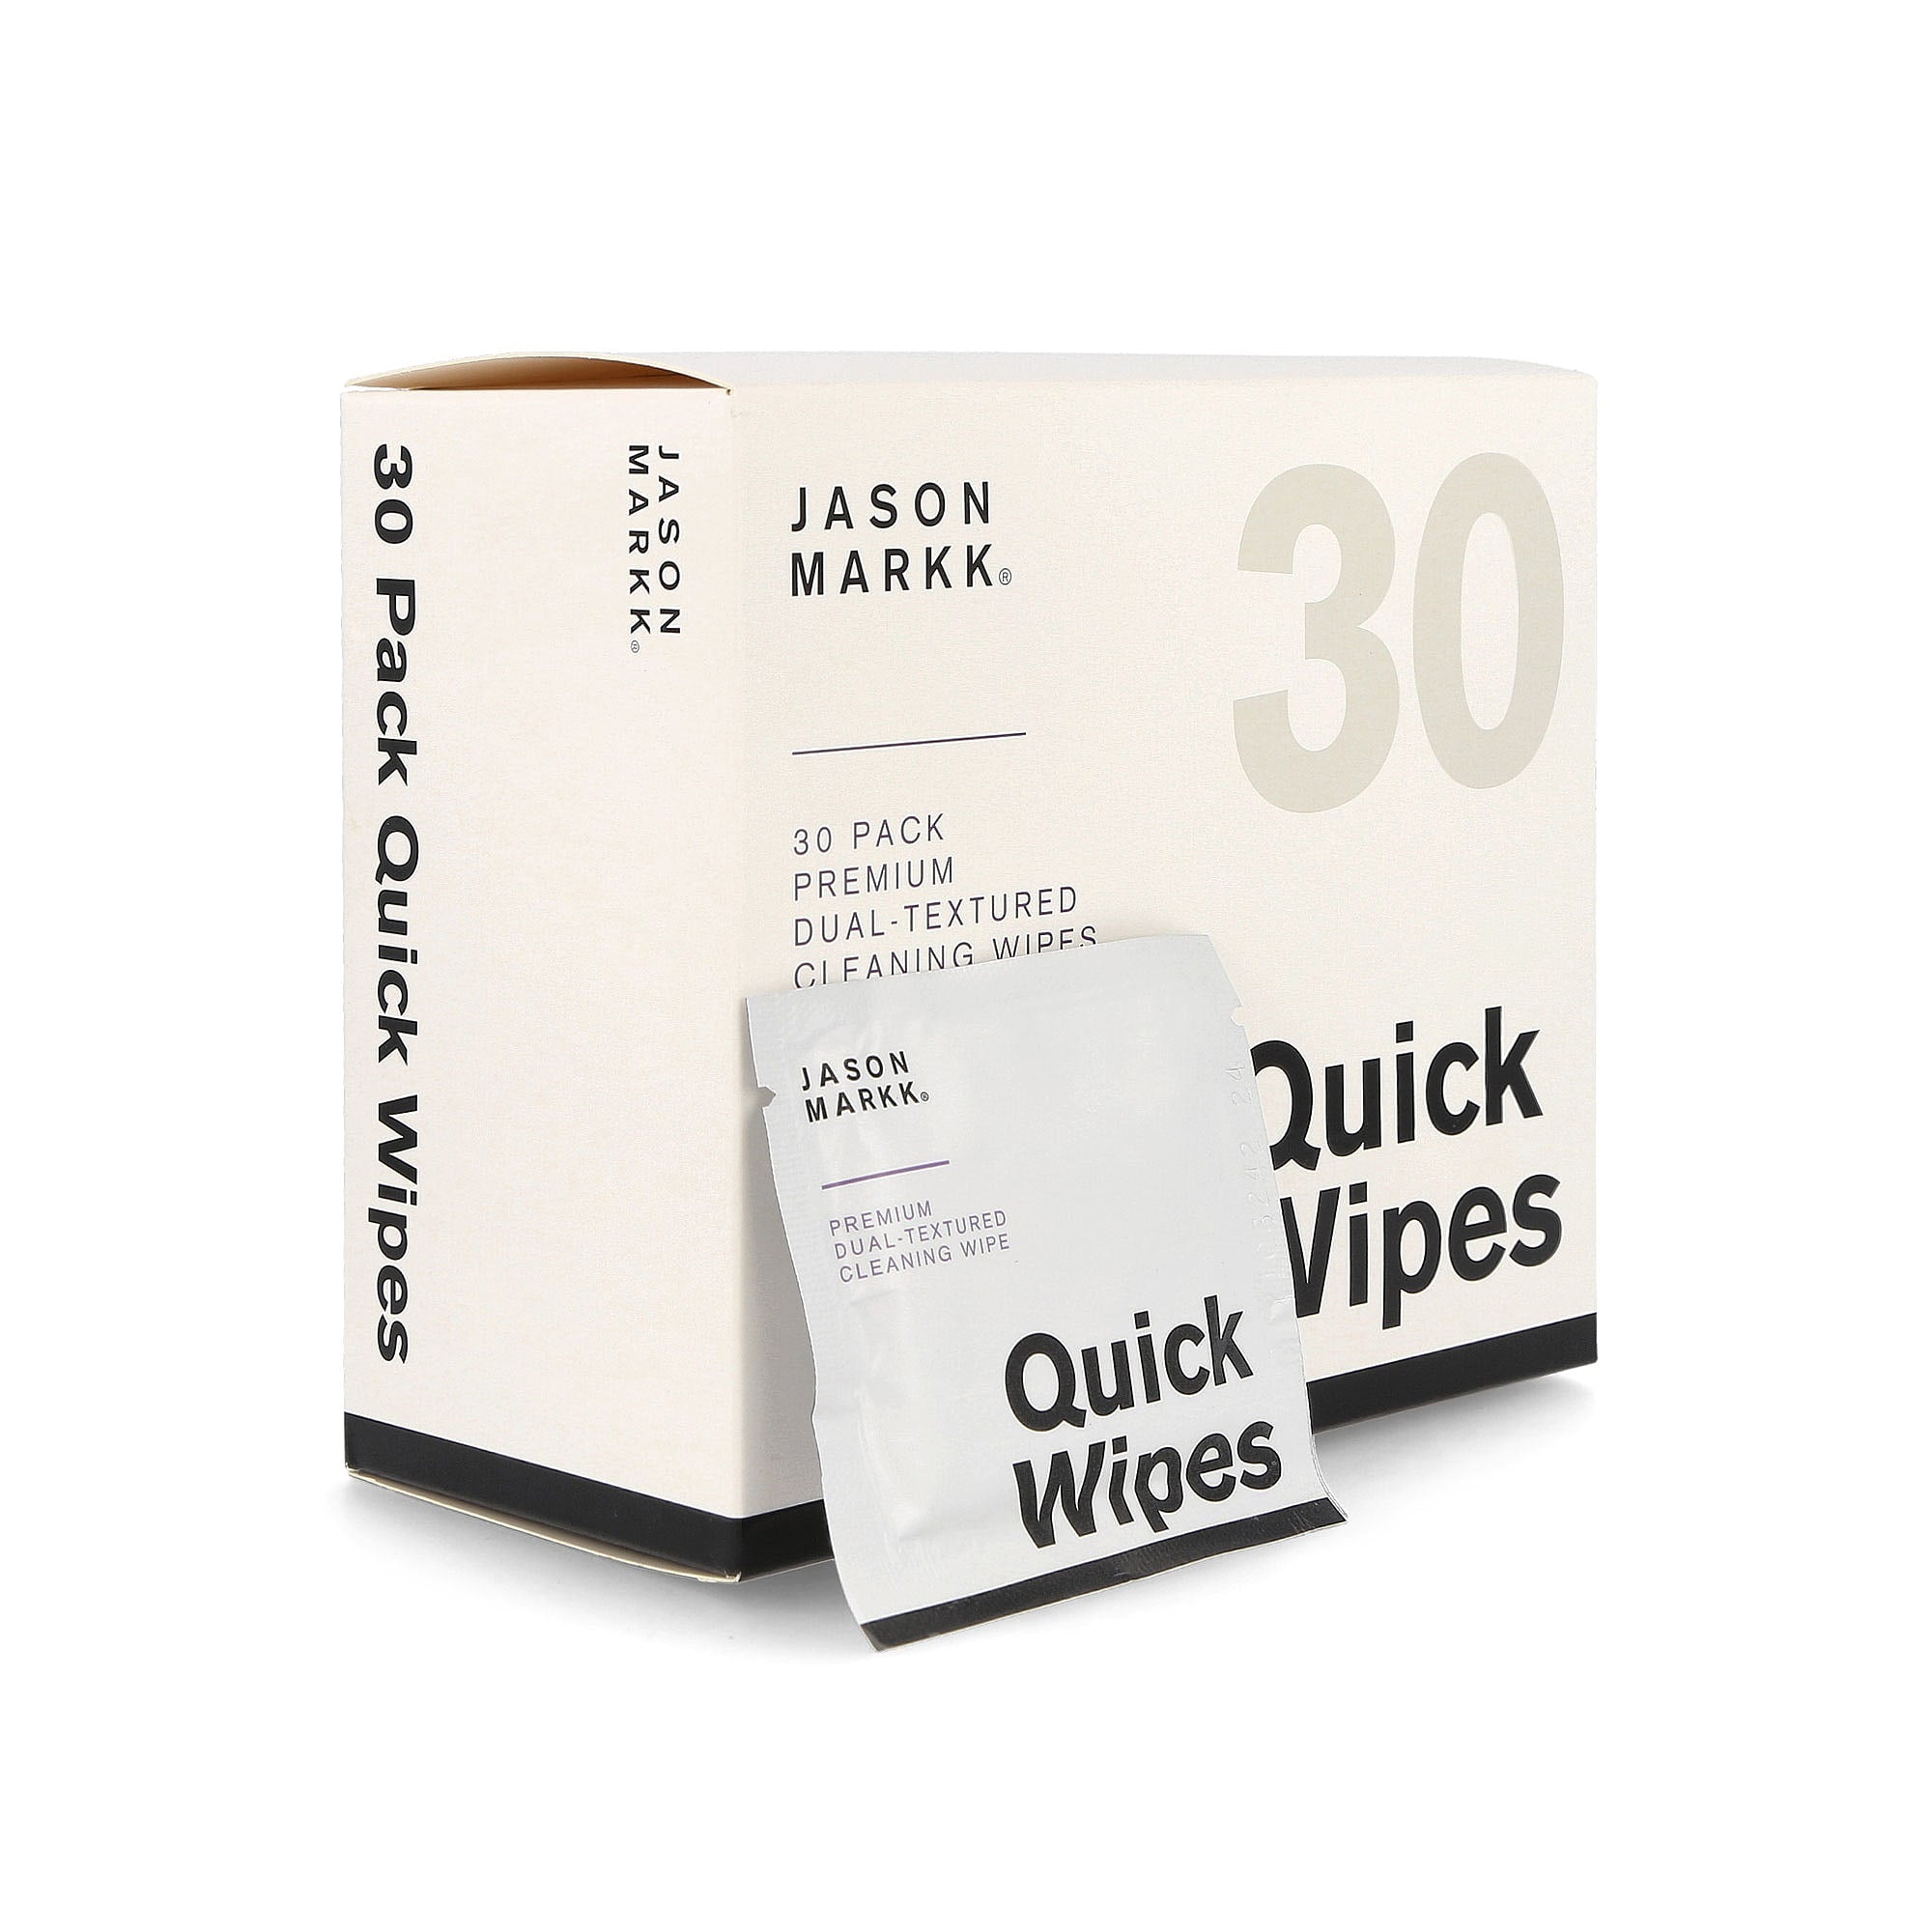
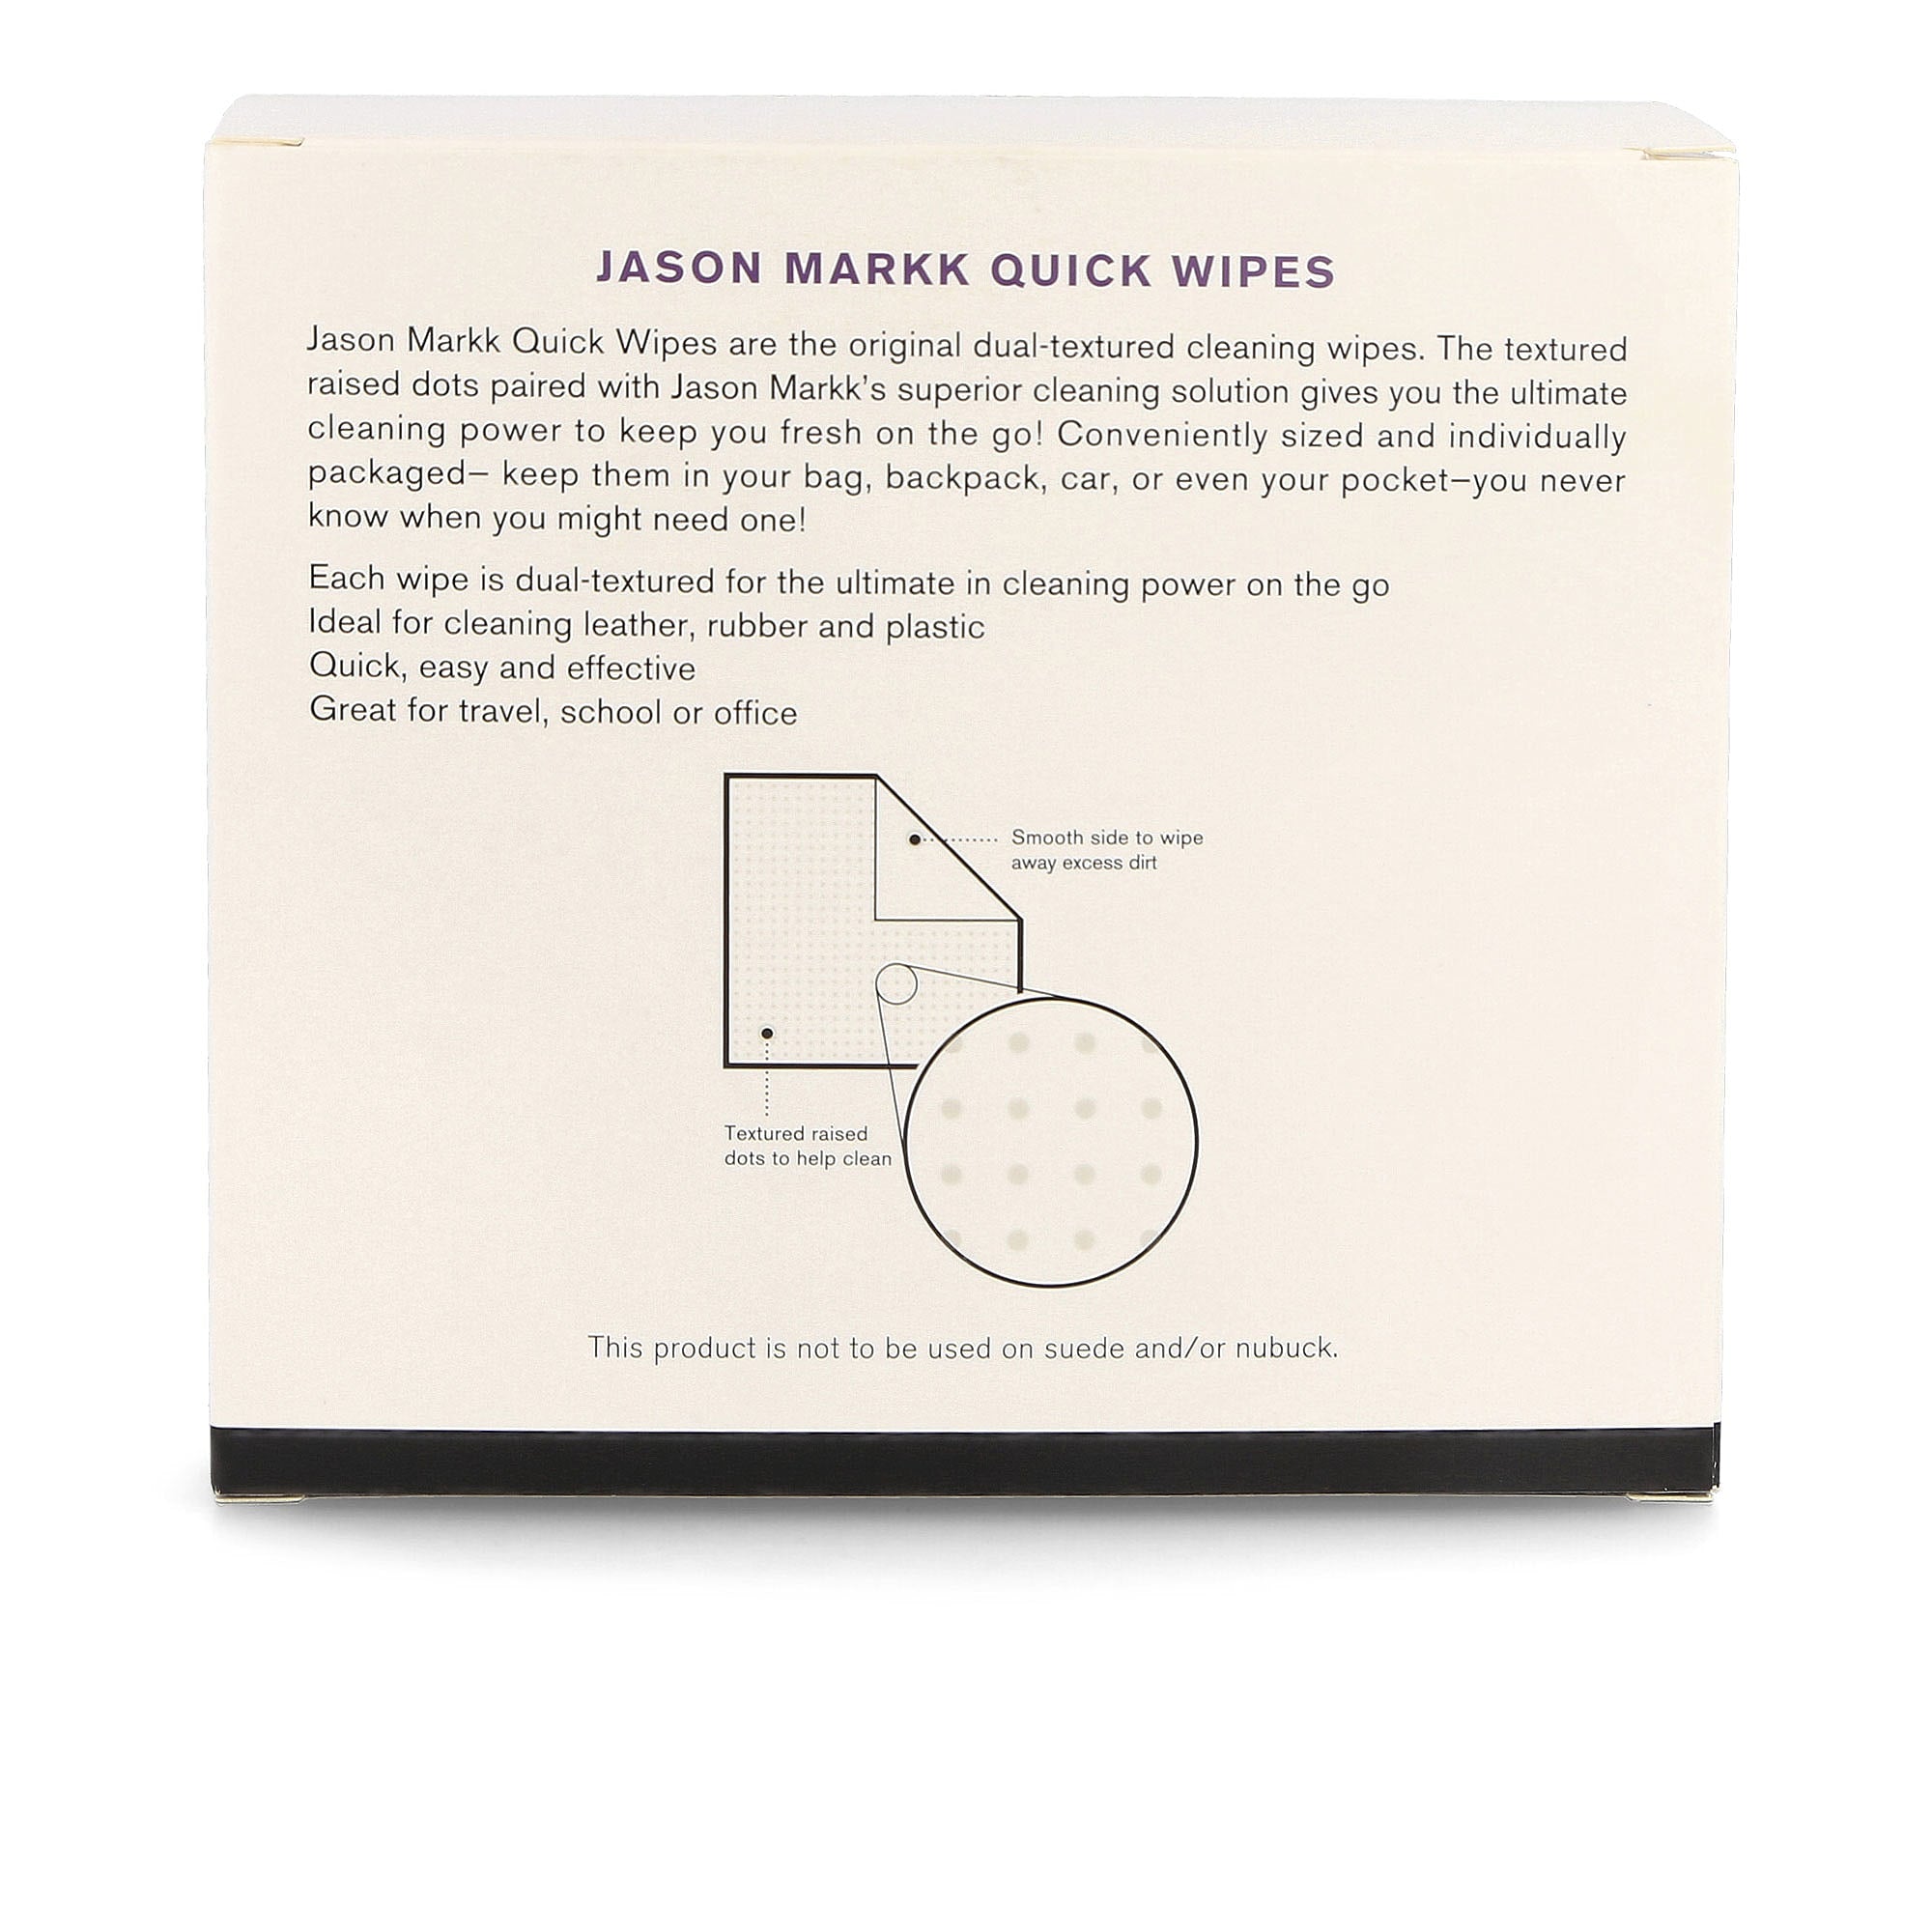
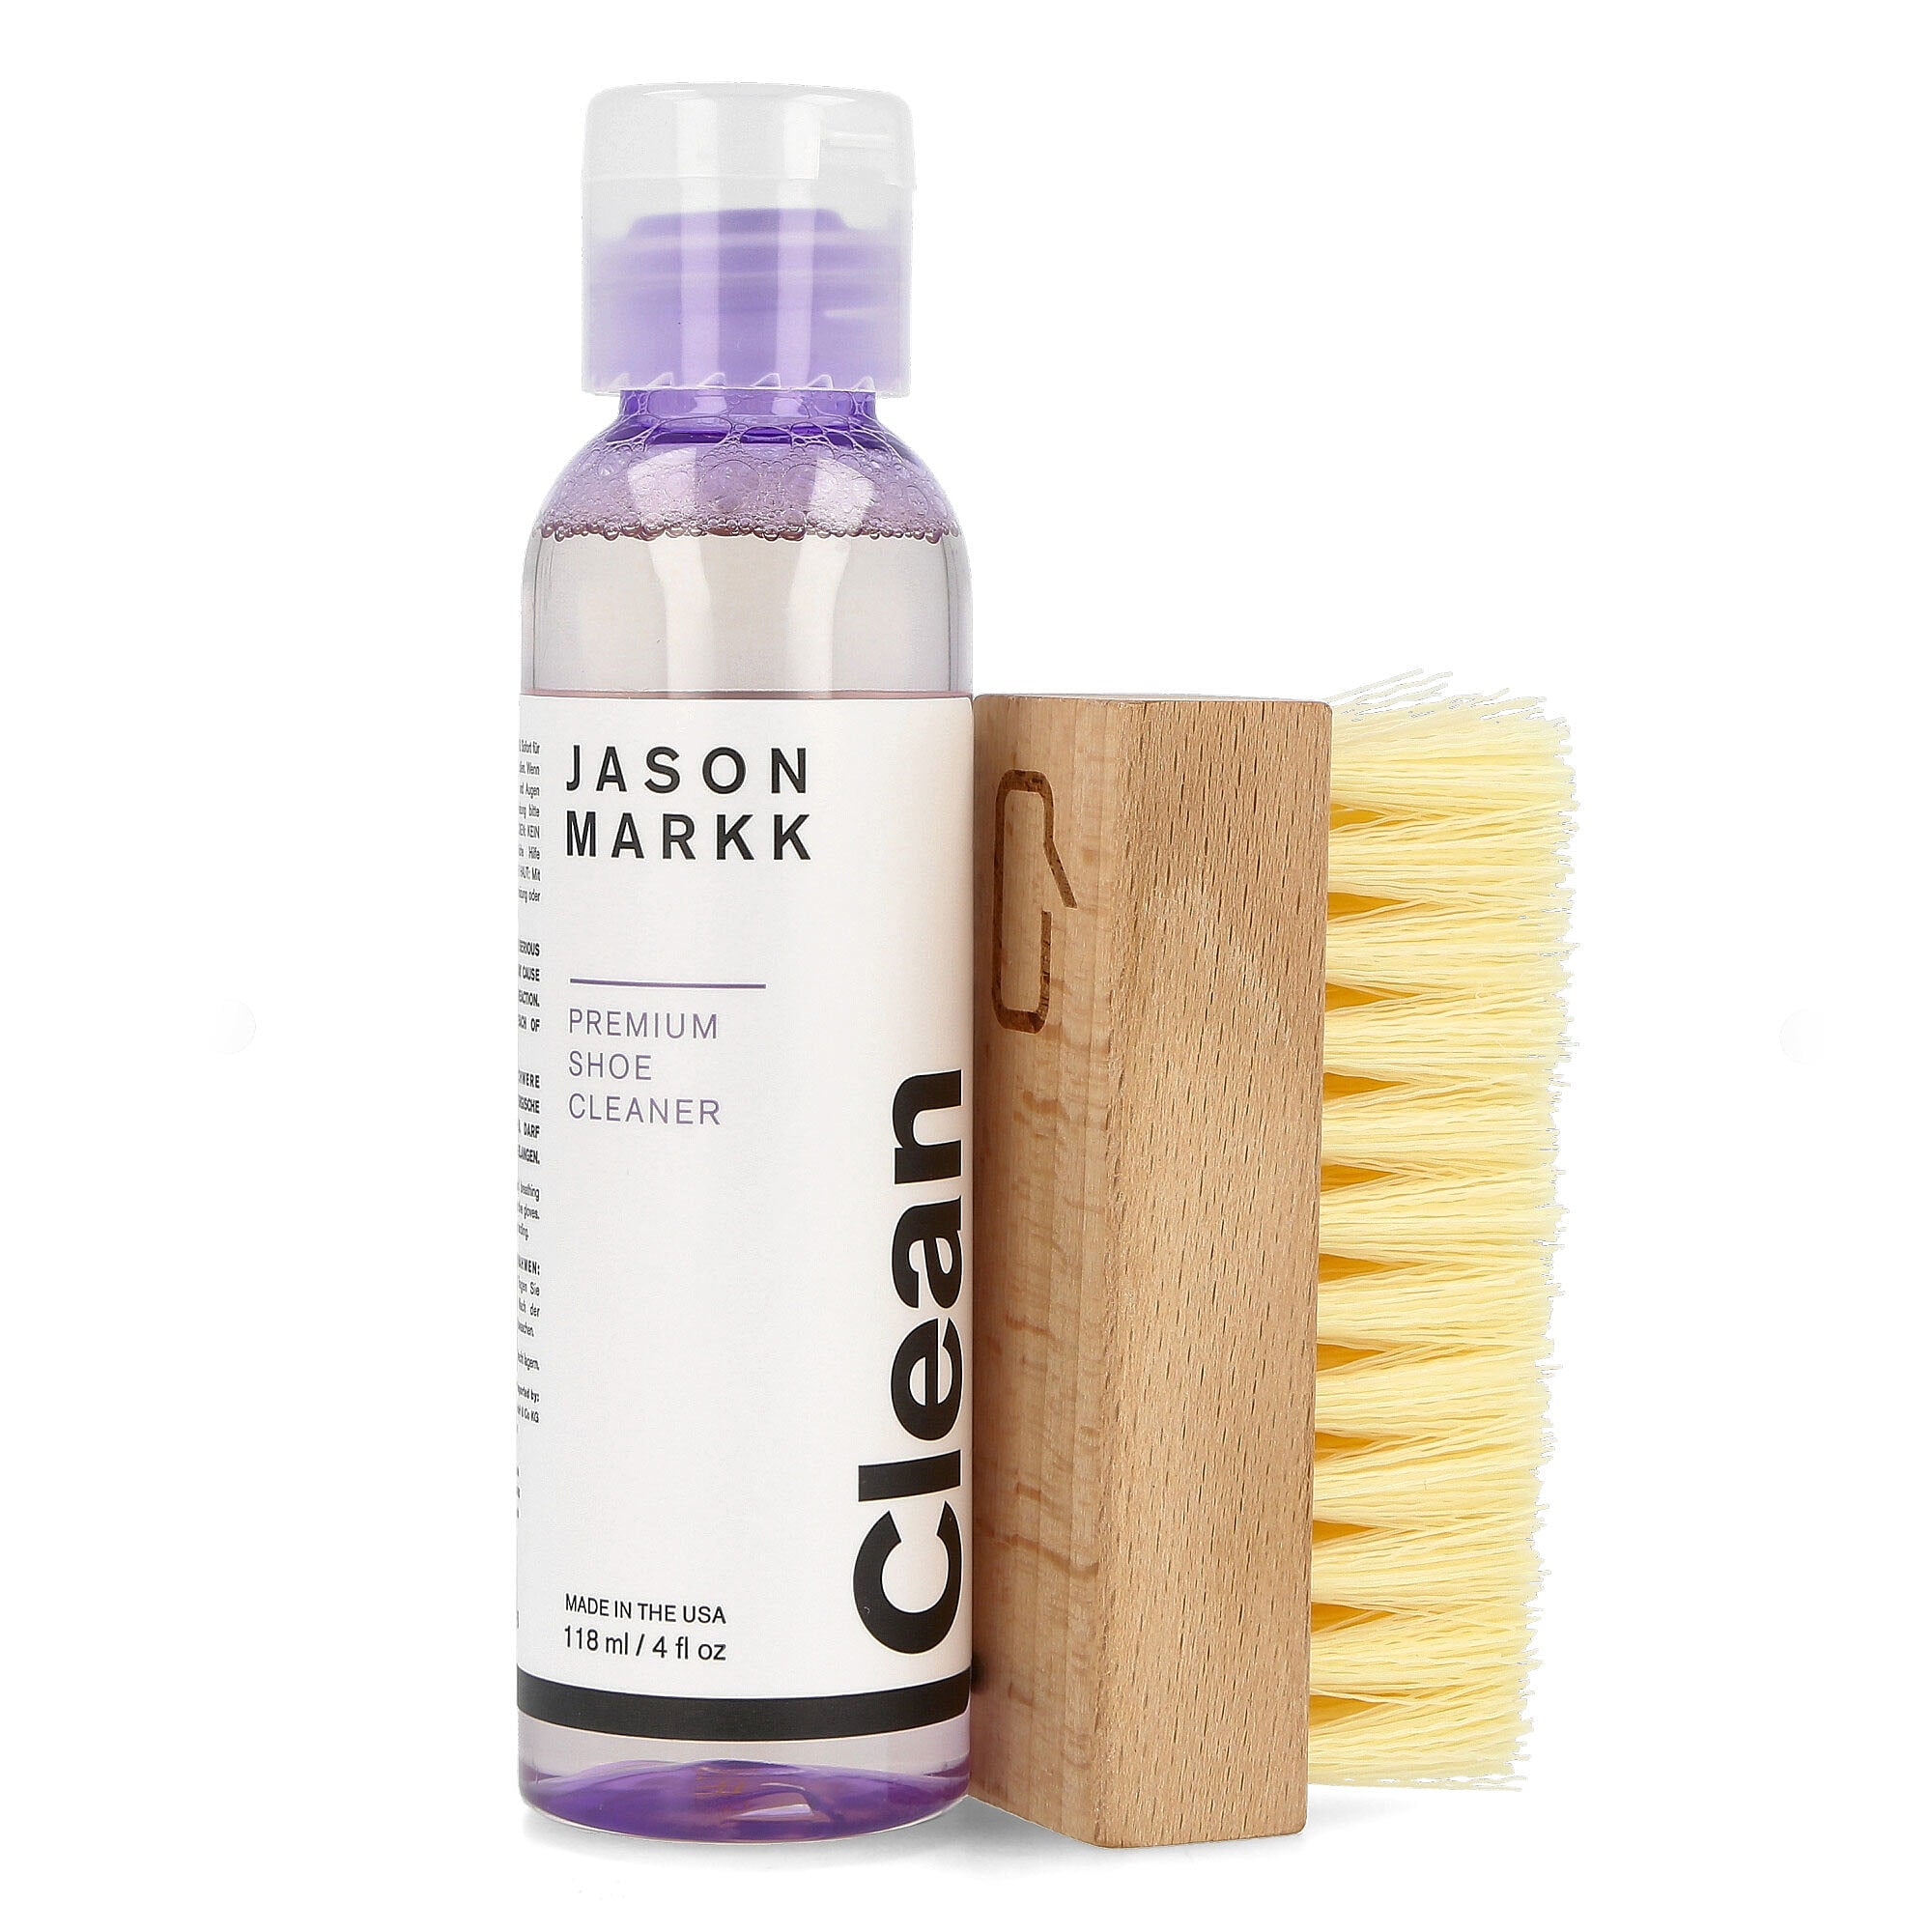
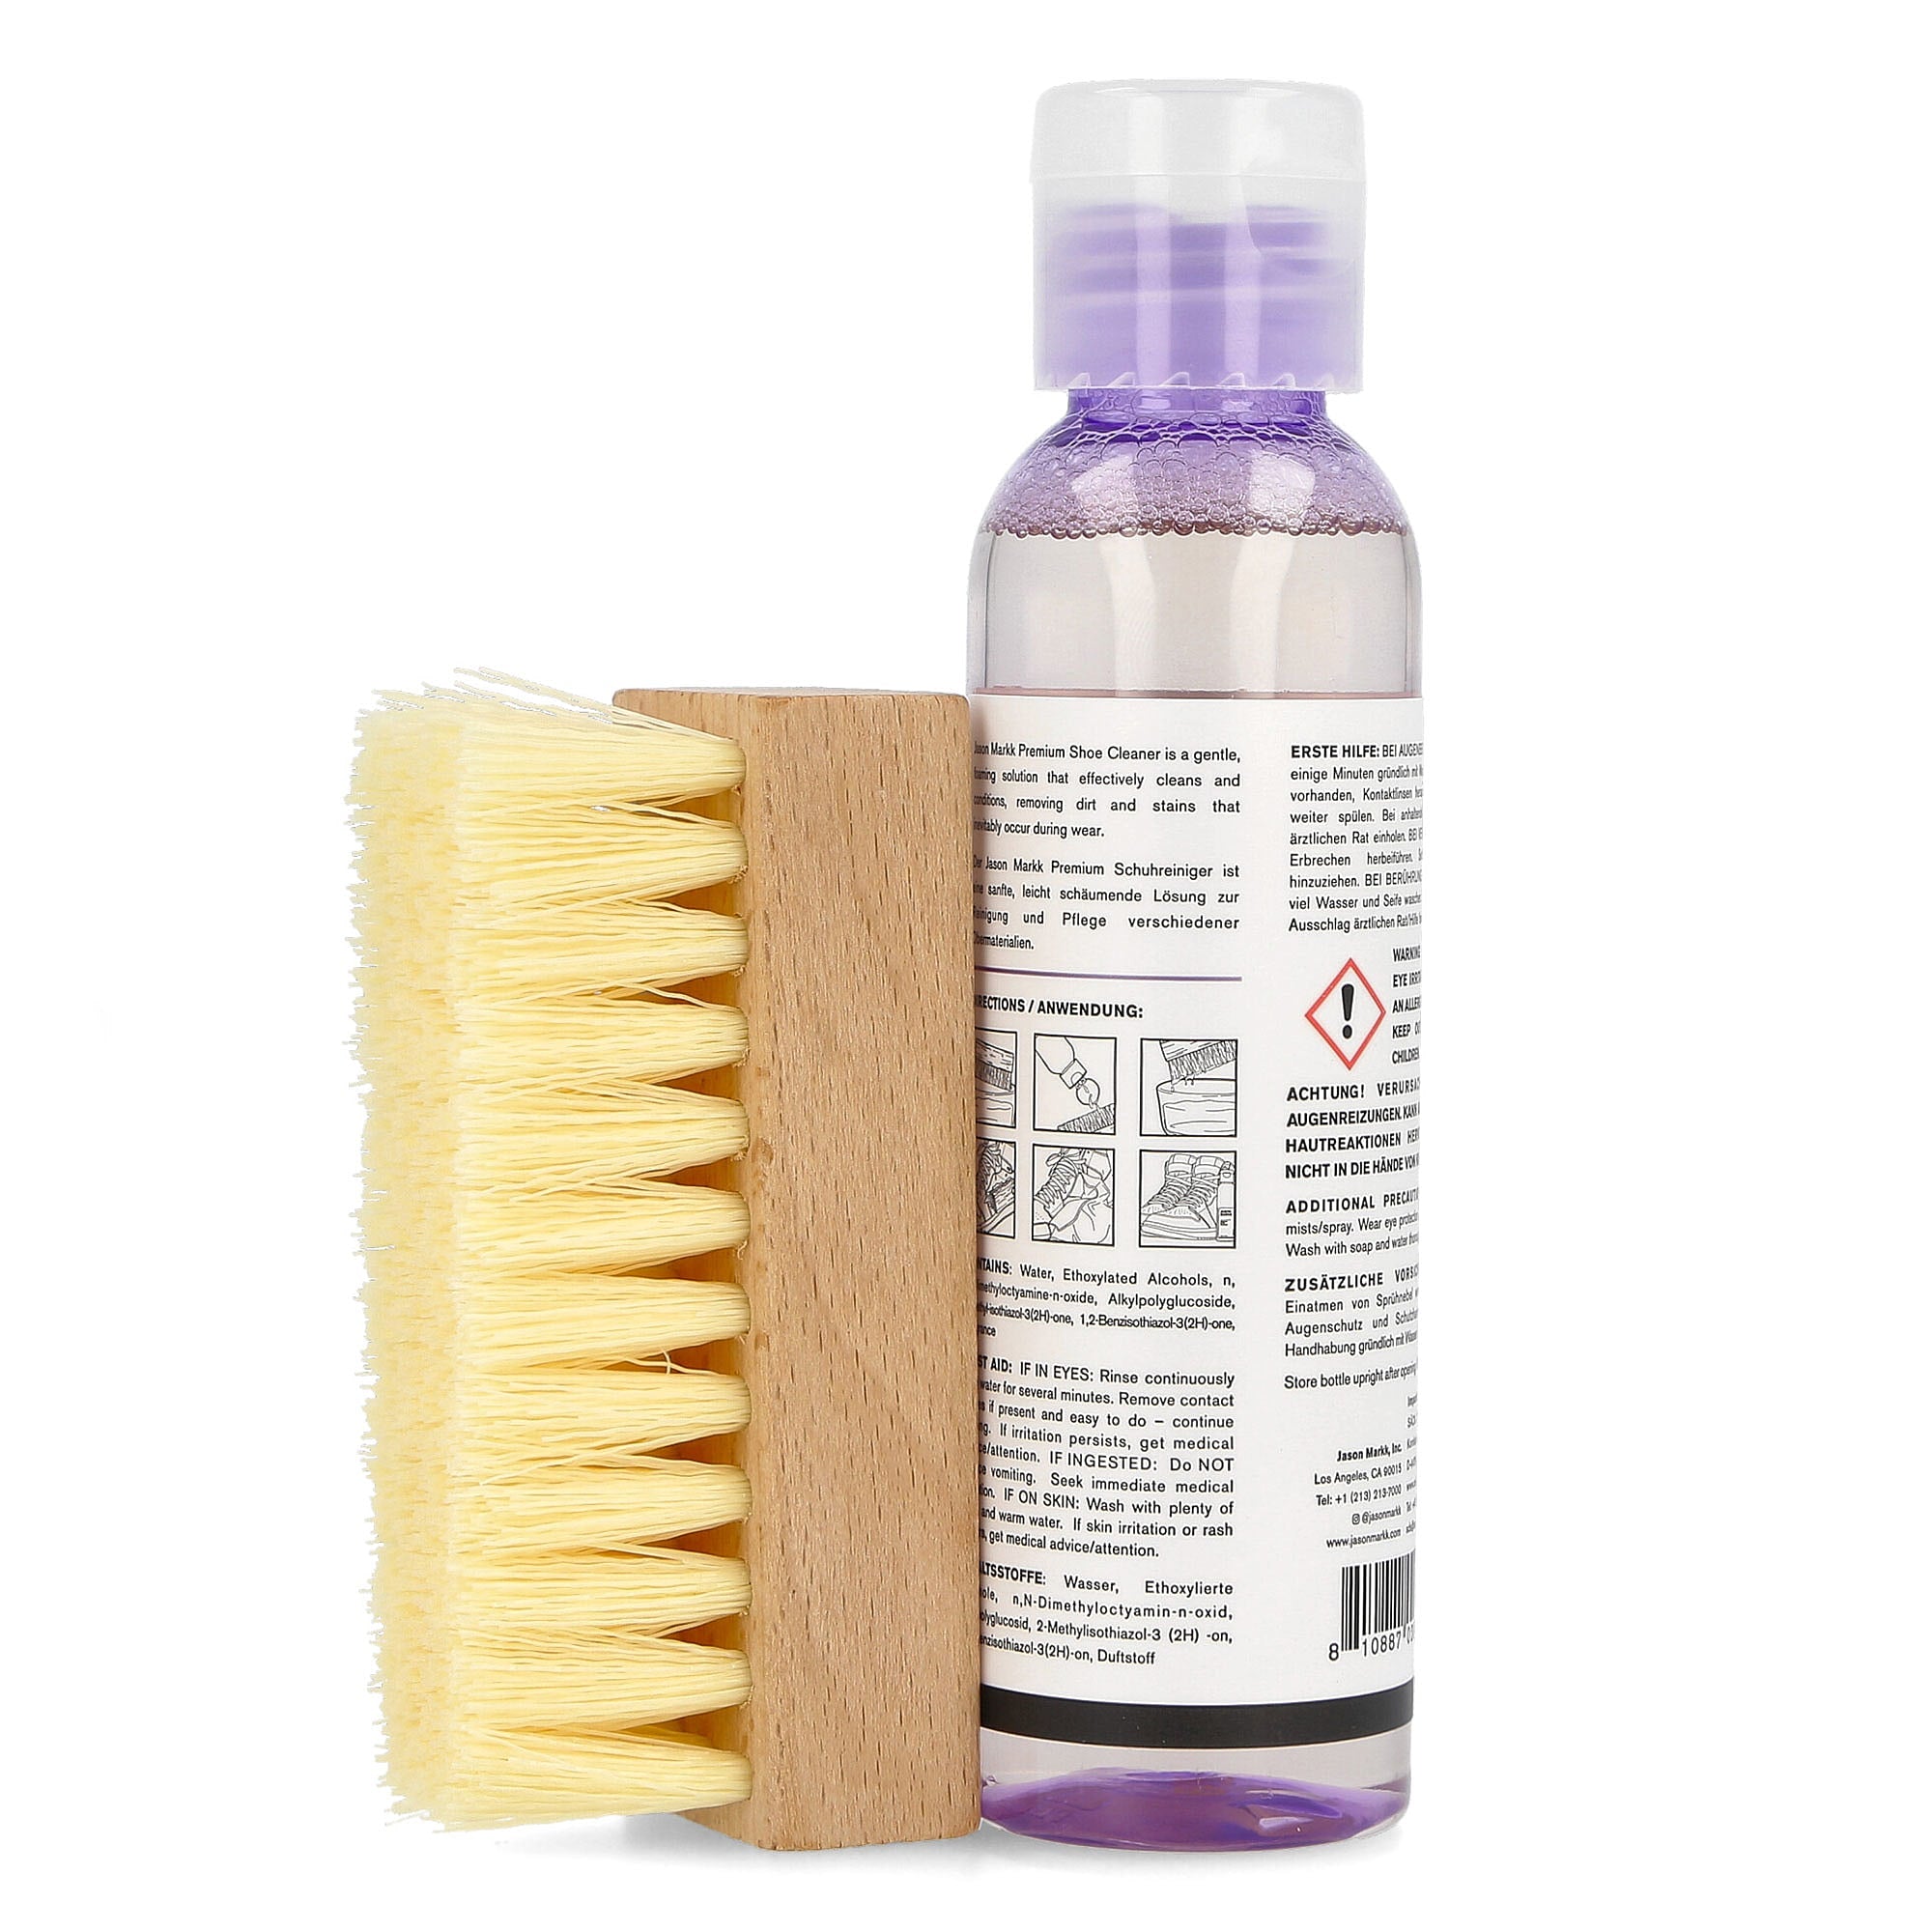
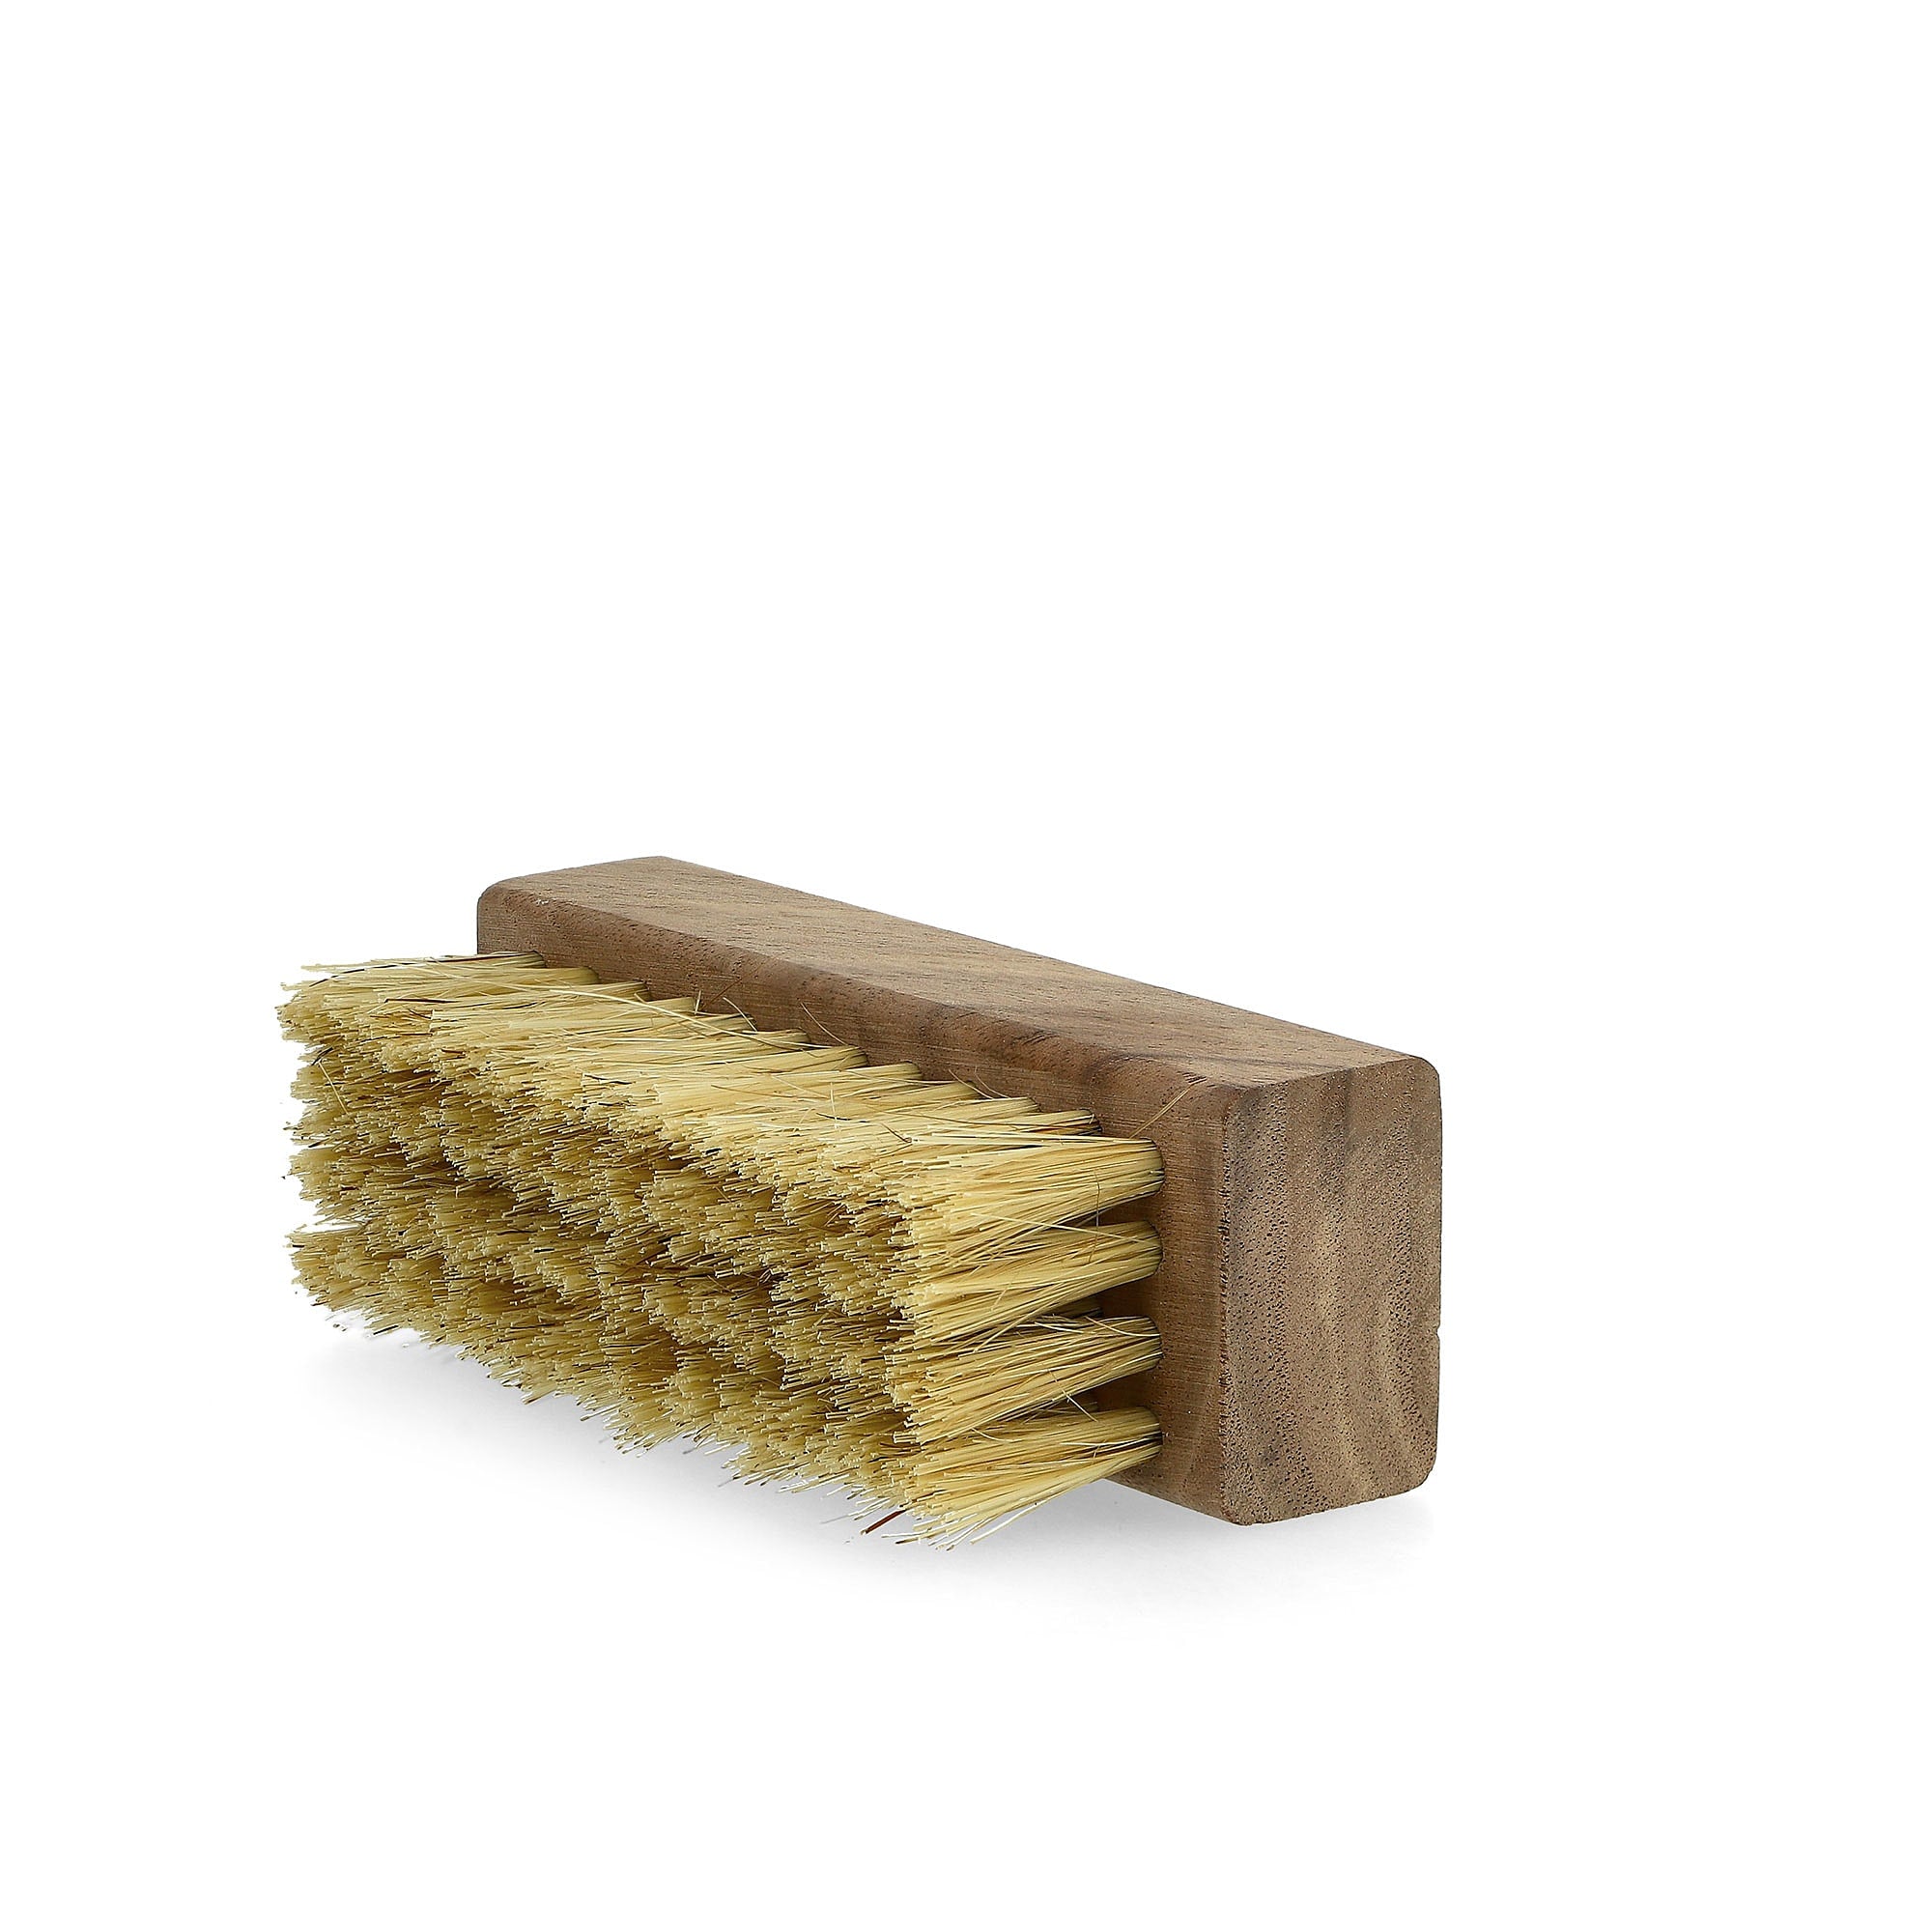
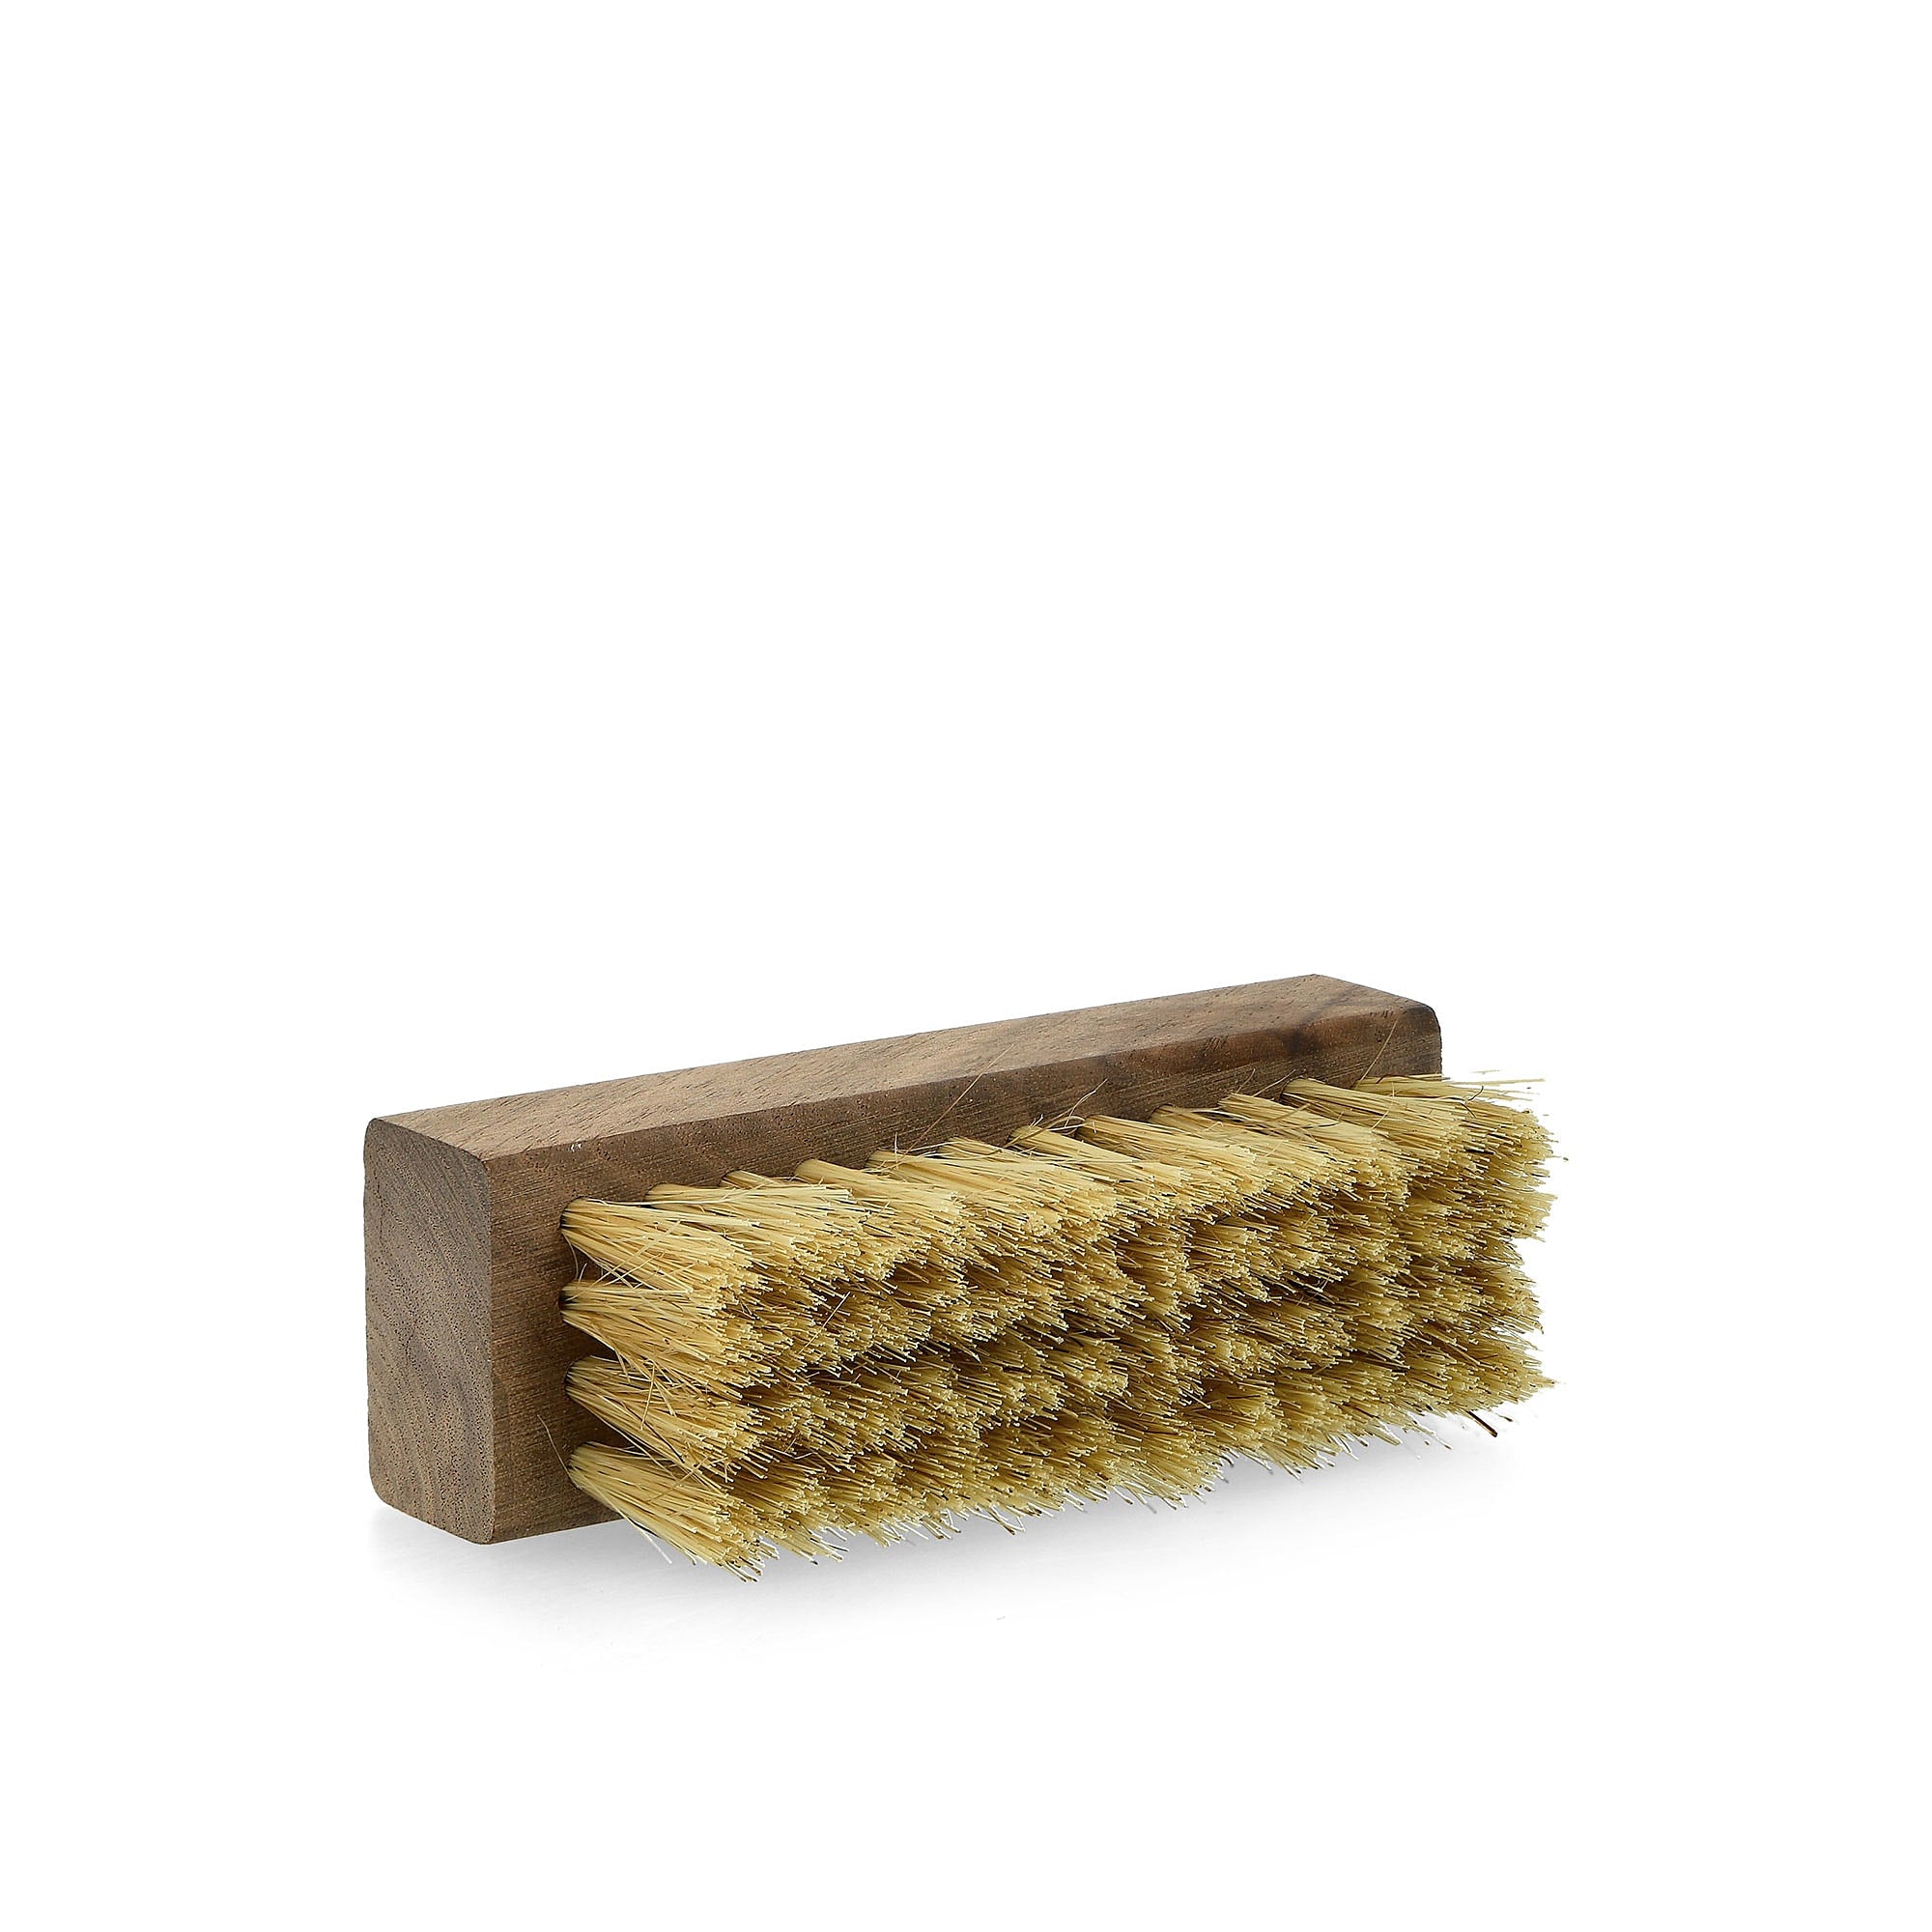
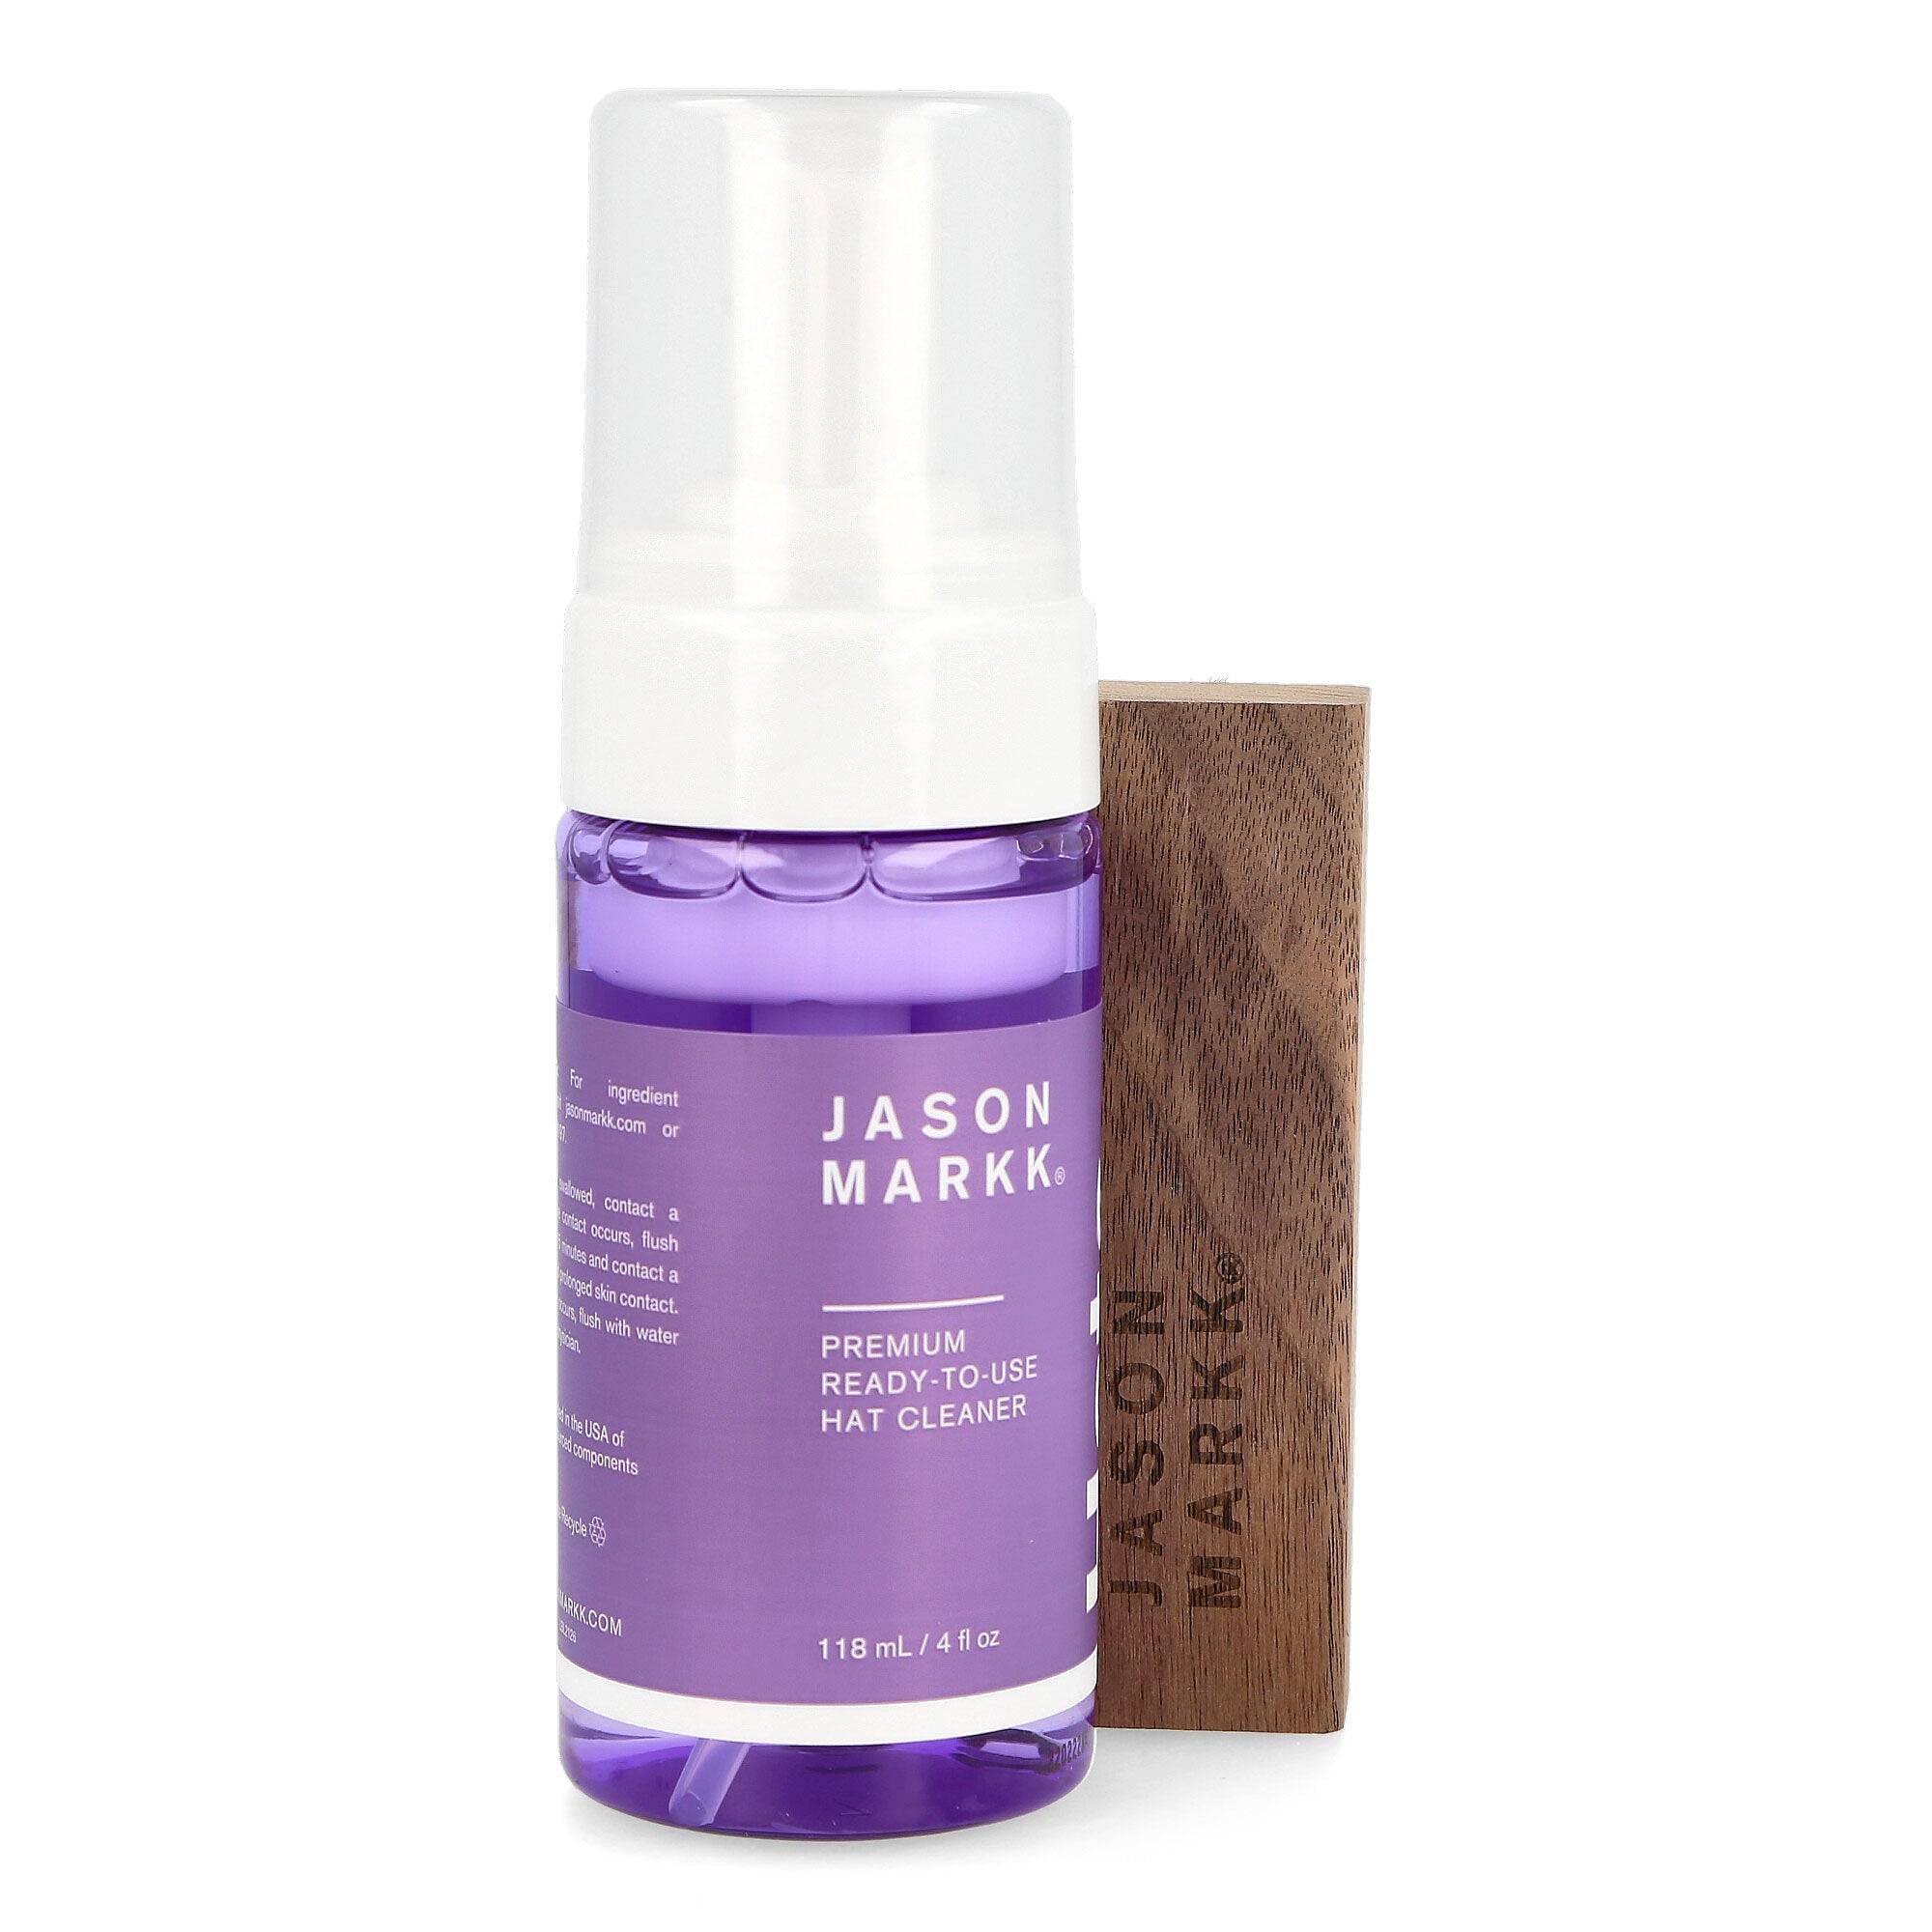
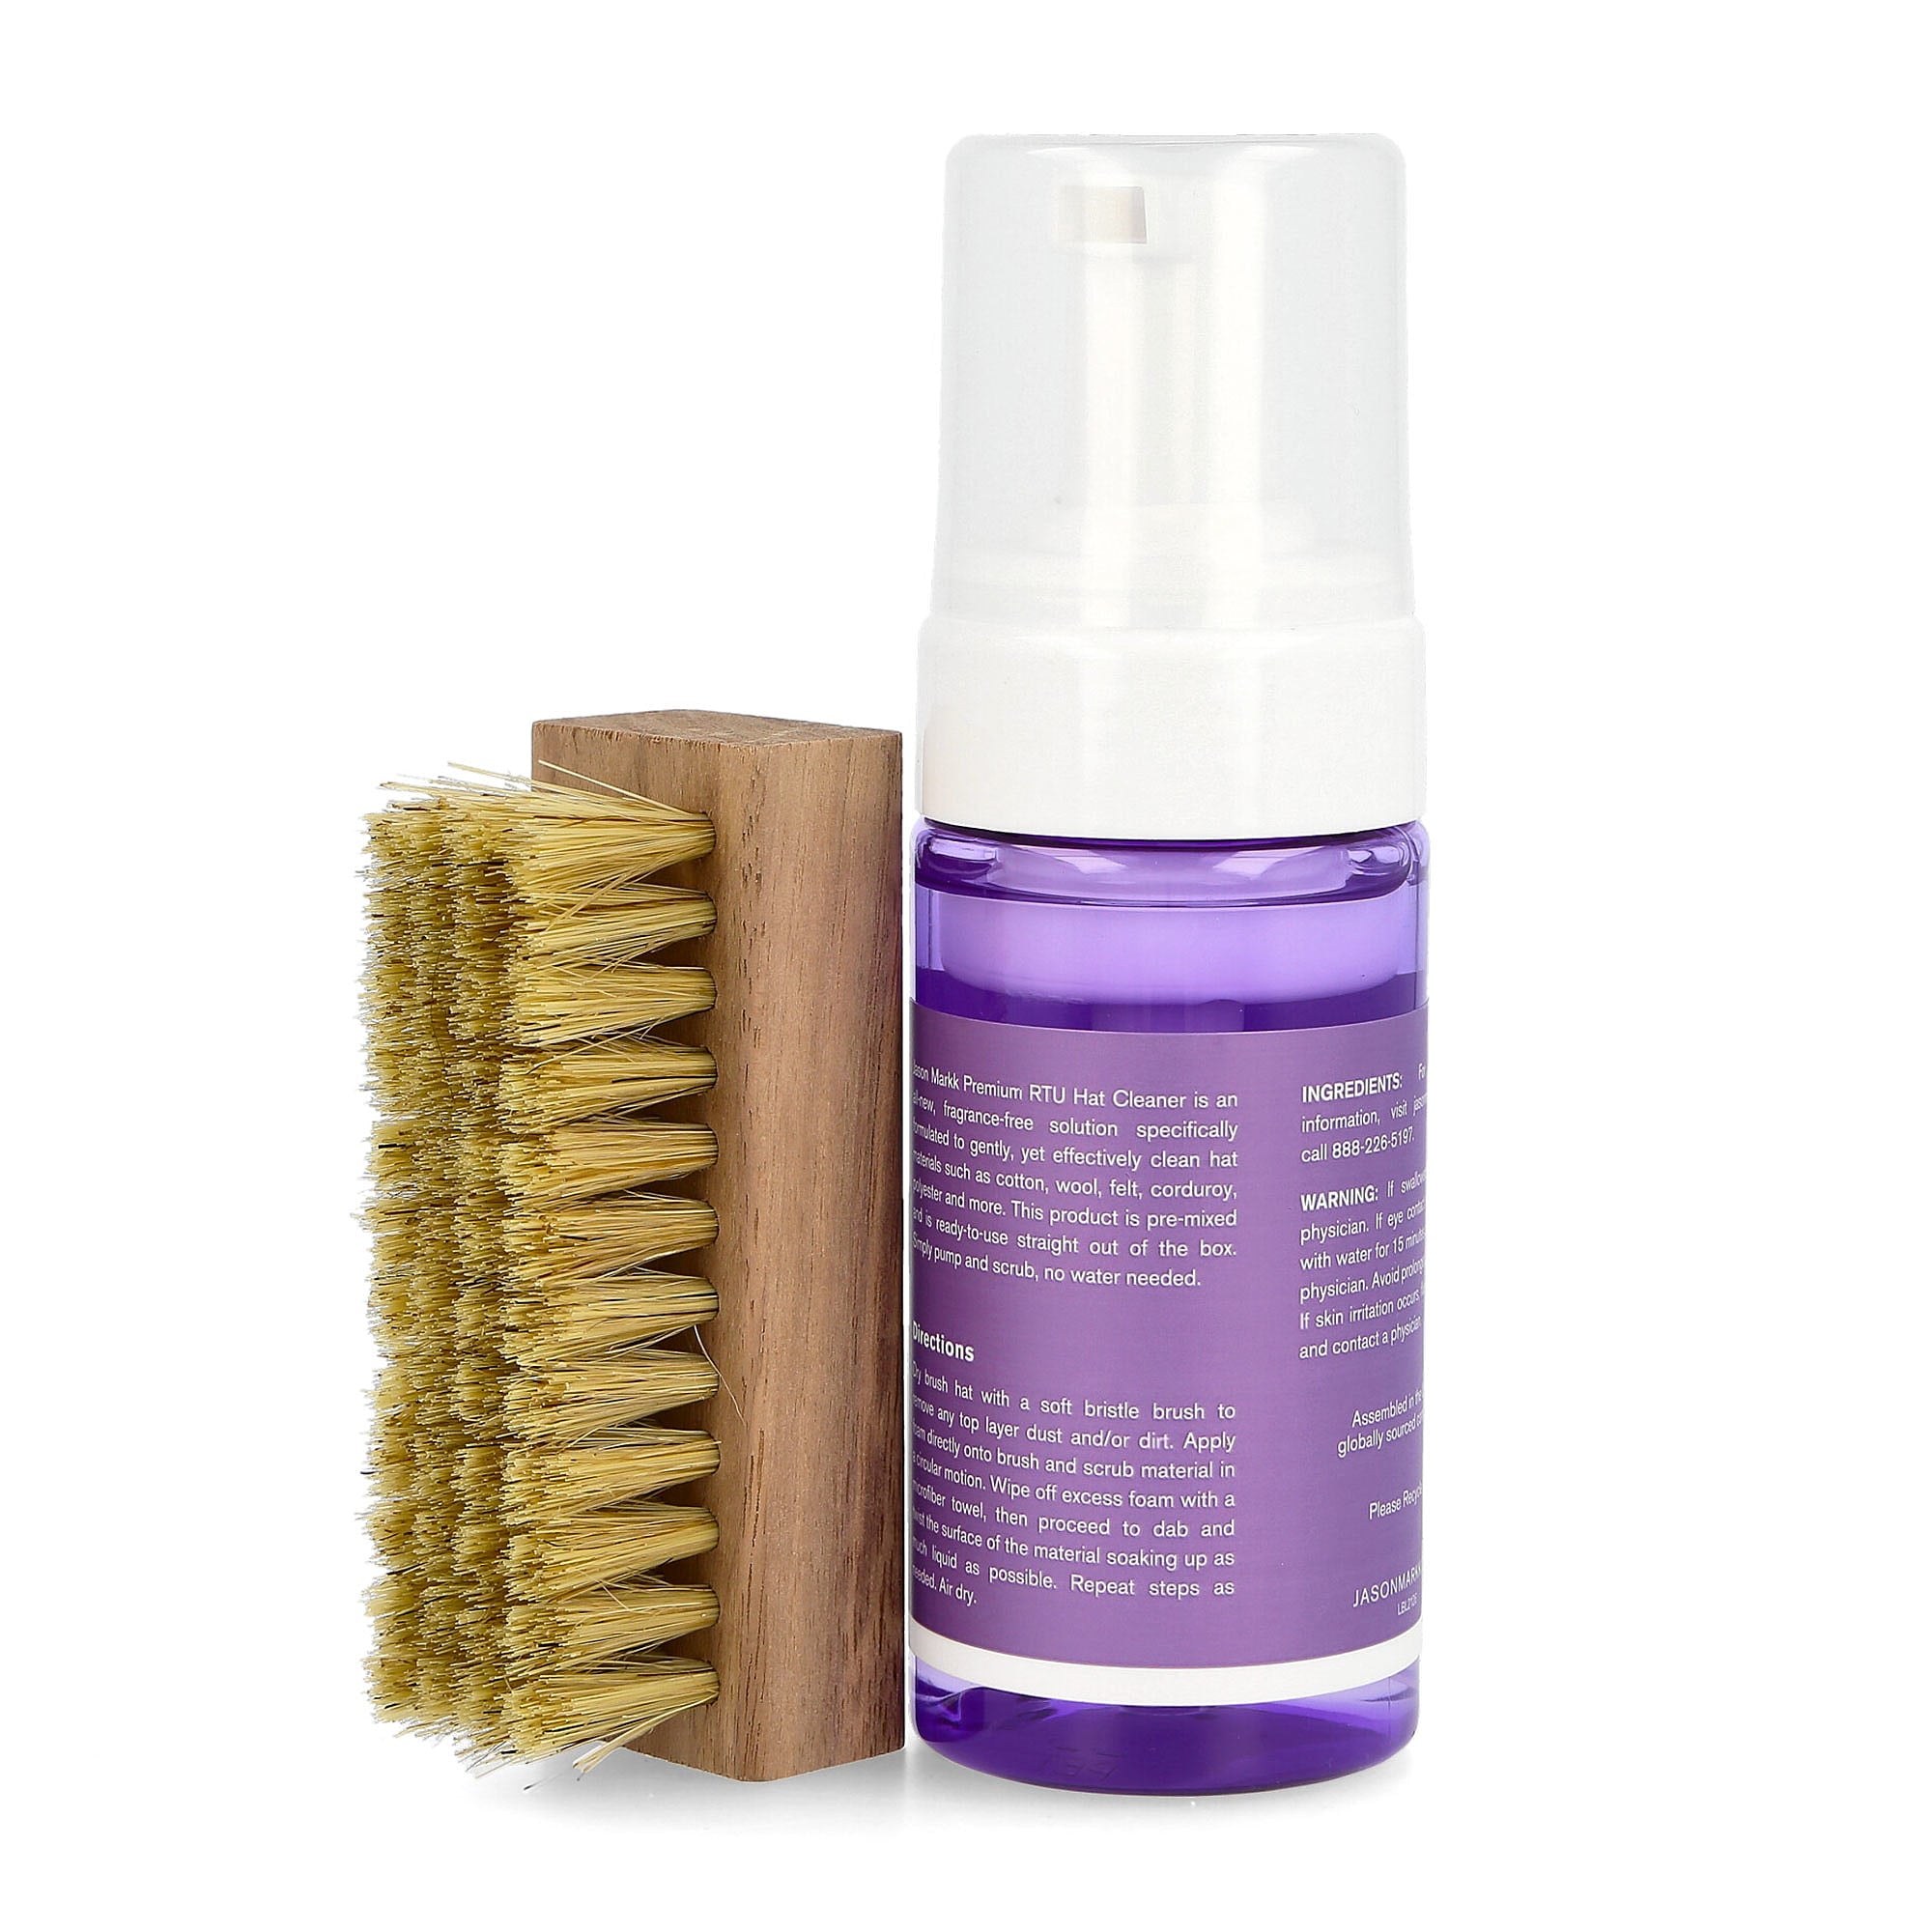
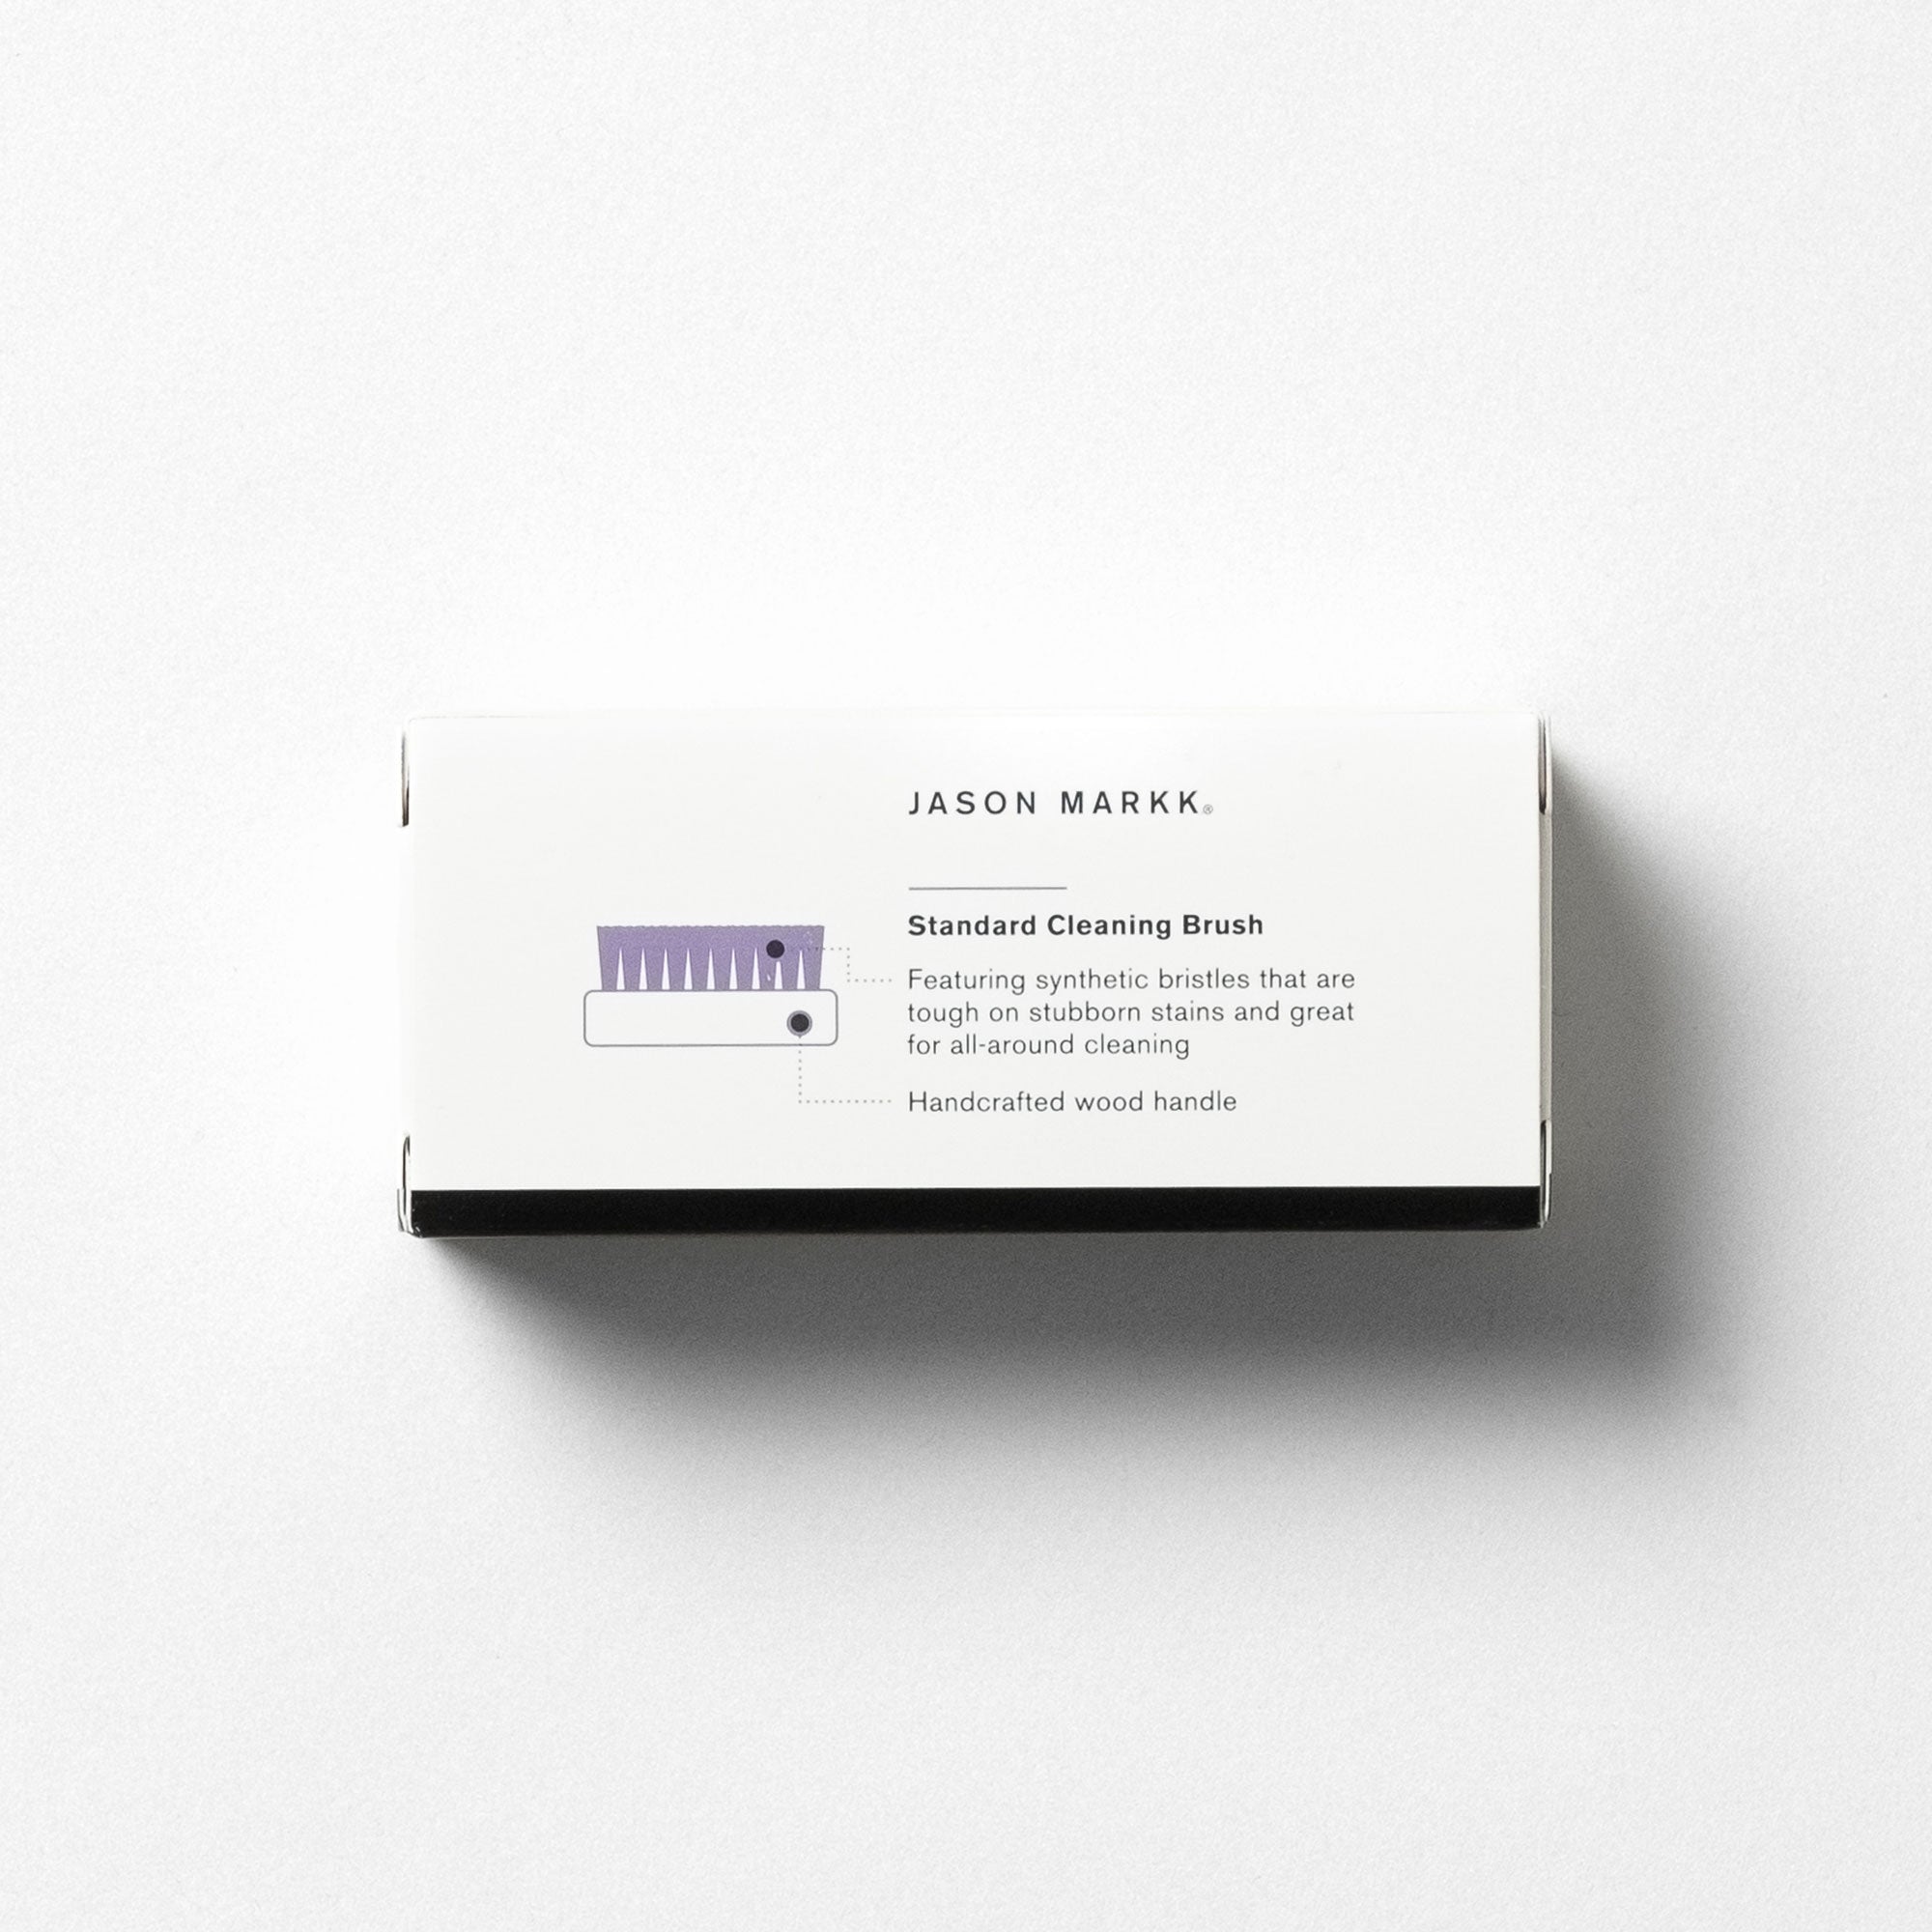
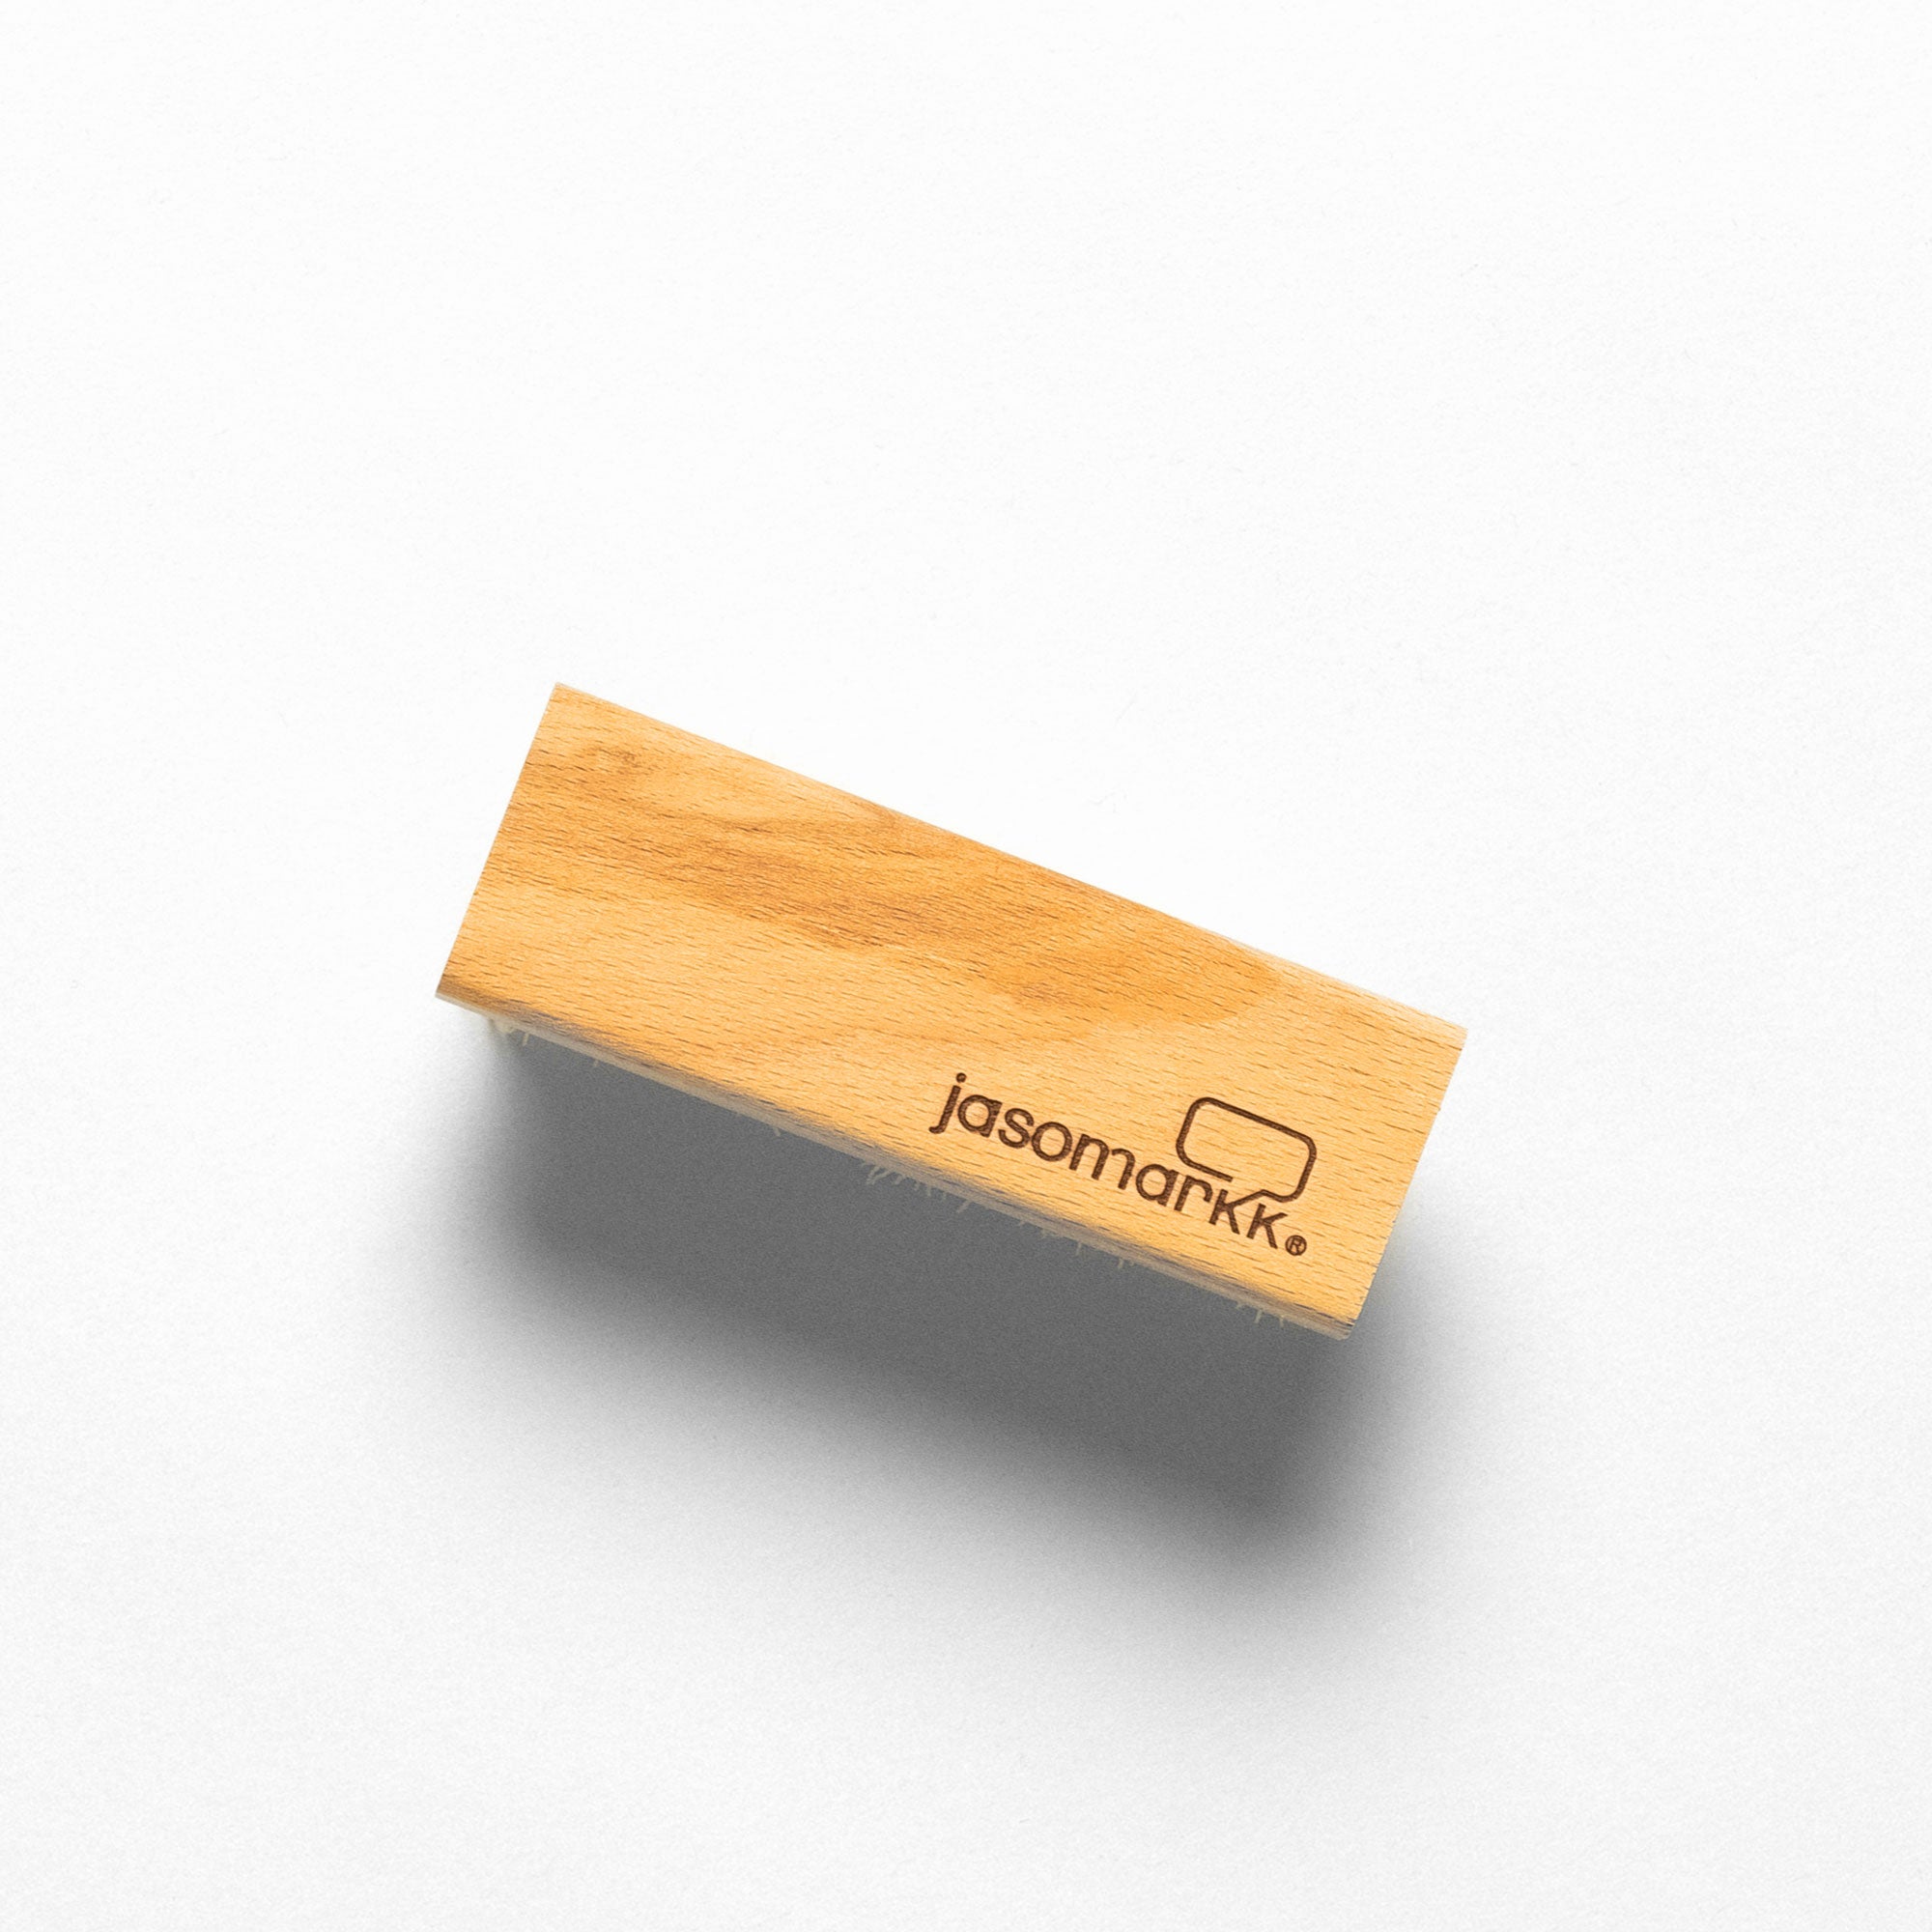
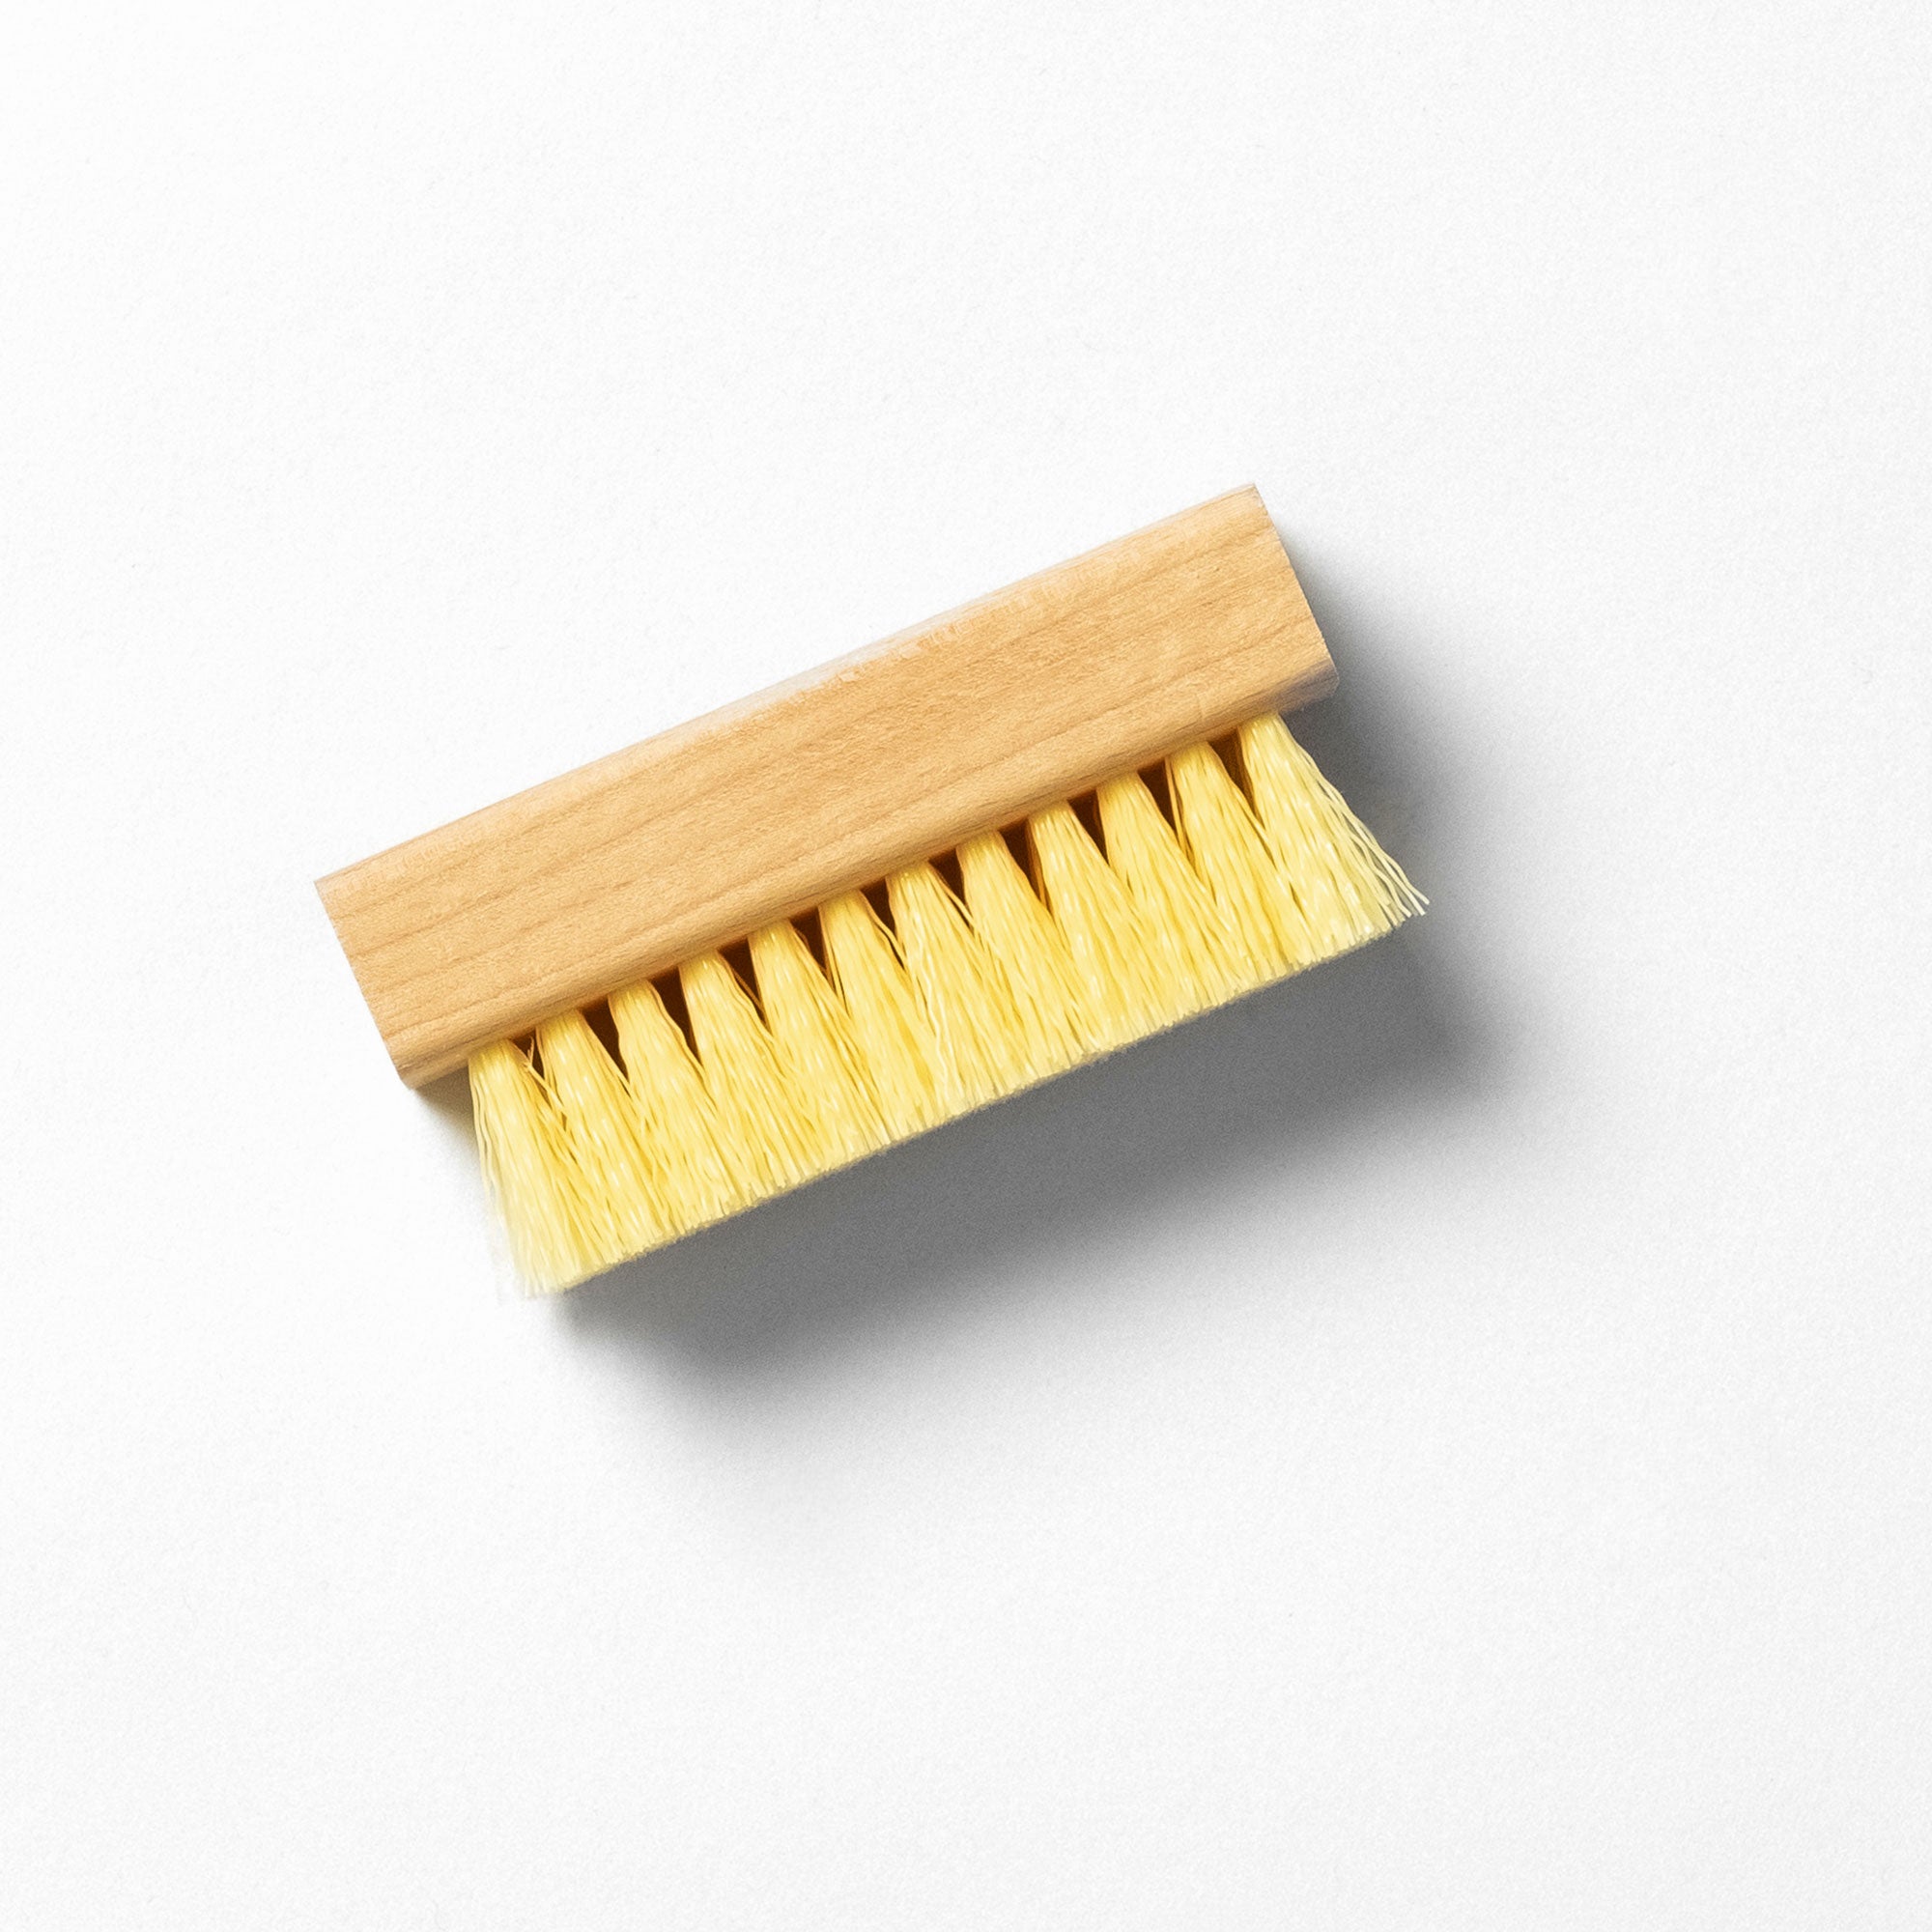
- Brush
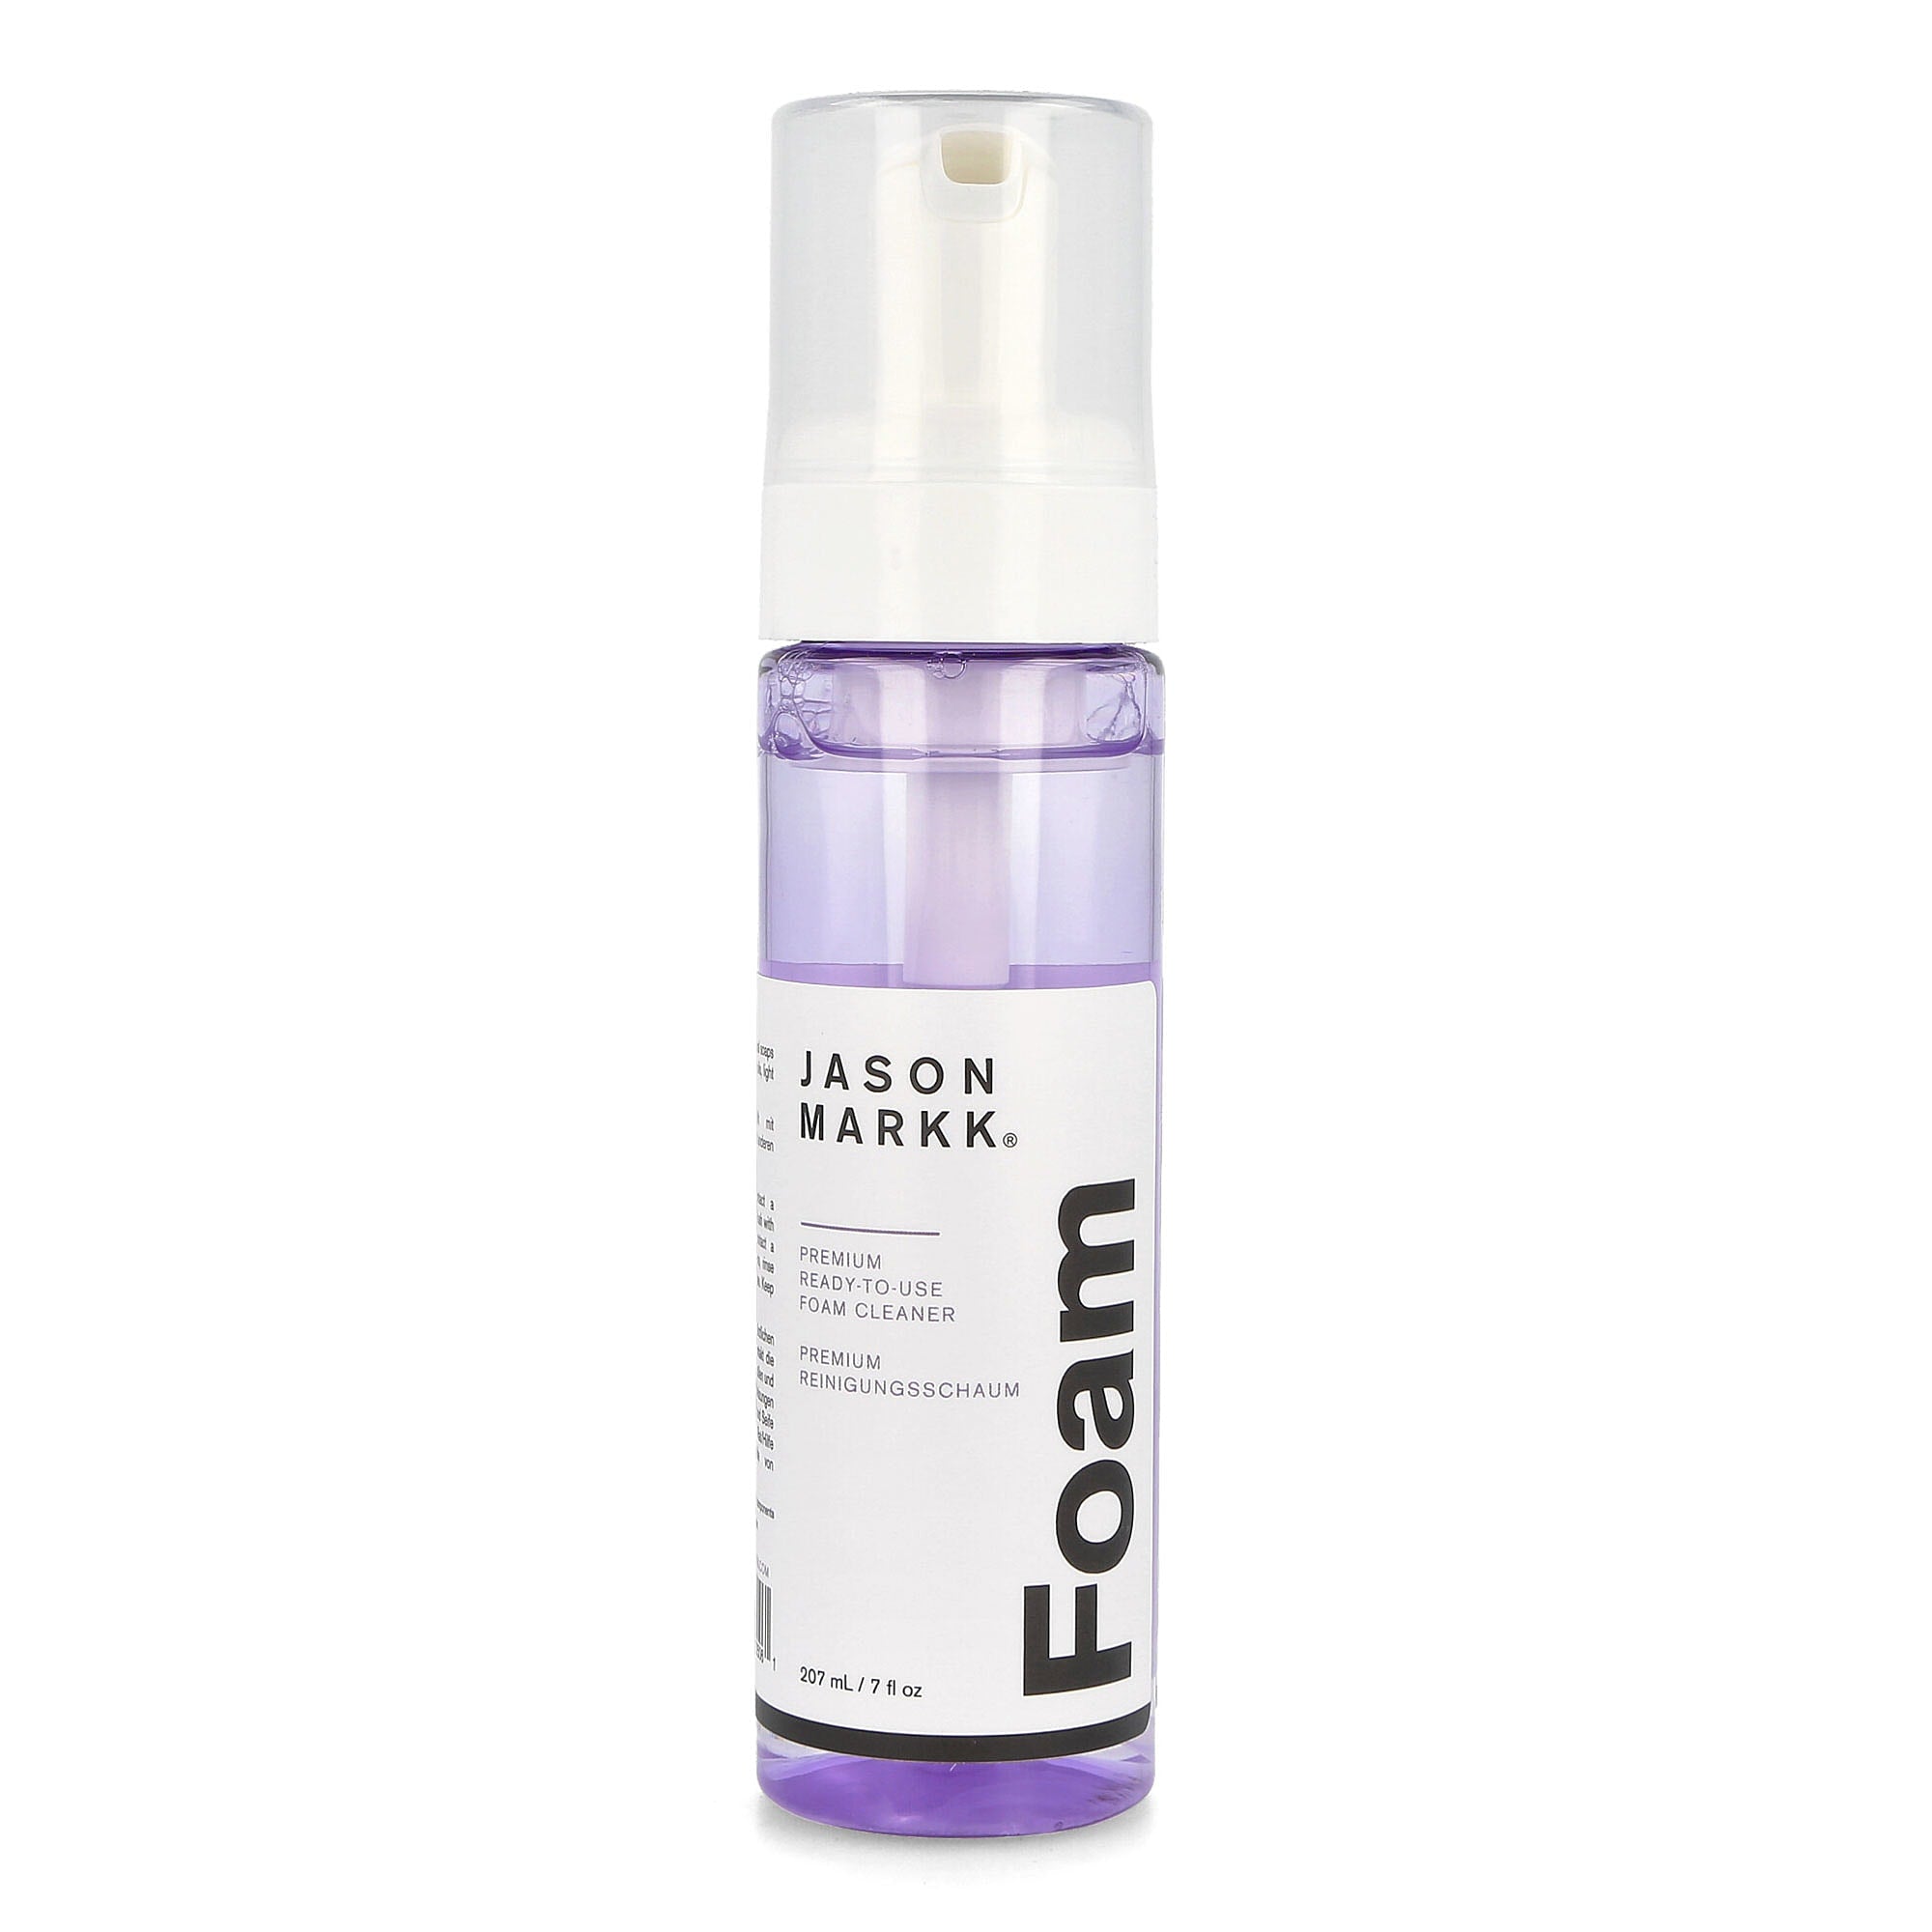
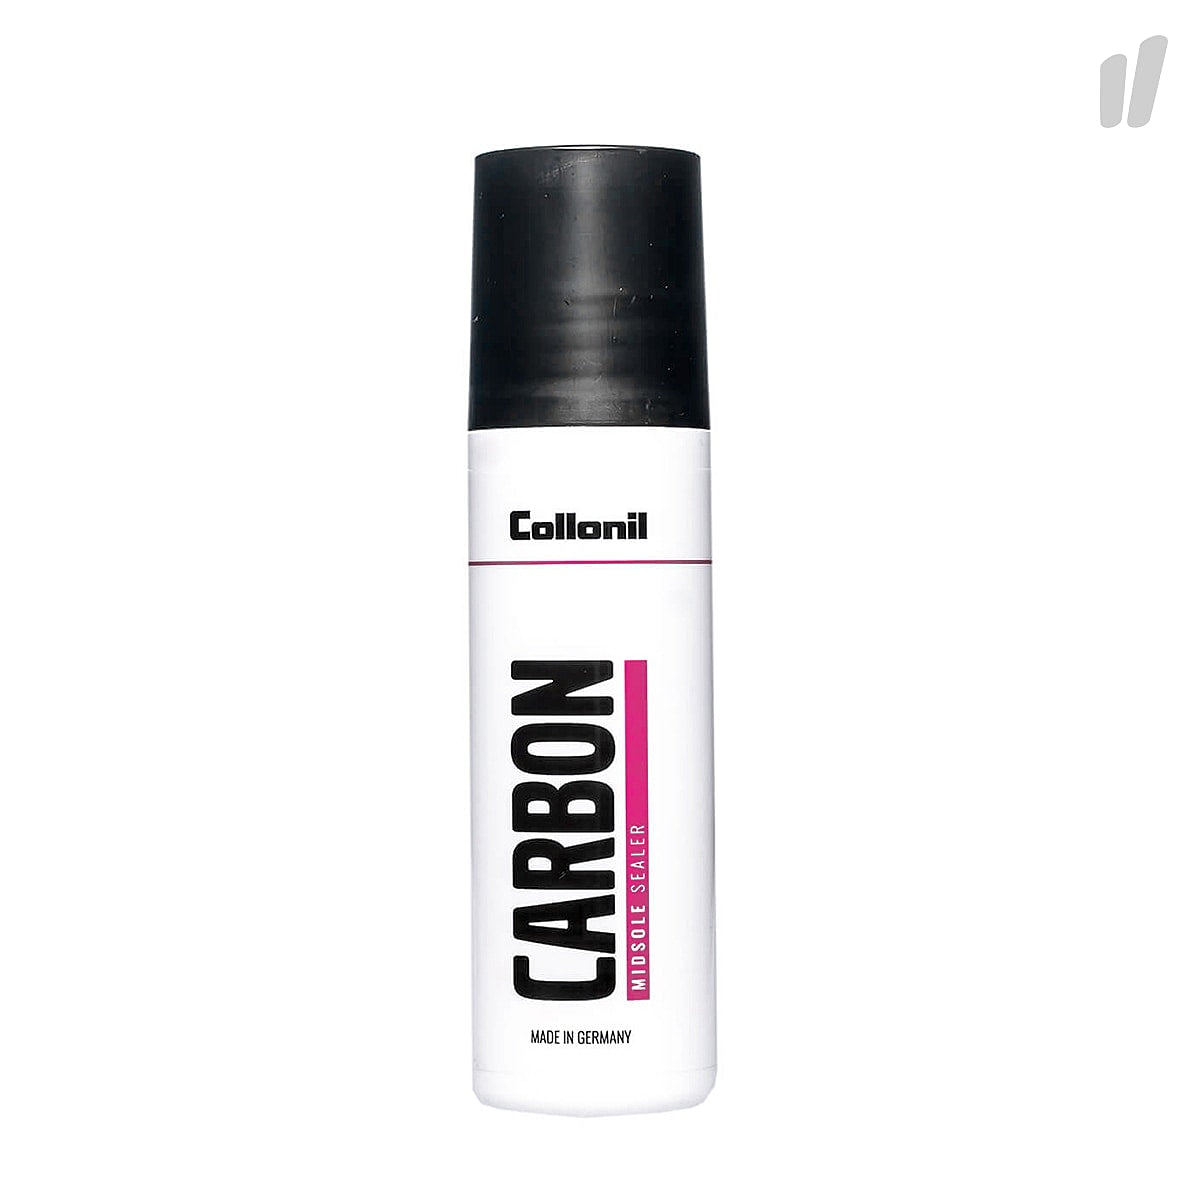
- Cleaning Foam
- Warm Water
- Gloves
- Microfiber Cloth
With these tools prepared, you’re ready to follow the steps below and bring your sneakers back to life.
Should You Clean Sneakers in the Washing Machine?
Putting your sneakers in the washing machine might seem like a quick solution, but it can often do more harm than good. The aggressive spinning cycle, heat, and excess water can damage materials such as suede, leather, and mesh, weaken the glue, and even deform the sneaker's shape. Instead of risking permanent damage, it’s always better to clean sneakers by hand using a brush, cleaning foam, and warm water. A gentle hand-cleaning routine not only protects the materials but also helps extend the lifespan of your favorite sneakers.

Sneaker Care

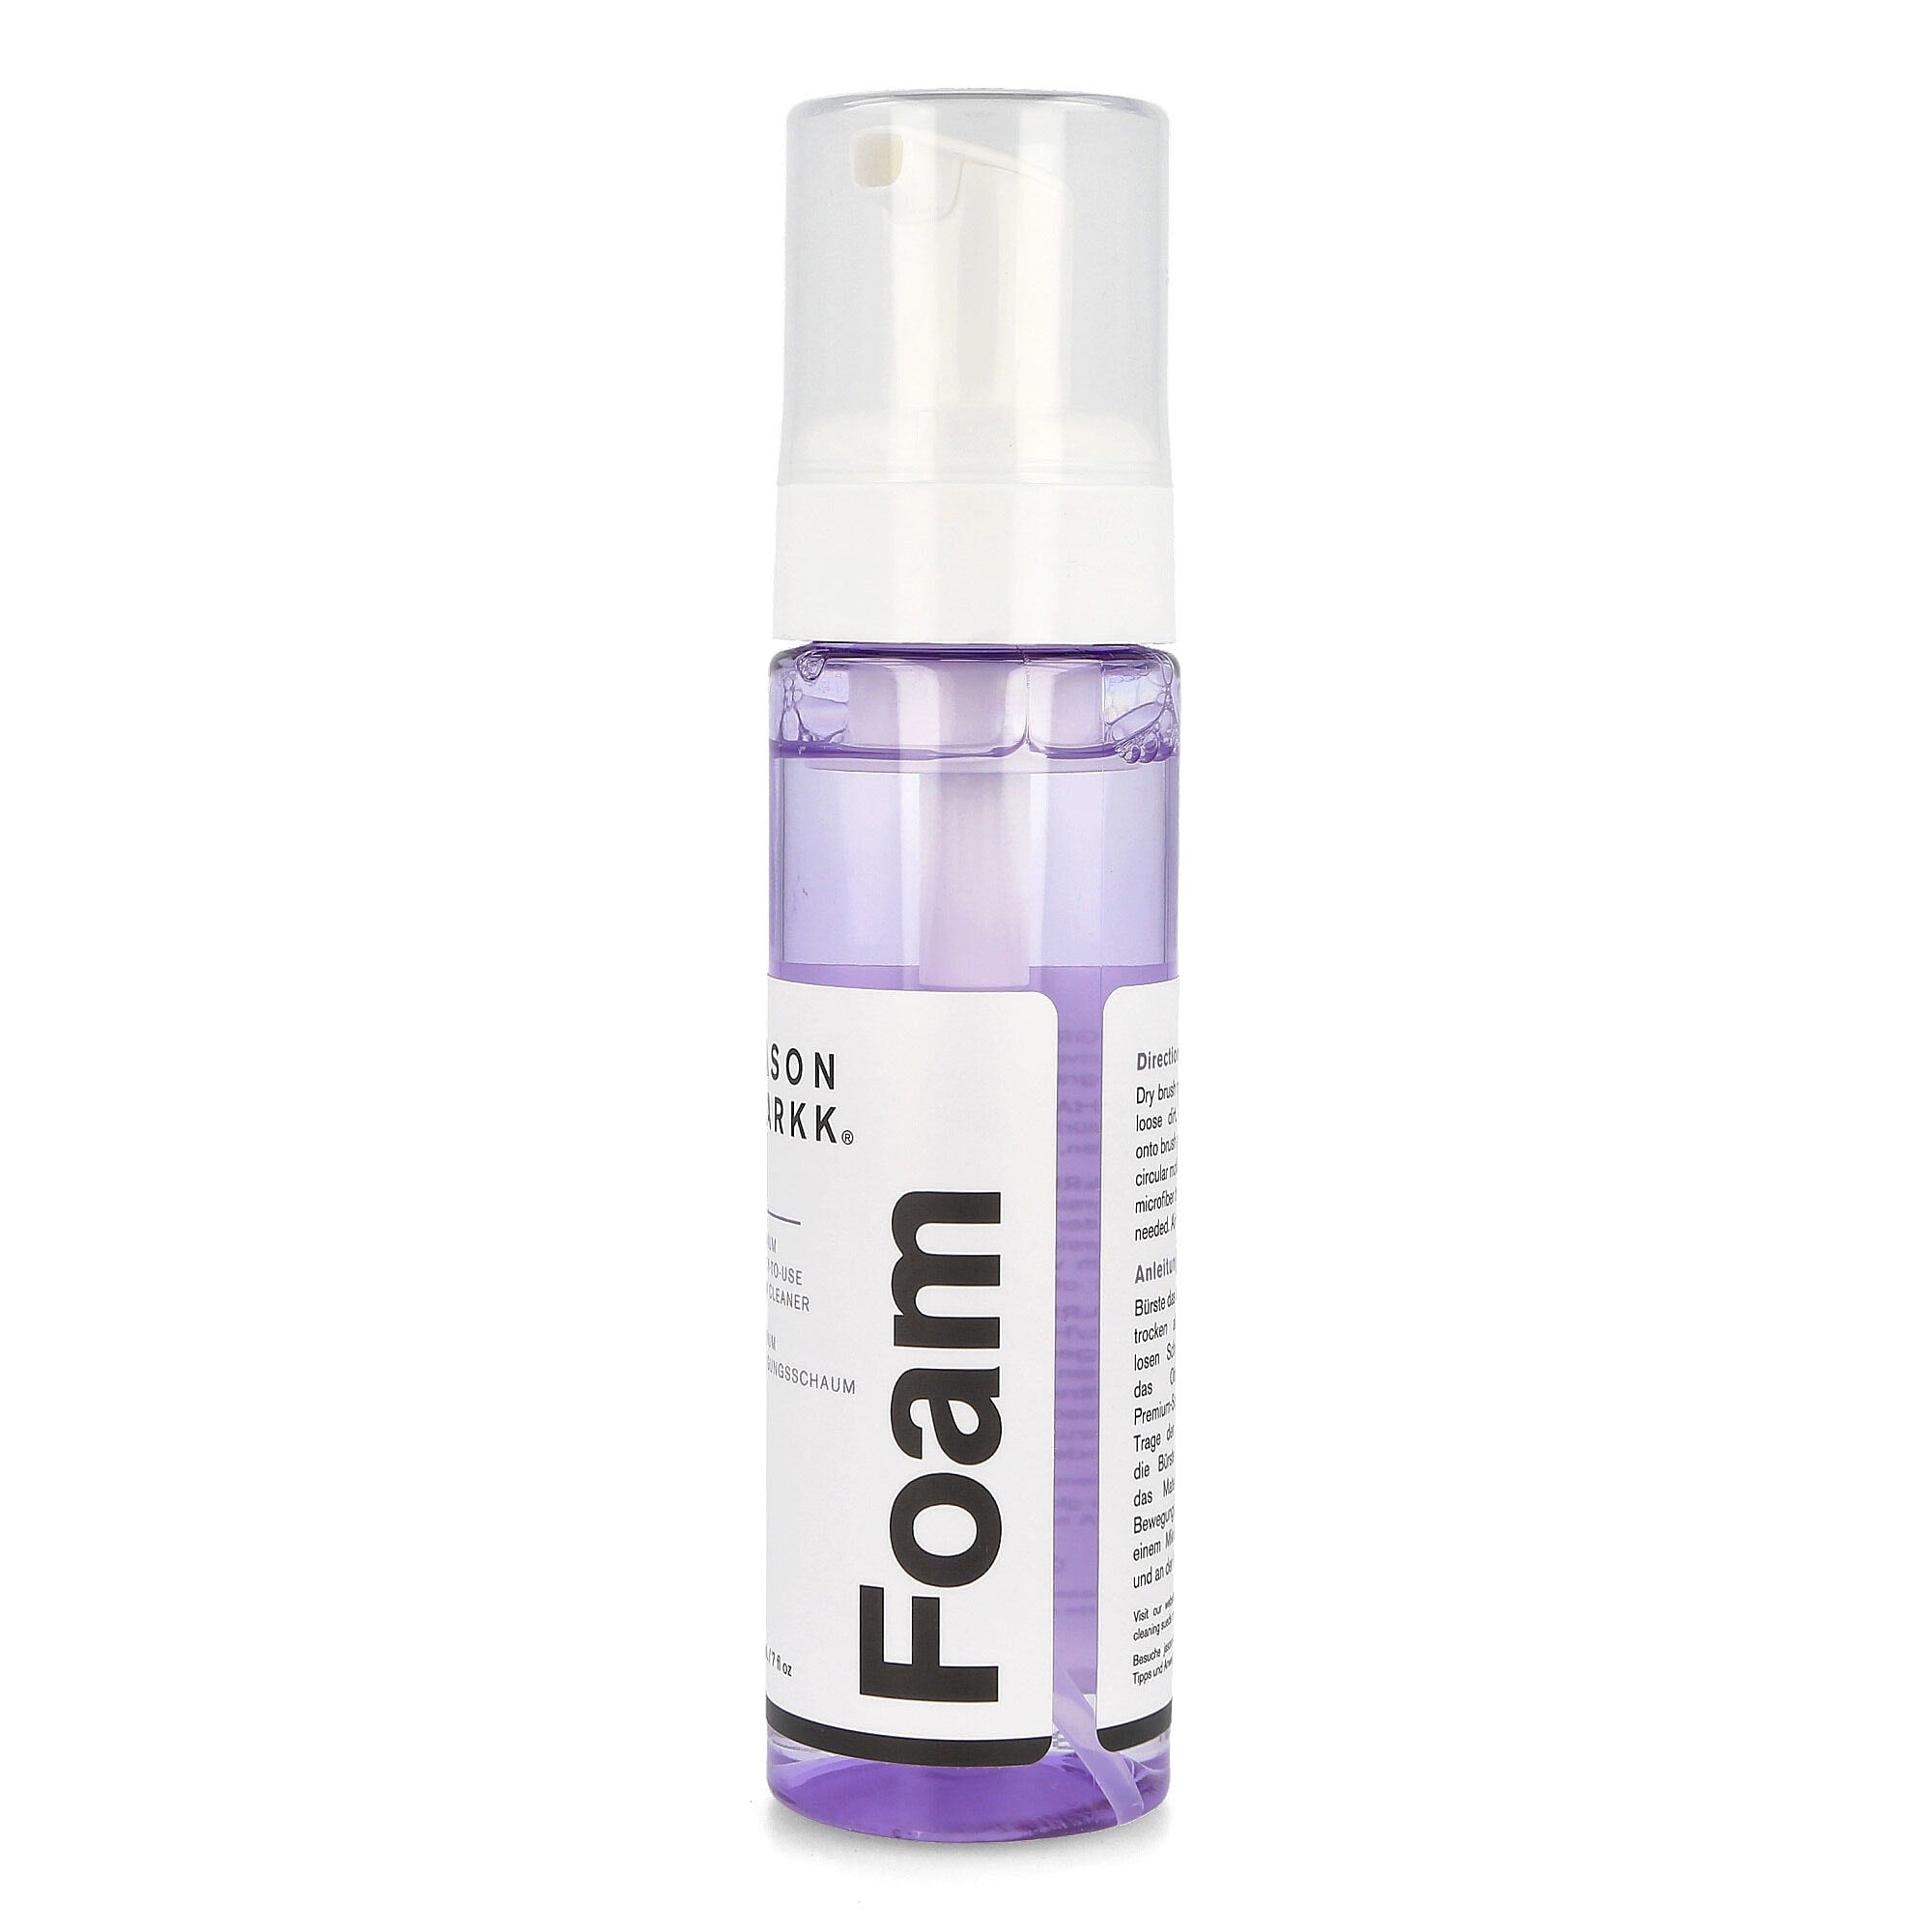

Step 1: Put on Gloves and Add Foam to the Water
Start by putting on gloves to protect your hands during the cleaning process. Add a small amount of cleaning foam to warm water to create your sneaker cleaning solution.

Step 2: Dry Brush to Remove Loose Dirt & Dust
Before using water or foam, use a dry brush to remove loose dirt, dust, and debris. This prevents dirt from spreading across the sneaker while cleaning.

Step 3: Remove Laces
Take the laces out of your sneakers so you can clean them separately. This also makes it easier to reach every part of the sneaker upper.

Step 4: Soak Laces in Warm Water
Place the laces in warm water mixed with cleaning foam. Let them soak for a few minutes to loosen dirt and stains.

Step 5: Add Foam to the Sneaker
Apply a small amount of cleaning foam directly onto the sneaker upper. Focus on areas where dirt and stains are most visible.


Step 6: Soak the Brush in Warm Water and Brush the Foam into the Upper
Dip the brush into warm water and gently work the foam into the sneaker upper using circular motions. This helps lift dirt without damaging the materials.

Step 7: Add Foam as Needed
If some areas are still dirty, apply additional foam and continue brushing until the sneaker looks clean.

Step 8: Clean the Soles with Foam
Use the brush and foam to scrub the midsole and outsole. These parts usually collect the most dirt, so you may need slightly more pressure.

Step 9: Wipe Away Excess Foam
Use a microfiber cloth to wipe away excess foam and moisture. This removes remaining dirt and prevents cleaning residue.

Step 10: Air Dry
Let your sneakers air dry naturally at room temperature. Avoid direct heat sources such as radiators or sunlight to protect the materials and shape of the sneaker.


